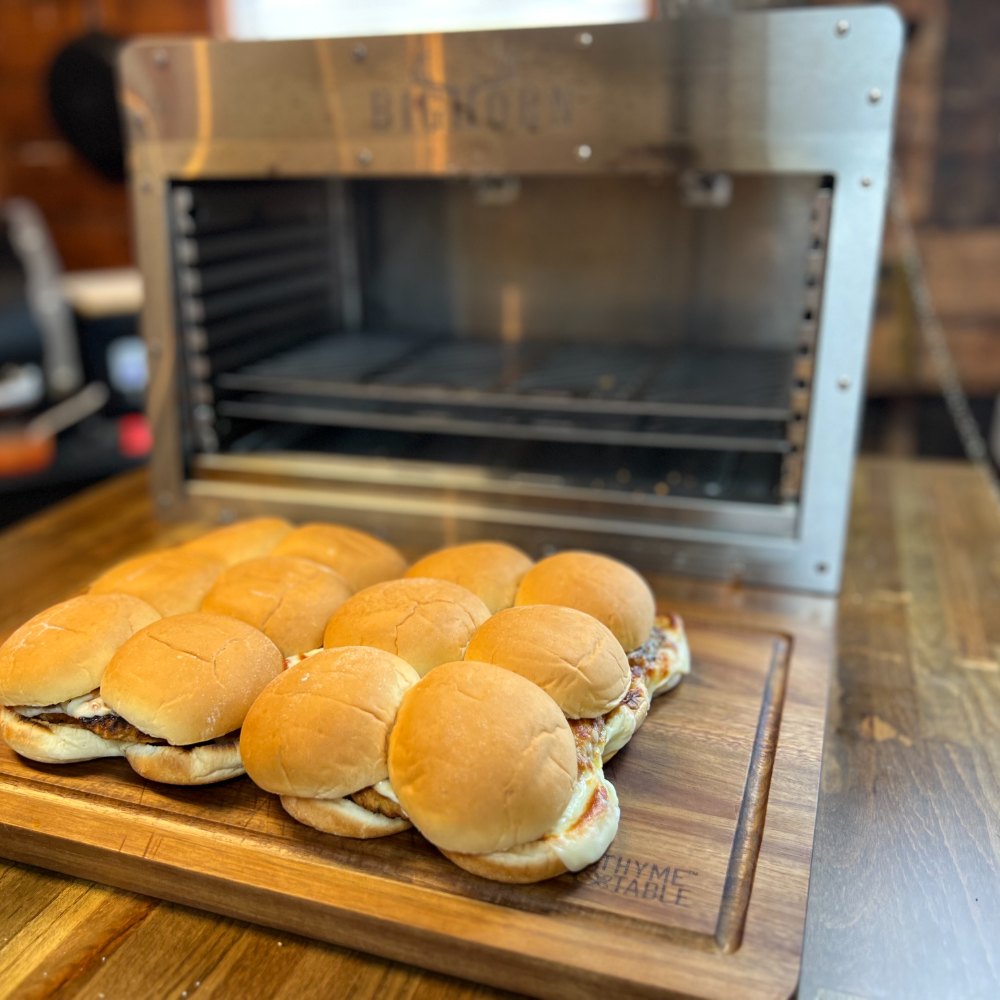
Whether you are hosting a lively tailgate party, a weekend family gathering, or just need a quick and satisfying snack for game day, these Grilled Chicken Parm Sliders are exactly what you need. Below is a complete guide to making this ultimate crowd-pleasing appetizer that will have everyone coming back for seconds.
|
Prep Time |
Cook Time |
Total Time |
Difficulty |
|
2 Minutes |
8 Minutes |
10 Minutes |
Super Easy |
Why These Sliders Are a Game-Day Winner
When it comes to party food, you want something that is delicious, easy to eat with your hands, and most importantly, quick to prepare. Nobody wants to spend their entire party stuck in the kitchen or hovering over a hot stove. That is where these incredible chicken parm sliders come in.
Taking only 10 minutes from start to finish, this recipe is a lifesaver for busy hosts. By utilizing frozen chicken cutlets, you skip the messy breading and frying process entirely. Throwing them on the grill not only saves time but also adds a fantastic smoky flavor that elevates the classic chicken parmesan profile. The combination of crispy chicken, rich tomato sauce, aromatic Italian seasoning, and gooey melted mozzarella cheese all packed into a soft, toasted slider bun is simply irresistible.
Your Simple Grocery List
You do not need a massive list of complicated ingredients to make a memorable dish. Here is everything you need to grab from the store:
- Frozen chicken cutlets: 5–6 pieces (These are the secret to keeping this recipe under 10 minutes!)
- Slider buns: 1 pack (Hawaiian sweet rolls or classic savory slider buns both work perfectly)
- Tomato sauce: Your favorite jarred marinara or pizza sauce
- Italian seasoning: A quick sprinkle adds that authentic pizzeria flavor
- Mozzarella cheese: Sliced or shredded, whichever melts best for you
Step-by-Step Grilling Instructions
Follow these simple steps to achieve slider perfection in just 10 minutes:
1. Grill the Chicken
Start by preheating your grill. Take your 5 to 6 frozen chicken cutlets and place them on the grill over low heat, specifically on the middle rack. Cook them for about 2 to 3 minutes per side. You want to ensure they reach a safe internal temperature of 165∘F165∘F. Once they hit that temperature, move them down to the lower rack to keep them warm and get a slight char.
2. Toast the Buns
While the chicken is finishing up, it is time to toast your slider buns. Place them face down on the grill. Pro tip: This only takes about 15 seconds, so do not walk away! You want a light, crispy toast, not burnt bread.
3. Build the Sliders
Now comes the fun part—assembly! Spread a generous layer of your favorite tomato sauce on the bottom buns. Add your perfectly grilled chicken cutlets right on top. Next, hit them with a sprinkle of Italian seasoning for that classic herbaceous kick. Layer on a little more sauce to keep things juicy, and finish it all off with a generous helping of mozzarella cheese.
4. The Final Melt
Place the assembled sliders back on the grill for about 30 seconds. You are just looking for that magical moment when the cheese is completely melted and starting to bubble and brown around the edges.
Serving Suggestions & Takeaways
Once the cheese is perfectly melted, carefully remove the sliders from the grill. Slice them up along the bun lines, serve them piping hot, and watch them disappear! These pair wonderfully with a side of extra warm marinara sauce for dipping, some crispy french fries, or a light side salad. Enjoy your stress-free, delicious party appetizer!
More to Read
 Red Wine Mushroom Gravy Beef Tips on Infrared Grill
Master steakhouse-quality beef tips at home! Marinated for flavor, seared fast on an infrared grill, and topped with a rich red wine mushroom gravy.
Red Wine Mushroom Gravy Beef Tips on Infrared Grill
Master steakhouse-quality beef tips at home! Marinated for flavor, seared fast on an infrared grill, and topped with a rich red wine mushroom gravy.
 Pro Tips: Grilling Thick-Cut Steak for Maximum Flavor
Master grilling thick-cut steaks at home. Learn essential prep, resting tips, and how to use 1500℉ infrared heat for a flawless, restaurant-quality...
Pro Tips: Grilling Thick-Cut Steak for Maximum Flavor
Master grilling thick-cut steaks at home. Learn essential prep, resting tips, and how to use 1500℉ infrared heat for a flawless, restaurant-quality...
 How to Make a Smash Burger on an Infrared Grill
Standard grills ruin beef by losing flavor. Use a cast iron plate on an infrared grill to lock in moisture and make the perfect smash burger crispy...
How to Make a Smash Burger on an Infrared Grill
Standard grills ruin beef by losing flavor. Use a cast iron plate on an infrared grill to lock in moisture and make the perfect smash burger crispy...