How Long Does a Pellet Pizza Oven Take to Heat Up? (And How to Stop Wasting Time)
ByLiuWill
A pellet pizza oven is ready when the fire is stable and the baking surface has reached the condition required for your dough—not when a fixed timer expires. Big Horn’s listed preheat for its 12-inch pellet model is 18–20 minutes under suitable conditions. Use that as a model-specific starting reference, then check fuel, airflow and stone readiness before launching.
A pellet pizza oven is ready when the fire is stable and the baking surface has reached the condition required for your dough—not when a fixed timer expires. Big Horn’s listed preheat for its 12-inch pellet model is 18–20 minutes under suitable conditions. Use that as a model-specific starting reference, then check fuel, airflow and stone readiness before launching.
Match the model number and fuel mode to the instructions in your box. A pellet tray, a gravity-fed hopper and a converted gas burner need different procedures. Do not copy a competitor’s hopper-filling sequence into a differently designed oven. The 12-inch and 16-inch Big Horn listings also have different stated preheat and capacity information.
Before lighting, make sure assembly is complete, packing has been removed and the cooking surface is dry and correctly seated. Keep the oven in its approved outdoor location. CPSC’s camping-equipment guidance explains why a garage, tent or vehicle is not an alternative location for fuel-burning equipment.
Pass three separate readiness checks
Ignition, sustained combustion and baking readiness are different stages. Watching a flame tells you the fire has started; it does not tell you that the stone can supply enough heat to the dough.
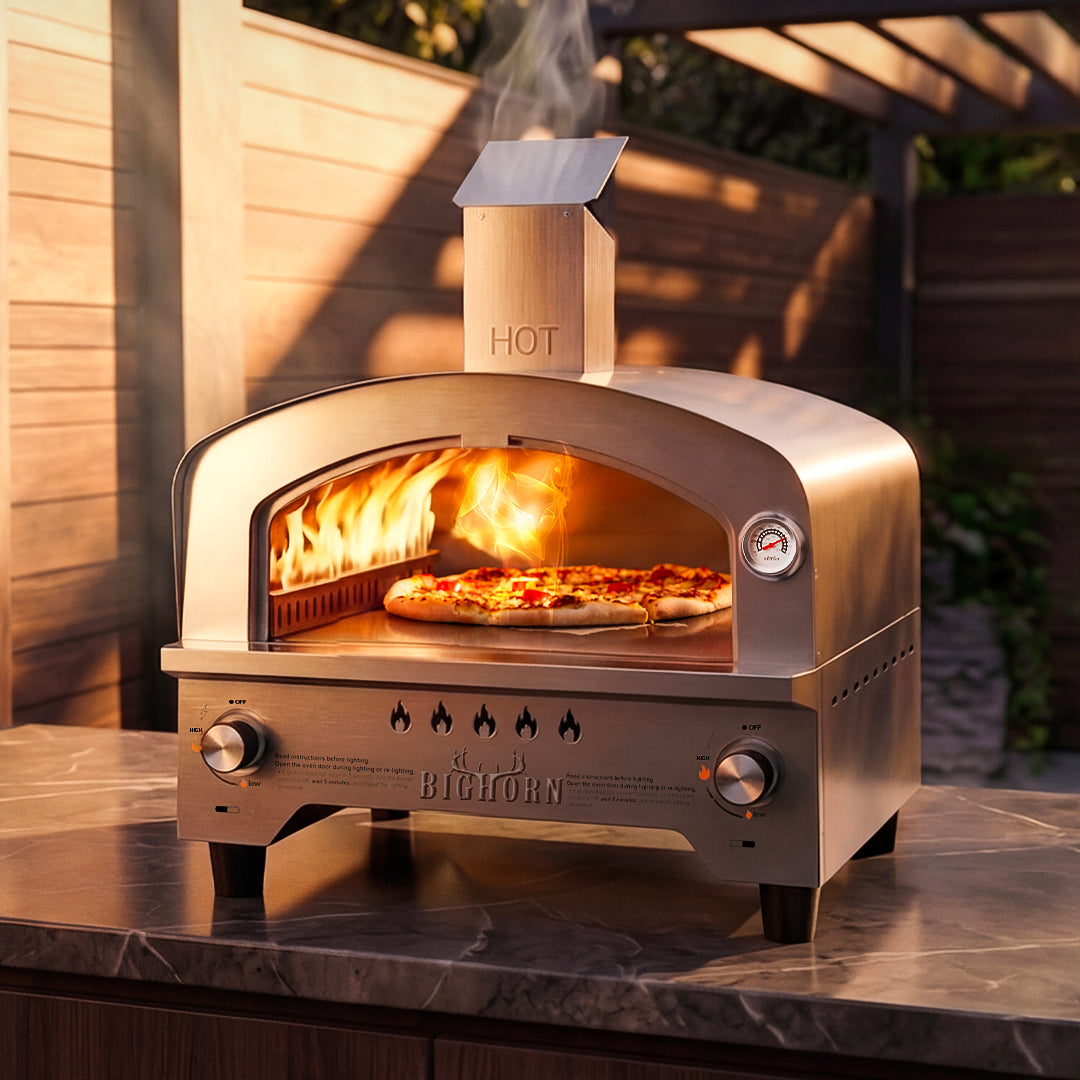
12" Wood Pellet Pizza Oven, Compatible with Gas Burner and Electric Heater Accessories (Sold Separately)
Stage
Evidence to look for
If it is not ready
Ignition
The approved starter has lit the intended fuel without an accumulated pile of unburned fuel
Follow the manual’s failed-ignition procedure; do not add liquid accelerants.
Stable fire
Fuel burns consistently and the specified air and exhaust paths are clear
Check allowed pellet condition, ash and feeding practice after following safe handling instructions.
Baking surface ready
The prescribed preheat is complete and a suitable surface check matches the recipe
Wait and recheck; do not substitute a brief flame burst for surface heating.
Use only the fuel and starter types approved for that oven. Pellets sold for room heating are not automatically suitable for cooking. Store cooking pellets dry and protected from contamination. Feed according to the model’s capacity and method rather than adding large handfuls because the fire looks small.
Why the temperature display is not the whole answer
A chamber thermometer reports its own location. The stone has mass and heats over time, then loses heat when cold dough is loaded. The distinction between surface heat and surrounding heat is why a good-looking flame can coexist with a pale pizza base.
An infrared thermometer with the correct range can help compare the same points on the baking surface. Follow the tool’s distance-to-spot instructions and the oven’s guidance. Do not check readiness with your hand near the opening, or treat how fast loose flour burns as a calibrated temperature test.
Troubleshoot a slow preheat in a useful order
Start with what changed: damp or crumbling pellets, a cold or wet oven, blocked airflow, strong wind, excessive ash or overfeeding. Changing fuel load repeatedly without checking those conditions can turn a small problem into more smoke and less stable heat.
Symptom
Likely checks
Controlled next step
Heavy smoke and weak flame
Damp fuel, too much unburned fuel, obstructed air path
Stop adding fuel; follow the safe shutdown and inspection procedure.
Flame is lively but base stays pale
Stone preheat and the time between pizzas
Allow the surface to recover and compare the next bake.
Temperature falls between bakes
Fuel rhythm, wind and recovery time
Restore a stable burn before launching again.
Repeated failure to light
Approved starter, fuel and installation
Let the appliance reach the safe condition required by its instructions before retrying.
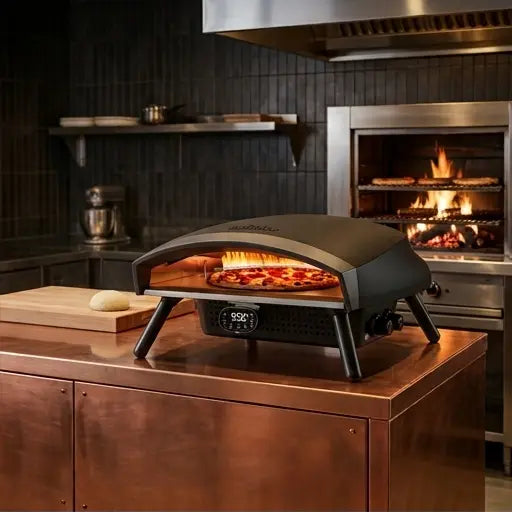
15" Dual Burner Gas Pizza Oven
Build your own repeatable preheat record
For a first successful session, note the exact model, weather, fuel condition, lighting method, elapsed time and surface reading at launch. Record the first base color and the interval before the second pizza. This is more transferable to your next cook than a single claim that every oven should be hot in 15 minutes.
If the same setup takes longer on a windy or colder day, compare conditions before assuming a faulty oven. If the appliance repeatedly behaves outside its instructions, stop and contact support rather than modifying the air openings or fuel system. For assembly and first-use checks, see the first-time setup guide.
Plan the first pizza before lighting
Have a simple dough and modest toppings ready, but keep them off the launching peel until the surface is ready. Use the dough recipe for a reproducible batch. A practice session with one or two pizzas is a better way to learn fuel rhythm than making the first attempt during a large party.
At the end, follow the oven’s extinguishing and complete-cooldown procedure. Do not pack hot fuel, ash or stone, and do not pour water onto a hot baking surface to hurry the process. Good preheat habits and good shutdown habits belong to the same cooking routine.
Frequently asked questions
How long should a Big Horn pellet oven preheat?
The current 12-inch listing gives 18–20 minutes under suitable conditions. Other models and conditions differ. Follow the exact manual and check the baking surface rather than applying one time to every oven.
Why does it smoke but not get hot?
Check the approved fuel, dryness, ash, airflow and whether the firebox has been overloaded. Do not keep adding pellets to an unsuccessful burn. Shut down and inspect only as directed.
Can I test the heat with flour or my hand?
Neither is a calibrated temperature measurement. Keep hands clear of the hot opening and use the model’s preheat guidance and an appropriately rated measuring tool.
Embark on a culinary adventure with us. Receive exclusive recipes, expert tips, and special offers tailored for outdoor cooking enthusiasts. Unsubscribe anytime—no hard feelings :)