

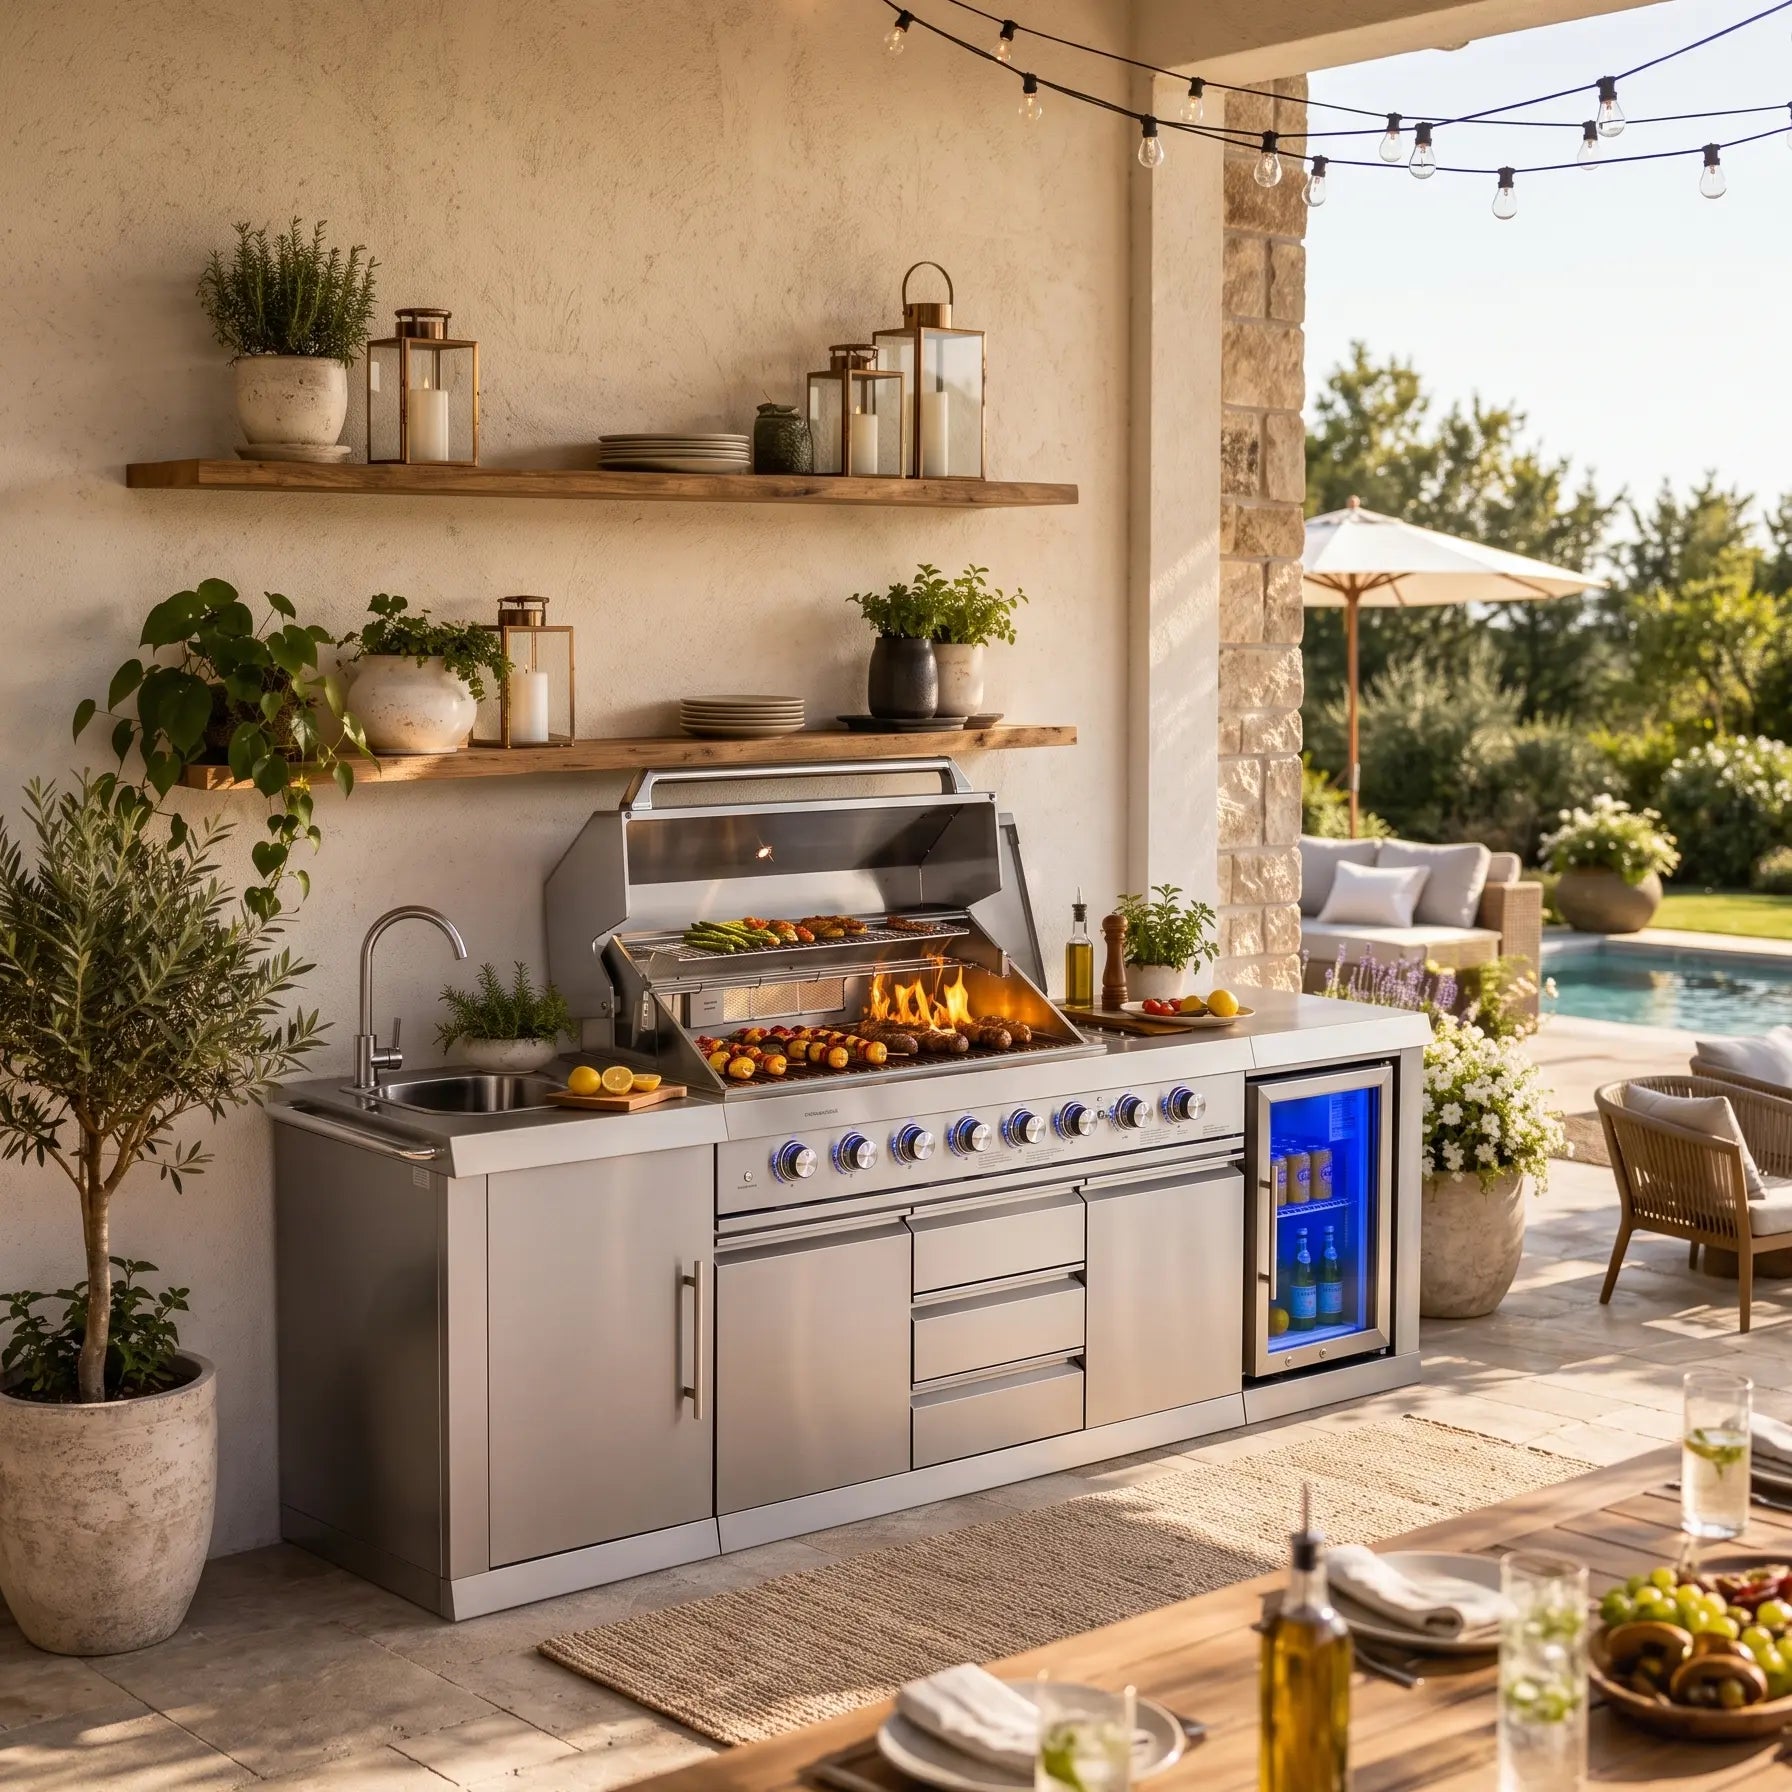
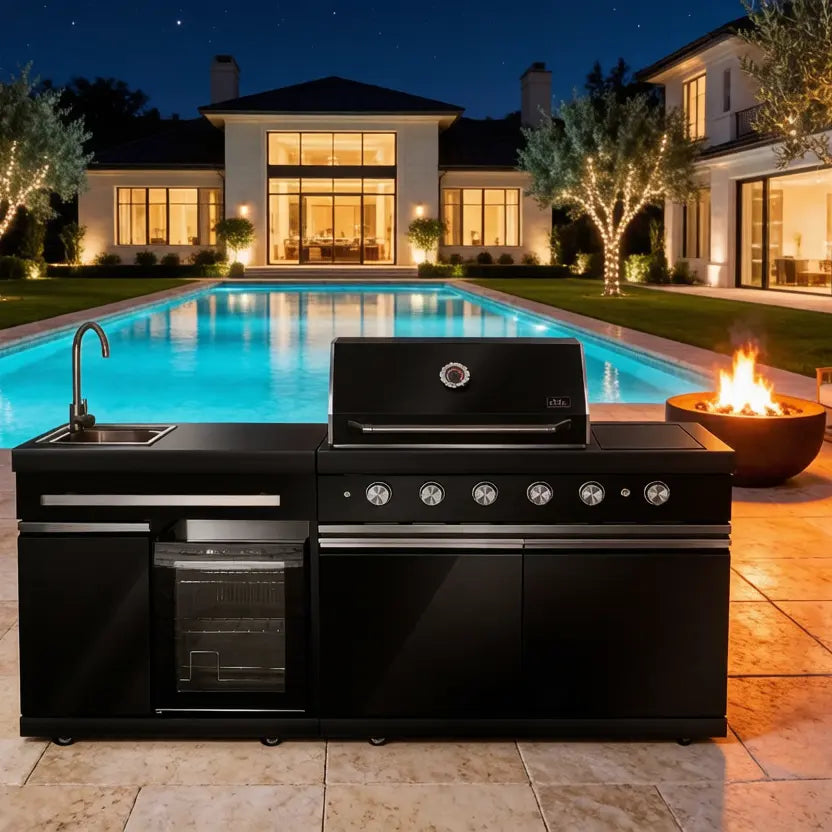
Night cooking needs more than decorative brightness. Build separate layers for food preparation, cooking controls, hot-item landing, cleanup, and safe movement; then test them from the user's eye position for shadows, glare, reflections, color recognition, weather exposure, and spill beyond the kitchen.

Define what users must see
List visual tasks before selecting fixtures: reading a thermometer, checking burner controls, distinguishing raw from cooked landing zones, seeing knife edges and small bones, spotting a spill, aligning a tray, washing hands, finding a shutoff, opening storage, and walking between the house and kitchen. Each task has a different target plane and viewing direction.
A bright ceiling fixture can still leave the counter dark when the cook stands between it and the work. A glowing decorative strip may photograph well but hide surface texture. Map tasks on the same plan used for countertop landing space and traffic flow.
Build four useful lighting layers
| Layer | Primary job | Failure to prevent |
|---|---|---|
| Task | Reveal food, tools, prep surfaces, sink, and landing areas | Hands or body create a hard shadow over the work |
| Equipment | Show knobs, displays, thermometers, igniters, and service controls | Brightness hides markings or reflects from steel |
| Circulation | Define aisles, edges, steps, thresholds, and changes in level | Hot platters move through dark transitions |
| Ambient | Provide comfortable orientation and dining atmosphere | Decorative light competes with task vision or spills off-site |
Keep these layers separately controllable. The cook may need clear task light while diners want low ambient light. Cleanup often needs a brighter, wider scene than serving. Separation also makes it easier to turn unnecessary light off without darkening steps or exits.
Locate task light to control shadows
Draw the line from each proposed fixture to the work surface, then place a person at every expected position. If the head, shoulder, lid, shelf, hood, open door, or raised utensil blocks that line, change the fixture position or add cross-lighting. Broad overlapping light usually produces more usable visibility than one intense point source.
Illuminate both sides of a primary work area where practical, but shield sources from normal sight lines. Keep mounting hardware and wiring outside manufacturer-defined hot zones and appliance lid paths. Coordinate exact clearances through the appliance spacing guide; never attach an unapproved light to a hot appliance or ventilation component.
Manage glare, reflections, and adaptation
Glare can come directly from an exposed lamp or indirectly from polished stainless steel, glossy stone, glass, water, and light-colored walls. A source that feels comfortable while standing may be painful for a seated diner. Check every fixture from cooking, serving, dining, and approach viewpoints. Use shielding, careful aiming, diffuse optics, lower mounting brightness, and dimming instead of simply adding output.
Eyes adapt slowly when moving between very bright and very dark zones. Avoid a brilliant island surrounded by invisible steps. Create a gradual transition along the route from the house and maintain enough low-level orientation light after task fixtures switch off. The National Park Service outdoor-lighting guidance explains shielding, appropriate levels, and warmer light in the context of protecting night environments.
Choose color qualities by testing real food and finishes
Correlated color temperature describes the apparent warmth or coolness of white light; it does not alone predict color rendering, glare, visibility, or quality. Color-rendering specifications can help compare products, but a single score cannot guarantee that meat, vegetables, sauces, labels, and skin tones look natural in the finished kitchen.
Obtain samples and test them at night against the actual countertop, backsplash, stainless steel, cookware, and representative food. Compare dimmed and full output, and look for color shift or flicker across settings. Remember that visual appearance is not a food-safety test: use appropriate cooking procedures and a food thermometer. See the USDA safe temperature chart.
Specify equipment for the real environment
Classify each location for rain, wind-driven moisture, condensation, washdown, grease, smoke, insects, dust, heat, impact, salt air, and freezing conditions. A roof does not automatically make every point dry. The complete assembly—fixture, driver, box, connectors, controls, seals, fasteners, and wiring method—must suit its exposure and remain serviceable.
Product labels and listing instructions matter more than a marketing phrase such as “outdoor style.” Do not place a driver in a sealed cabinet that exceeds its temperature limits, bury connections behind permanent stone, or direct wash water at electrical equipment. The Electrical Safety Foundation International outdoor guidance summarizes common outdoor precautions.

Coordinate power, controls, and failure behavior
Prepare a lighting schedule for the electrician: fixture identifier, load, voltage, driver, control method, dimming compatibility, mounting reference, environmental rating, circuit, and access method. Include task lighting in the broader outdoor kitchen electrical plan. Verify that controls and drivers are compatible rather than assuming every LED can dim smoothly.
Place manual controls where users can find them before entering a dark cooking zone. A photocell can handle dusk-to-dawn behavior, an astronomical timer can follow calculated sunset times, and an occupancy sensor can respond to movement. None knows whether raw food is on a cutting board. Cooking task lights need predictable user control, and steps should not go dark while someone stands still.
Limit light trespass and unnecessary runtime
Aim light down and confine it to the task. Check property boundaries, neighboring windows, upper floors, and the sky, not just the kitchen. More output can reduce comfort through glare while wasting energy and disrupting the nighttime setting. Local ordinances, homeowner-association rules, and environmental requirements may set additional limits.
Use zones and the lowest effective setting. Turn task and decorative layers off when the kitchen closes; retain only justified safety or security lighting. The DarkSky responsible-lighting principles emphasize usefulness, direction, low levels, control, and appropriate color, while the U.S. Department of Energy explains efficient lighting choices.
Prototype the design after dark
Paper plans cannot fully predict shadows and reflections. Before permanent finish work, mock up fixture positions with safe temporary supports and equipment intended for testing. Do not improvise permanent outdoor wiring or place indoor electrical products in wet conditions. Use a qualified professional where temporary power presents risk.
- Set the scene: place appliances, shelves, lids, seating, and representative finishes.
- Test each task: prep, read controls, carry a platter, wash, clean, and exit.
- Change body positions: include cooks of different heights and left- or right-handed work.
- Open moving parts: raise lids and open doors, drawers, and cabinets.
- Check viewpoints: stand and sit at the grill, dining area, house, approach, and boundary.
- Dim and switch zones: confirm useful scenes for cooking, dining, cleanup, and closure.
- Record decisions: photograph aiming, mark mounting references, and update the fixture schedule.
Commission with observable tests
After installation, repeat the full mockup at night. Verify that the cook does not shadow primary surfaces; controls and thermometer displays are readable; red, brown, green, and neutral samples remain distinguishable; steps and level changes are visible; glare is acceptable at every seat; and no light shines into neighboring windows. Confirm that lids, doors, and service panels clear fixtures.
Test every switch, dimmer, photocell, timer, occupancy sensor, protective device, and manual override. Observe cold start and low-dim behavior. Have the electrician correct flicker, nuisance operation, overheating, water entry, damaged seals, or unexplained trips. Retain circuit labels, manuals, settings, aiming notes, and warranty details.
Create a one-page scene schedule showing which zones operate for preparation, active cooking, dining, cleanup, and closing. Give every fixture and control a matching identifier on the plan and panel records. Photograph final beam aiming at night and note the tested dimmer settings. If a fixture is replaced later, this record helps the owner restore the intended distribution instead of matching appearance alone.
Maintain light output without unsafe shortcuts
Grease, smoke, dust, insects, mineral residue, and plant growth can reduce useful light or change beam direction. With power safely isolated and components cool, follow manufacturer instructions for cleaning lenses, inspecting seals and fasteners, clearing vegetation, and replacing approved parts. Do not open sealed assemblies or use solvents unless permitted.
Recheck aiming after storms, maintenance, furniture changes, or a new appliance. Stop using a fixture with water inside, damaged insulation, cracked housing, corrosion affecting integrity, persistent flicker, unusual heat, or a tripping circuit. Electrical repairs belong to qualified professionals. OSHA's electrical safety topic provides broader hazard context.
Common lighting mistakes
- Choosing fixtures before mapping visual tasks
- Using one overhead source that the cook blocks
- Equating high brightness with good visibility
- Ignoring reflections from steel, stone, glass, or water
- Placing lights in lid paths or appliance heat zones
- Specifying an outdoor fixture without checking the full assembly
- Combining all layers on one switch
- Using automatic controls with no predictable task override
- Testing by day instead of after dark
- Aiming light beyond the work area or property
Frequently asked questions
What kind of outdoor light automatically turns on at night?
A fixture or control with a dusk-to-dawn photocell can respond to ambient light; an astronomical timer can follow calculated sunset and sunrise, while an occupancy sensor responds to movement. Choose the control by task, test its field of view, and provide manual task-light control for cooking.
What kind of kitchen lights are best for a dark outdoor kitchen?
Use shielded, weather-suitable fixtures in layers: focused task light for food and tools, clear light for controls and thermometers, low-level light for paths and steps, and dimmable ambient light. Test color recognition, shadows, glare, reflections, and the cook's body position before final installation.
What are creative outdoor lighting ideas for a patio kitchen?
Useful ideas include concealed under-shelf task lighting, shielded downlights, low-level step markers, softly lit storage, and separate dimmable dining light. Creativity should support the task and architecture without aiming light at guests, neighbors, the sky, or heat-sensitive locations.
Should outdoor kitchen lights be left on all night?
Usually task and ambient lights do not need to remain on after the area closes. Use zoning, timers, photocells, or occupancy controls to provide only the light needed for security and movement, subject to local requirements. Avoid excessive brightness, glare, energy waste, and spill light.
Match lighting to the final equipment plan
Finalize fixtures only after equipment geometry and service access are known. Explore the Big Horn Prime collection, browse outdoor-kitchen options, or return to Big Horn Outdoors. Exact product instructions and approved project documents control installation.
Explore more in the Outdoor Kitchen Guides.