Plan an Outdoor Kitchen Island Before Delivery Day
An outdoor kitchen island is closer to a small home-improvement project than a portable grill
purchase. The final result depends on the appliance, foundation, delivery route, propane supply,
water, drainage, electrical service, ventilation, weather exposure, and circulation around the
cooking area. Resolve these requirements before ordering so the selected island can be delivered,
connected, operated, cleaned, and serviced at the intended location.
Footprint and Clearance Audit
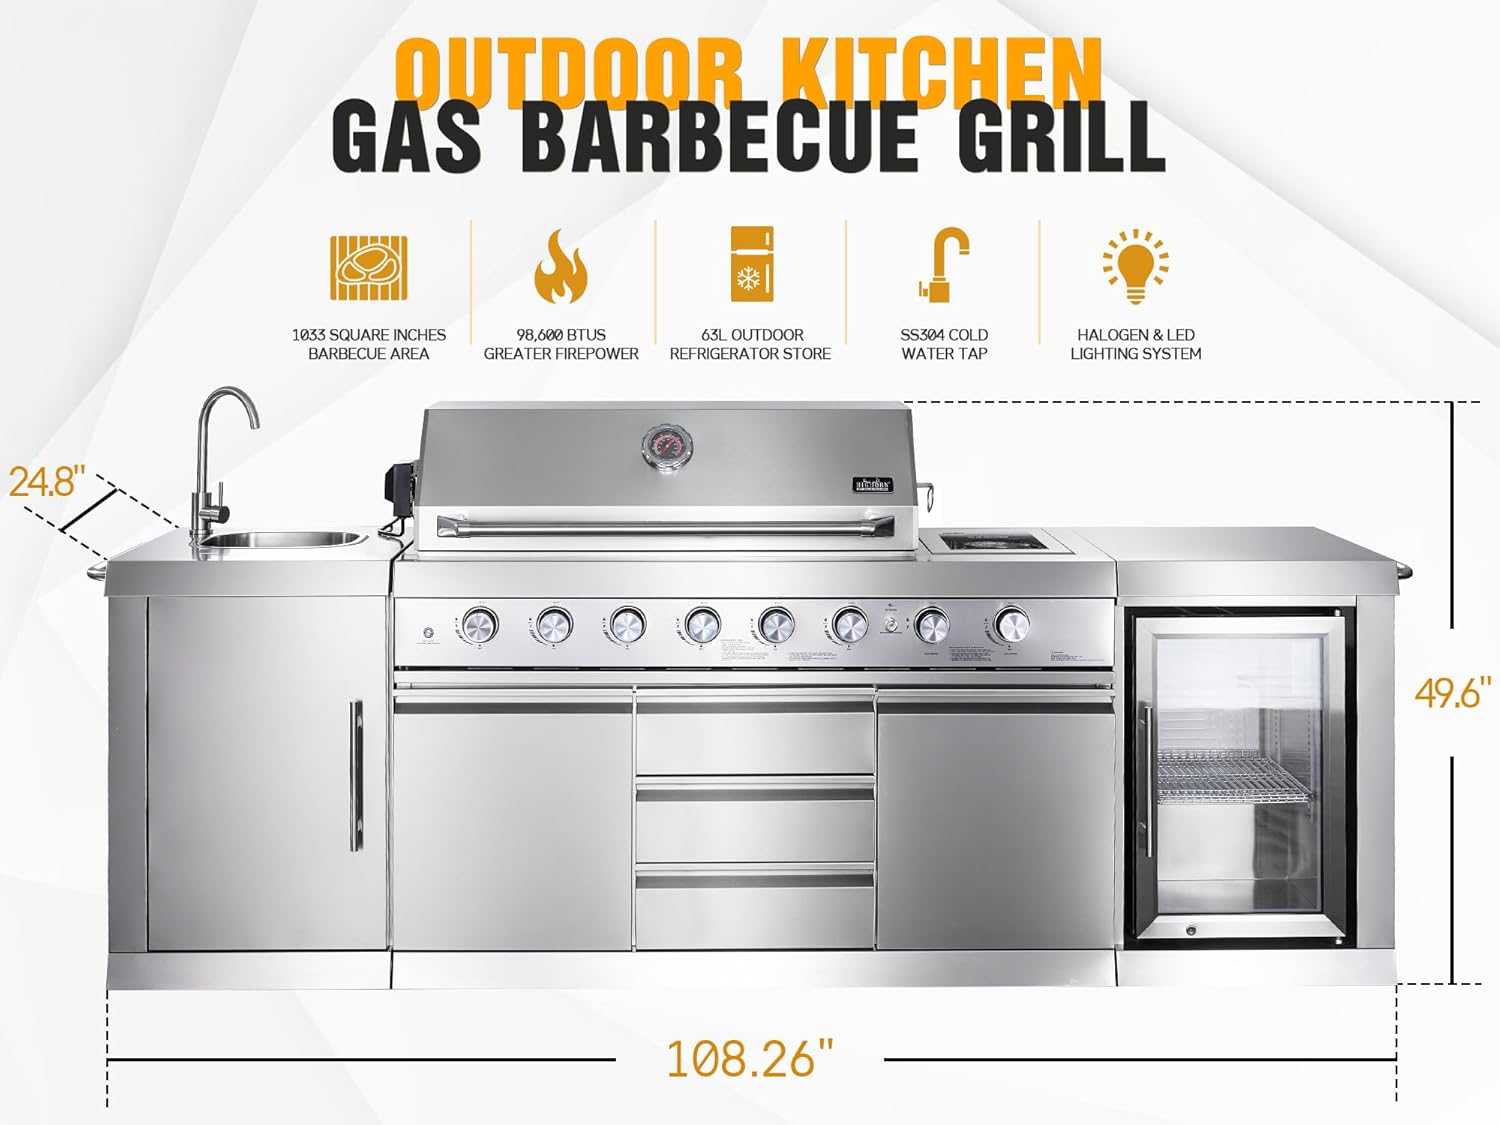
Record the complete island dimensions, then add space for the open grill lid, doors, drawers,
utility access, cooking aisles, and guests. Check overhead coverings, nearby walls, windows,
fences, vegetation, and combustible surfaces against the required clearances.
Delivery-Route Audit
Measure gates, doors, turns, steps, slopes, and narrow side yards from the delivery point to
the patio. Confirm how the product arrives, what equipment may be needed, and whether the
route and final surface can safely accommodate its size and weight.
Utility Audit
Identify the specified propane connection, water supply, drainage method, and electrical
service for refrigeration, lighting, and the rotisserie motor. Plan accessible shutoffs and
service points, using licensed trades where codes or conditions require them.
Climate and Maintenance Audit
Consider rain, snow, freezing temperatures, salt air, wind, sun, and seasonal shutdown.
Stainless steel still needs cleaning and protection, while plumbing and refrigeration may
require specific winter or off-season procedures.
Create a Scaled Patio Layout
Draw the island, utility locations, dining furniture, doors, steps, and major circulation paths
to scale. Keep the cook out of the main route between the house, seating, and yard. The grill lid,
refrigerator, storage, and trash compartment should open without blocking each other or forcing
guests into the hot zone.
Plan Utilities as One Coordinated System
- Propane: Use only the connection and regulator arrangement specified for the exact model, with accessible shutoff and inspection points.
- Electricity: Confirm the required rating and suitable outdoor protection for the refrigerator, lights, and rotisserie motor.
- Water: Choose an approved supply method and materials for the local climate and water conditions.
- Drainage: Determine where sink water may legally and safely discharge; do not assume any patio drain is suitable.
- Service access: Avoid permanently blocking valves, plugs, drains, refrigerator ventilation, grease trays, or replaceable components.
Choose Capacity from Normal Use
Occasional large parties can make the biggest island look automatically preferable, but most
owners benefit from sizing around routine meals. Estimate the number of foods you cook at once,
the heat zones required, and how often you expect to use the rotisserie, infrared burner, or
charcoal option. The 4+2 island may be more efficient for regular family meals, while the 6+2
island better supports frequent large gatherings and varied menus.
Prepare for Delivery and Connection
- Confirm the exact model, dimensions, included parts, delivery method, and assembly requirements.
- Finish the stable, level foundation and verify clearances before the delivery appointment.
- Clear and measure the full delivery route, including every gate, turn, and elevation change.
- Coordinate qualified utility work without making unauthorized product modifications.
- Inspect the shipment and retain packaging, documents, and model information until setup is verified.
- Complete connection, leak checks, appliance tests, and initial cleaning according to the instructions.
Protect Performance After Installation
Clean grates and grease-management components regularly, wipe stainless steel with suitable
products and with the grain, keep refrigerator ventilation clear, and inspect plumbing and fuel
connections. Use the fitted cover only after the grill is fully cool. Follow the manual for storm
preparation, freezing weather, prolonged storage, and seasonal restart.
Review the Exact System and Related Cooking Options
Compare the two island models only after the site plan is realistic. If a permanent installation
is more than the patio or utilities can support, a portable grill or modular outdoor cooking setup
may be the more practical choice.
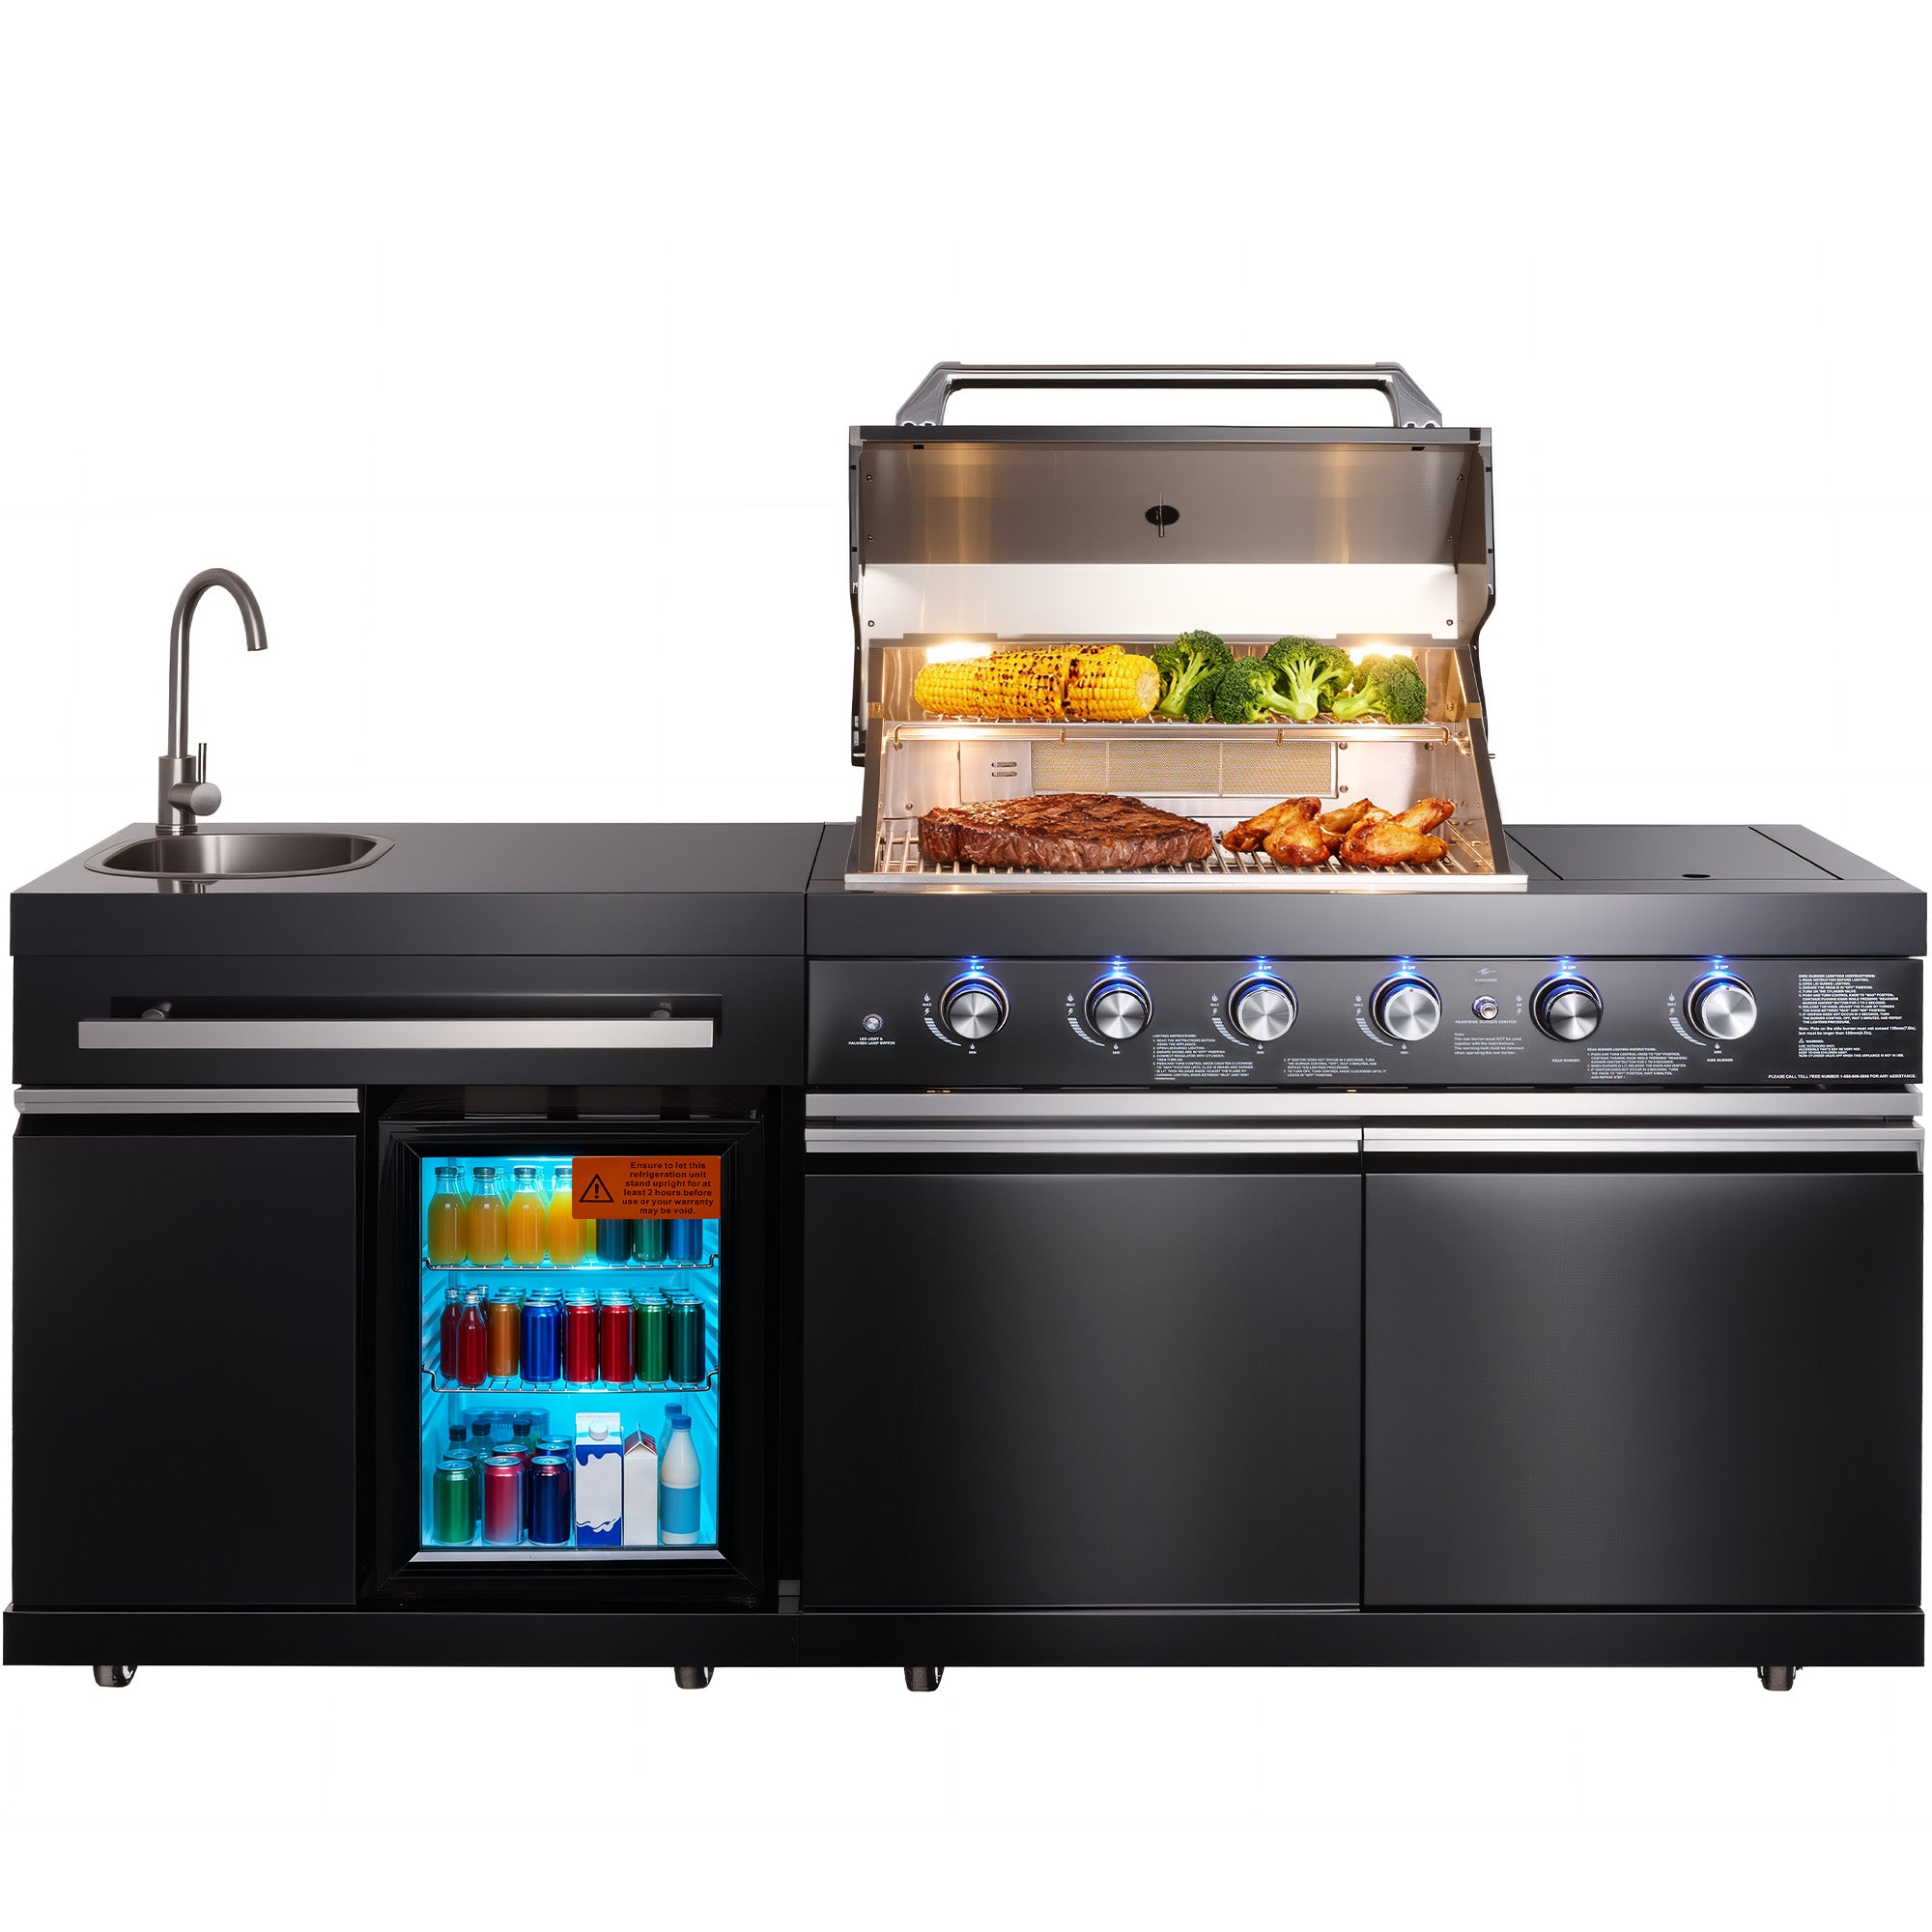
4+2 Burner Kitchen Island
Review the complete black outdoor kitchen system with 750 sq. in. of cooking space.
View the 4+2 island
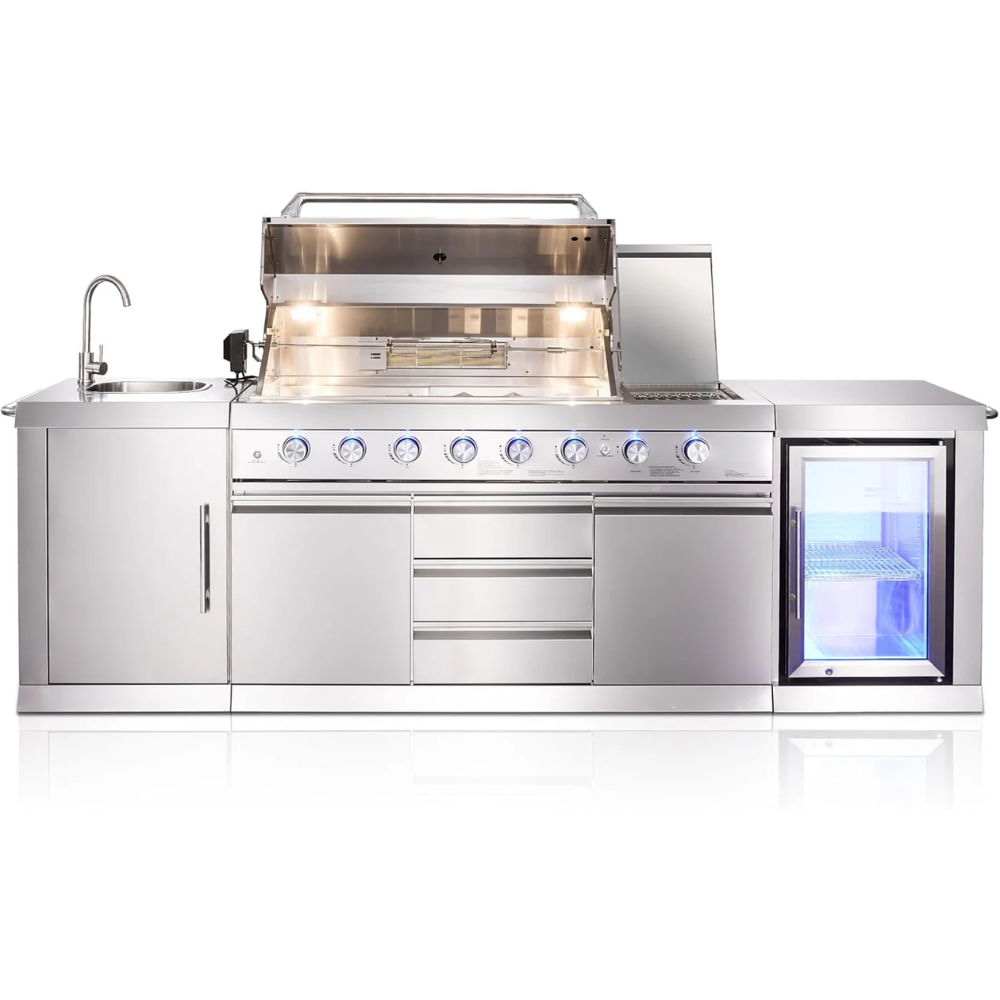
6+2 Burner Kitchen Island
Explore the larger 1,033 sq. in. system for greater cooking and entertaining capacity.
View the 6+2 island
Outdoor Kitchen Islands
Return to the collection to compare current configurations and availability.
Shop outdoor kitchen islands
Grills & Griddles
Compare portable and standalone outdoor cooking formats before committing to an island.
Explore grills and griddles
Infrared Steak Grills
Review focused high-heat searing equipment for a smaller outdoor cooking station.
Explore infrared grills
Big Horn Prime
Explore larger outdoor cooking and entertaining systems from the Prime Series.
Explore Big Horn Prime
Measure the Project, Not Only the Product
The right outdoor kitchen island must fit the foundation, delivery route, clearances, utilities,
normal cooking capacity, and long-term maintenance plan. Resolve those six areas before checkout,
then select the burner configuration that supports how you actually cook outdoors.