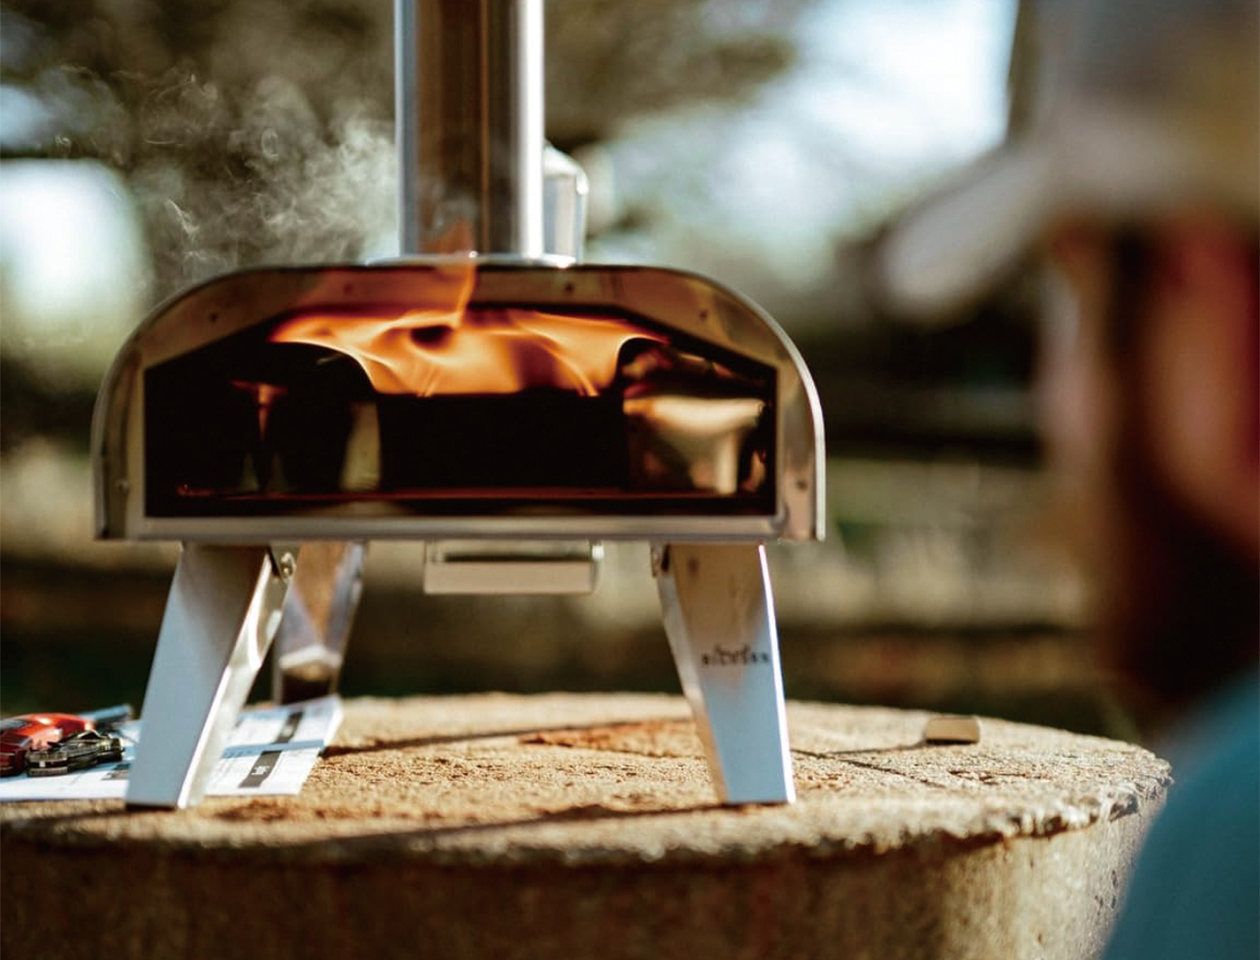
Perfectly crafted for high-heat outdoor ovens.
Flour, water, salt, and yeast — just four humble ingredients. Yet when combined with care and heat, they transform into something extraordinary: the foundation of a truly great pizza. This is the magic behind the Big Horn® Outdoors® Signature Dough, a go-to recipe designed specifically for high-temperature outdoor pizza ovens.
Whether you're firing up for a spontaneous weeknight pizza or preparing multiple dough balls for a backyard gathering, this recipe delivers a soft, chewy interior, a crispy outer crust, and that unmistakable aroma of freshly baked artisan bread. It’s more than just dough — it’s the canvas for whatever flavor journey you choose, from classic margherita to bold BBQ steak or roasted veggies.
So roll up your sleeves, fire up your oven, and let Big Horn® help you craft unforgettable pizza moments — right from your own backyard.
4 Doughs Recipe:
| Ingredient | Amount |
| “00” Flour | 4½ cups + 4 tbsp (560 grams)
plus more for dusting
|
|
Lukewarm Water
|
1⅓ cups + 4 tbsp (360 grams) |
| Fine Sea Salt | 4 tsp (20 grams) |
| Active Dry Yeast | 2 tsp (6 grams) |
| Fresh Yeast (Alternative) | 1 tbsp (10 grams) |
💡 For multiple pizzas, simply multiply all ingredients by the number of dough balls needed.
Instructions:
1. Activate the Yeast (if using active dry yeast)
In a mixing bowl, add the lukewarm water (not hot!) and yeast. Stir gently and let it sit for 5–10 minutes until foamy.
Skip this step if using instant yeast.

2. Mix the Dough
In a separate bowl, whisk together the flour and salt. Gradually add the dry ingredients into the water-yeast mixture.

By Hand:
Stir with a spoon until a shaggy dough forms, then knead on a floured surface for 10 minutes until elastic.

With Stand Mixer:
Use a dough hook on low speed for 5–8 minutes, until the dough becomes smooth and springs back when pressed.
3. Rest (First Proof – 30 mins
Cover the bowl with a damp towel or plastic wrap. Let the dough rest at room temperature for 30 mins.

4. Strengthen the Dough (Stretch & Fold)
After resting, fold and stretch the dough 3–4 times (or gently knead again) to develop more gluten. Let rest again for 1 hour, covered.
If you used a stand mixer, this second kneading is optional.

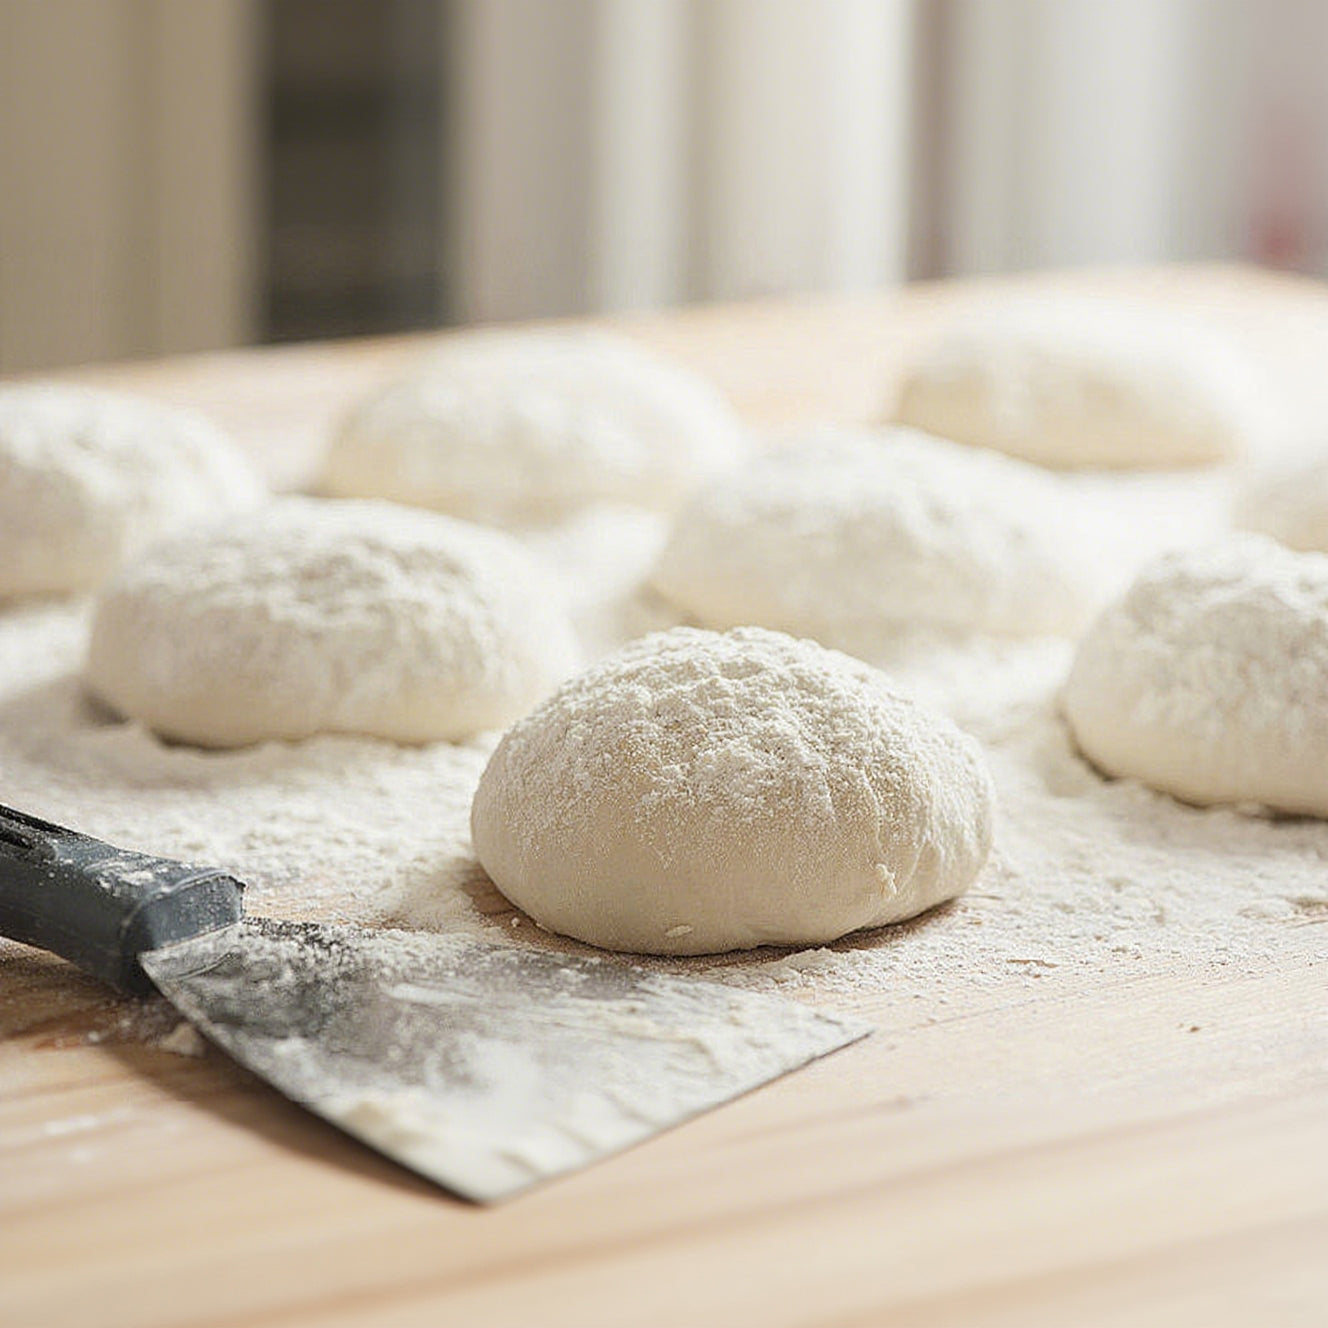
5. Divide and Shape Dough Balls
By now, the dough should be roughly doubled in size. Portion it into individual dough balls—each weighing about 230g (8 oz).
Shape each into a tight ball by pulling the edges underneath and pinching closed. Place seam-side down in a container or tray.

6. Choose Your Proofing Method
Option A – Same Day (Room Temp):
Let dough balls rise at room temperature for 1 to 1½ hours, until soft, puffy, and relaxed. Great for quick pizza nights.

Option B – Slow Ferment (Cold Proof):
Refrigerate dough balls in covered containers for 12–24 hours. Bring to room temp for 1 hour before stretching.
Best for improved flavor and texture.

7. Stretch & Top
Dust your surface lightly with flour. Flatten a dough ball gently with your fingertips, then stretch from the center outward into a 10–12 inch round. Let gravity help by lifting and turning the dough by the edge.
Place on a floured pizza peel. Add your favorite sauce, cheese, and toppings.


8. Bake & Enjoy
Launch into a fully preheated outdoor pizza oven (aim for 660°F / 350°C or higher). Bake for 60–90 seconds, rotating every 20–30 seconds for an even, blistered crust.
Remove, slice, and enjoy authentic, fire-kissed pizza right in your backyard.


More to Read
 Red Wine Mushroom Gravy Beef Tips on Infrared Grill
Master steakhouse-quality beef tips at home! Marinated for flavor, seared fast on an infrared grill, and topped with a rich red wine mushroom gravy.
Red Wine Mushroom Gravy Beef Tips on Infrared Grill
Master steakhouse-quality beef tips at home! Marinated for flavor, seared fast on an infrared grill, and topped with a rich red wine mushroom gravy.
 Pro Tips: Grilling Thick-Cut Steak for Maximum Flavor
Master grilling thick-cut steaks at home. Learn essential prep, resting tips, and how to use 1500℉ infrared heat for a flawless, restaurant-quality...
Pro Tips: Grilling Thick-Cut Steak for Maximum Flavor
Master grilling thick-cut steaks at home. Learn essential prep, resting tips, and how to use 1500℉ infrared heat for a flawless, restaurant-quality...
 How to Make a Smash Burger on an Infrared Grill
Standard grills ruin beef by losing flavor. Use a cast iron plate on an infrared grill to lock in moisture and make the perfect smash burger crispy...
How to Make a Smash Burger on an Infrared Grill
Standard grills ruin beef by losing flavor. Use a cast iron plate on an infrared grill to lock in moisture and make the perfect smash burger crispy...