You bite into your grilled chicken thigh, expecting juicy perfection. Instead, you get dry, rubbery meat that's hard to chew. This happens to everyone, but it doesn't have to. Chicken thighs are naturally forgiving thanks to their fat content. The gap between mediocre and restaurant-quality isn't luck or gear. It's knowing a few techniques that transform ordinary thighs into the juicy, crispy chicken you've been craving.
Before You Grill: How to Choose the Right Chicken
Bone-in vs. Boneless: Which Chicken Thigh is Best?
Bone-in, Skin-on Thighs
These thighs are the best for grilling. The bone keeps the meat moist and adds deep flavor. The skin turns into a tasty golden crust and keeps the meat from direct heat during cooking. It takes about 25 to 30 minutes to cook these thighs, but the taste and moisture are worth it.
Boneless, Skinless Thighs
These cook quickly (10-15 minutes) and are convenient for meal prep or stir-fries. Without the protective skin and insulating bone, they dry out faster and require careful attention to avoid overcooking. While easier to eat, they lack the rich flavor and crispy texture that make grilled chicken memorable.
The Verdict: For grilling, bone-in, skin-on thighs deliver juicier, more flavorful results. Save boneless, skinless cuts for quick weeknight stir-fries.
What to Look for When Shopping
- Color: Choose pinkish-rosy meat, not gray
- Skin: Should be creamy white or yellow, not discolored
- Package condition: Avoid packages with excess liquid pooling at the bottom
- Size consistency: Pick thighs of similar size for even cooking
Before You Grill: How to Prep for Maximum Juiciness

A little prep work makes a huge difference. Choose based on what matters most to you.
Method 1: Brining (The Juice Bomb)
The most effective technique is brining: soaking meat in saltwater for one to two hours. Salt changes the protein structure, allowing cells to hold onto water like a sponge. Even under high heat, the water stays inside, preventing the meat from drying out. The single best way to guarantee juicy results.
Method 2: Under-Skin Butter (The Flavor Boost)
Slide a mixture of softened butter and garlic between the skin and the meat. As the chicken grills, the butter melts into the meat, basting it from the inside out and adding richness you can't get any other way. Works especially well combined with a light salting.
Method 3: Marinades (For Taste)
Marinades add flavor by soaking chicken in a mixture of acid (such as vinegar or lemon), oil, and spices. The acids help break down fibers to tenderize the meat, while the spices create complex flavor layers. Be careful with marinades that contain sugar or honey, as they burn easily at high temperatures. If you use a marinade, watch the grill closely and consider applying it only during the last few minutes of cooking.
Tools You Need
Gather these tools for smooth grilling:
- Paper Towels: Pat skin dry for maximum crispiness
- Long Tongs: Flip safely without piercing the meat
- Instant-Read Thermometer: Check doneness accurately
- Grill Brush: Clean grates for better sear marks
- Oil and Brush: Prevent sticking
- Baking Sheet or Platter: For resting the cooked chicken
- Timer: Track cooking time accurately
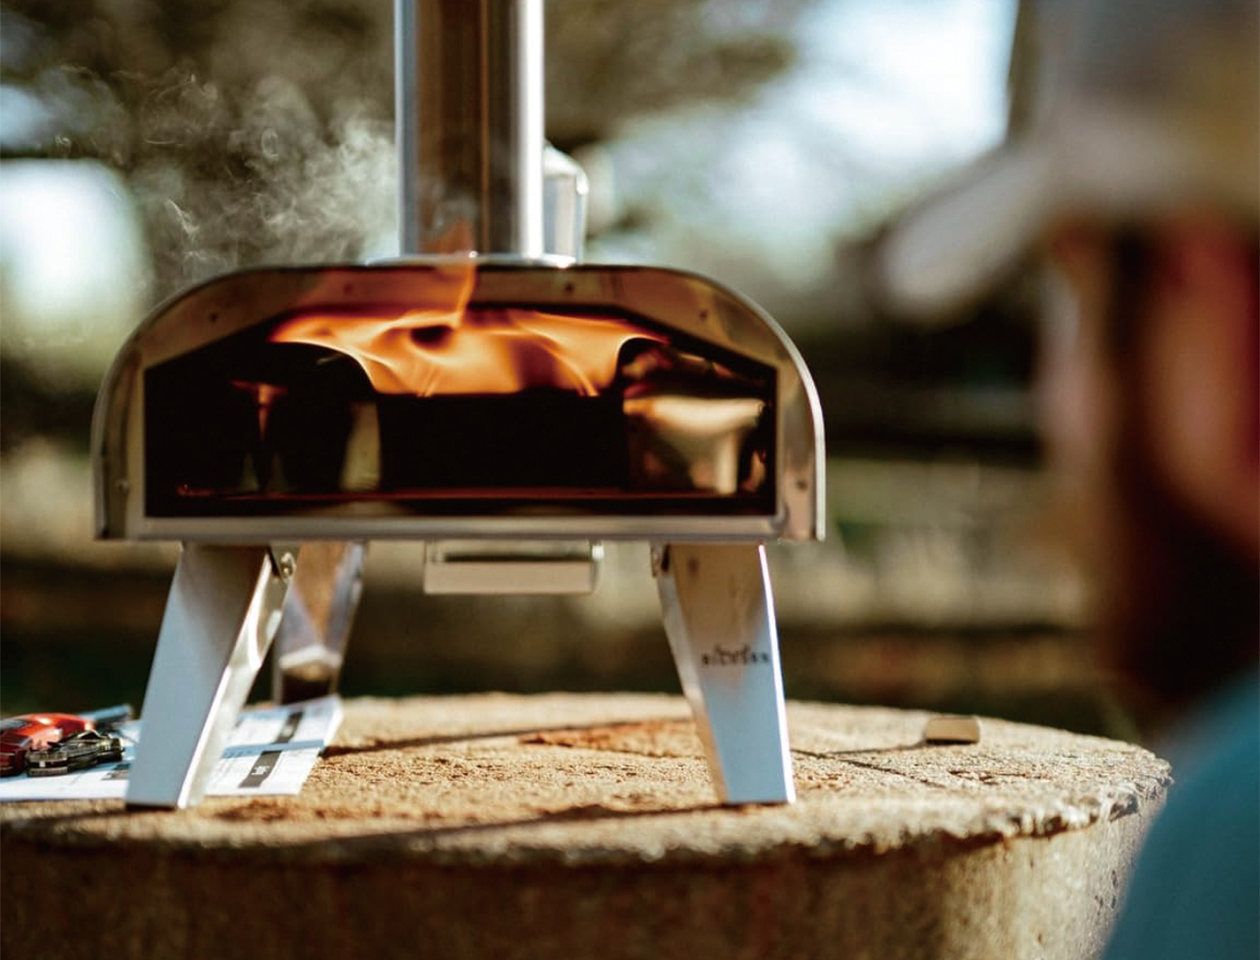
- High-Heat Grill: A quality unit capable of reaching professional temperatures
When You Grill: What's the Best Temperature?
Low Heat: Why Slow Cooking Falls Short
Many home cooks default to low-and-slow grilling (250-300°F) because they fear burning the chicken. The problem: at these temperatures, chicken thighs take 40-50 minutes to cook, giving moisture plenty of time to evaporate. The result is meat that turns leathery and dry, with skin that never crisps properly. Low heat works for large cuts like brisket, but for chicken thighs, it acts like a dehydrator.
High Heat: The Secret to Juicy, Crispy Chicken
High heat (500-700°F) solves the dryness problem. The intense heat sears the skin quickly, creating a golden crust that locks in moisture. Cooking time drops to 20-25 minutes, giving less time for juices to escape. The skin crisps beautifully while the interior stays tender and juicy.
Standard charcoal and gas grills can reach these temperatures, but they struggle to maintain consistent high heat.
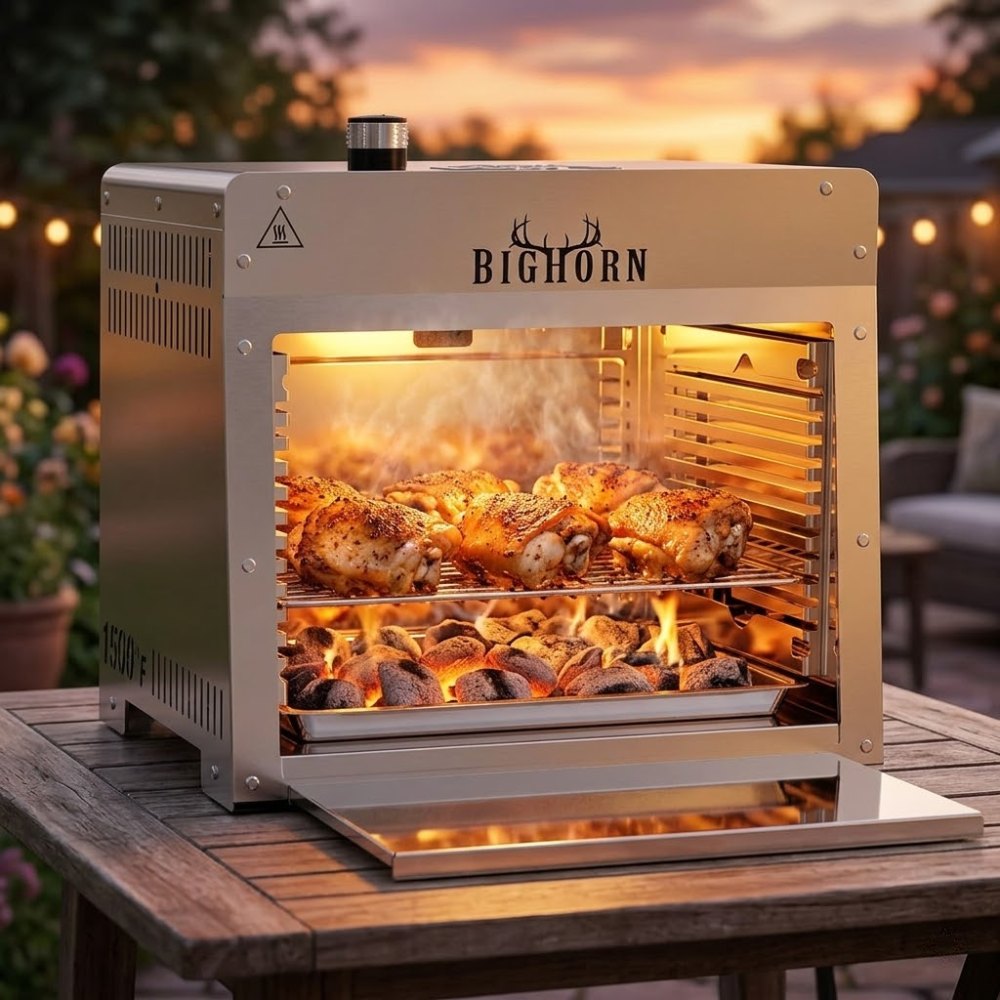
For superior results, a high-performance grill like the Big Horn high-heat grill reaches temperatures exceeding 900°F. At these professional-grade temperatures, the chicken skin sears instantly, developing a restaurant-quality char in minutes. The extreme heat creates the perfect balance: a crackling, crispy exterior surrounding succulent, juicy meat.
How to Know When Chicken Is Done
The safe internal temperature for chicken is 165°F. Insert your thermometer into the thickest part of the thigh, avoiding the bone. Chicken thighs actually have a better texture at 175°F because the connective tissue breaks down, but you should pull them off the heat at 165°F. The internal temperature will continue to rise slightly during resting.
If you don't have a thermometer, poke the thickest part of the meat with a chopstick. If the liquid runs clear with no blood or pink color, the chicken is ready.
After You Grill: Why You Must Let Chicken Rest

Remove the chicken from the grill and place it on a clean platter. Rest it for 5-10 minutes. Do not skip this step.
Why: When meat is hot, the muscle fibers contract and squeeze juices to the center. Cutting immediately causes juice to run out onto your plate. During the rest period, the fibers relax and juices redistribute throughout the meat. When you bite into it, the juice stays in the chicken, not on the table.
The Complete Workflow: Step-by-Step
Here is the complete process from start to finish:
Before You Grill
- Buy bone-in, skin-on thighs of similar size
- Dry brine: Sprinkle salt on the chicken 2 hours ahead of cooking
- Pat the skin completely dry with paper towels
- Gather all your tools
When You Grill
- Fire up your grill to high heat
- Oil the grates to prevent sticking
- Place chicken skin-side down over high heat
- Grill until the skin is golden and crispy, flipping as needed
- Check internal temp reaches 165°F
After You Grill
- Transfer to a clean platter
- Rest for 5-10 minutes
- Serve and enjoy
Common Mistakes to Avoid
Watch out for these errors:
- Moving the chicken too often: Allow it to sit and develop a crust during flipping
- Skipping the rest period: Cutting too early releases all the moisture
- Using low heat for too long: Dehydrates rather than cooks
- Not drying the skin: Wet skin steams instead of crisps
- Piercing the meat with a fork: Creates holes for juice to escape
Master Juicy Grilled Chicken Every Time
Grilling juicy chicken is all about controlling moisture and heat. Choose bone-in, skin-on chicken thighs, marinate them in brine or brush with butter, then grill over high heat to turn ordinary chicken into restaurant-quality food. A high-performance grill like Big Horn works even better, reaching professional temperatures to create that crispy-outside, juicy-inside texture. Learn these methods, remember to let the meat rest, and say goodbye to dry chicken forever. Time to fire up the grill!
FAQs about Grilling Chicken on the Grill
Q1: Can I grill frozen chicken thighs directly, or do I need to thaw them first?
Always let chicken thighs thaw completely before grilling. When you cook frozen chicken, the outside burns while the inside stays raw, which could be dangerous. Put the thighs in the fridge overnight (8–12 hours), or use the cold-water method: put them in a plastic bag, seal it, and put it in cold water. Change the water every 30 minutes until the thighs are thawed (2–3 hours).
Q2: Should I remove the skin after grilling if I'm watching calories?
You can remove the skin after it's done. But when grilling, leave it on. The skin keeps the meat from drying out and keeps it from coming into close contact with the flame. A lot of the fat drips off while the food is cooking.
But if you grill chicken thighs without skin, brush them with oil every 5 minutes to keep them from drying out. They will cook 5 to 7 minutes faster, so watch them closely.
Q3: What to do if my chicken always sticks to the grill grates?
Three steps keep things from sticking: First, use a grill brush to clean the grates really well while they're still hot. Then, just before putting the meat on, oil the grates (not the chicken). Dip a paper towel in oil, hold it with tongs, and wipe the grates clean. Third, don't flip too early. Once a crust forms, which normally takes 6 to 8 minutes, the chicken releases from the grates on its own. Wait one more minute if it still sticks.
Q4: How do I prevent flare-ups from chicken fat dripping onto the flames?
Before cooking, trim any excess fat from the edges. Keep a spray bottle of water nearby to quickly put out any flames. If the chicken starts to flare up, move it to a cooler part of the grill for a short time, wait for the flames to die down, and then move it back to the hot zone. To get better control, don't put the chicken right on top of the hottest part of the heat. Instead, move it to the side.
Q5: Can I use the same method for chicken wings or drumsticks?
Yes, but cooking times vary. Like thighs, drumsticks should reach 165°F on the inside after 25 to 30 minutes. Wings cook in 18 to 22 minutes, which is less time than other foods. Both benefit from high heat grilling and need the same resting time.
For wings, flip them more often (every 4 to 5 minutes) so that all sides get crispy. Both the marinating and basting methods work great for both cuts.
More to Read
 Big Horn Outdoors® Expands Retail Presence with New Experience at Piedmont Outfitters
Big Horn Outdoors® is excited to announce a new retail destination for outdoor cooking enthusiasts. Customers can now experience the brand's popula...
Big Horn Outdoors® Expands Retail Presence with New Experience at Piedmont Outfitters
Big Horn Outdoors® is excited to announce a new retail destination for outdoor cooking enthusiasts. Customers can now experience the brand's popula...
 As Seen on NBC Daytime: Big Horn Outdoors® Pizza Oven and Infrared Steak Grill Featured on National Television
Featured on NBC Daytime, the 12-Inch Multi-Fuel Pizza Oven and 16-Inch Infrared Steak Grill demonstrate how Big Horn Outdoors® helps make high-qual...
As Seen on NBC Daytime: Big Horn Outdoors® Pizza Oven and Infrared Steak Grill Featured on National Television
Featured on NBC Daytime, the 12-Inch Multi-Fuel Pizza Oven and 16-Inch Infrared Steak Grill demonstrate how Big Horn Outdoors® helps make high-qual...
 Red Wine Mushroom Gravy Beef Tips on Infrared Grill
Master steakhouse-quality beef tips at home! Marinated for flavor, seared fast on an infrared grill, and topped with a rich red wine mushroom gravy.
Red Wine Mushroom Gravy Beef Tips on Infrared Grill
Master steakhouse-quality beef tips at home! Marinated for flavor, seared fast on an infrared grill, and topped with a rich red wine mushroom gravy.