Grills & Griddles
How to Get Fall-Off-the-Bone Ribs on Your Gas Grill
You can get fall-off-the-bone tender ribs using the gas grill in your backyard. To make sure your ribs are always juicy, this guide will show you how to choose the right cut, set up your grill for indirect cooking, and control the heat.
To get those soft, juicy, and perfect off-the-bone ribs, you'll have to:
The perfect rack of ribs starts with the right cut. You'll mainly find two options: Baby Back Ribs and Spare Ribs.
| Rib Type | Source | Key Feature | Pro | Con/Note |
| Baby Back Ribs | Near the loin (upper back) | Leaner, Curvier | Tender, Cooks Fast | Dries out easily; small error window |
| Spare Ribs | From the belly section | Fattier, Flatter, Larger | More flavor, Self-basting (forgiving) | Requires a longer cook time |
For the most reliable, "fall-off-the-bone" result, choose St. Louis Cut Spare Ribs.
Why?

A dry rub does two things for you: it creates the savory outer crust (the "bark") and seasons the meat. While you can buy pre-made rubs, making your own lets you control the flavor. A great rub balances four components.
Combine all ingredients. This versatile blend isn't just for ribs; it adds an incredible kick when you cook the perfect hamburger on your gas grill too.
Cooking ribs requires patience—you can't rush the process with a direct flame. Intense, direct heat is the enemy: it simply sears the outside and tightens the inside muscle fibers, resulting in tough, dry meat.
The solution is to use indirect heat. This method transforms your grill into a circulating oven, allowing hot air to gently wrap around the ribs and slowly break down the tough connective tissue.
You need to create a "Hot Zone" and a "Cool Zone" on your grill:
The ribs must be placed only in the Cool Zone and will cook using the gentle, circulating heat, never touching a direct flame.
Patience is the single most important ingredient in achieving tender, "fall-off-the-bone" ribs.
| Test Name | How to Check | What It Means |
| The Bend Test | Lift the rack from the center with tongs. | The rack should bend easily—almost to a 90-degree angle—and the surface meat should crack. This is the best tenderness indicator. |
| Bone Pullback | Observe the ends of the bones. | The meat will have shrunk and pulled back from the ends, exposing about a half-inch of bone. |
| Internal Temperature | Use a meat thermometer in the thickest part. | The temperature should be between 195°F to 205°F. This confirms the connective tissue is fully broken down. |
Wrap the ribs if you really want that "fall-off-the-bone" finish though.
The ribs should have a strong mahogany color after about two to three hours of cooking. At that point, wrap the rack tightly in aluminum foil. For extra steam, you can put a little apple juice or cider vinegar inside the foil.
Then go back to the grill and put the ribs back on the indirect heat for another hour. This method steams the ribs, which makes the process of tenderizing them much faster.
Your ribs are tender, but the final step is to add the glaze. Do not apply sauce early in the cooking, because the sugar will burn and turn bitter.
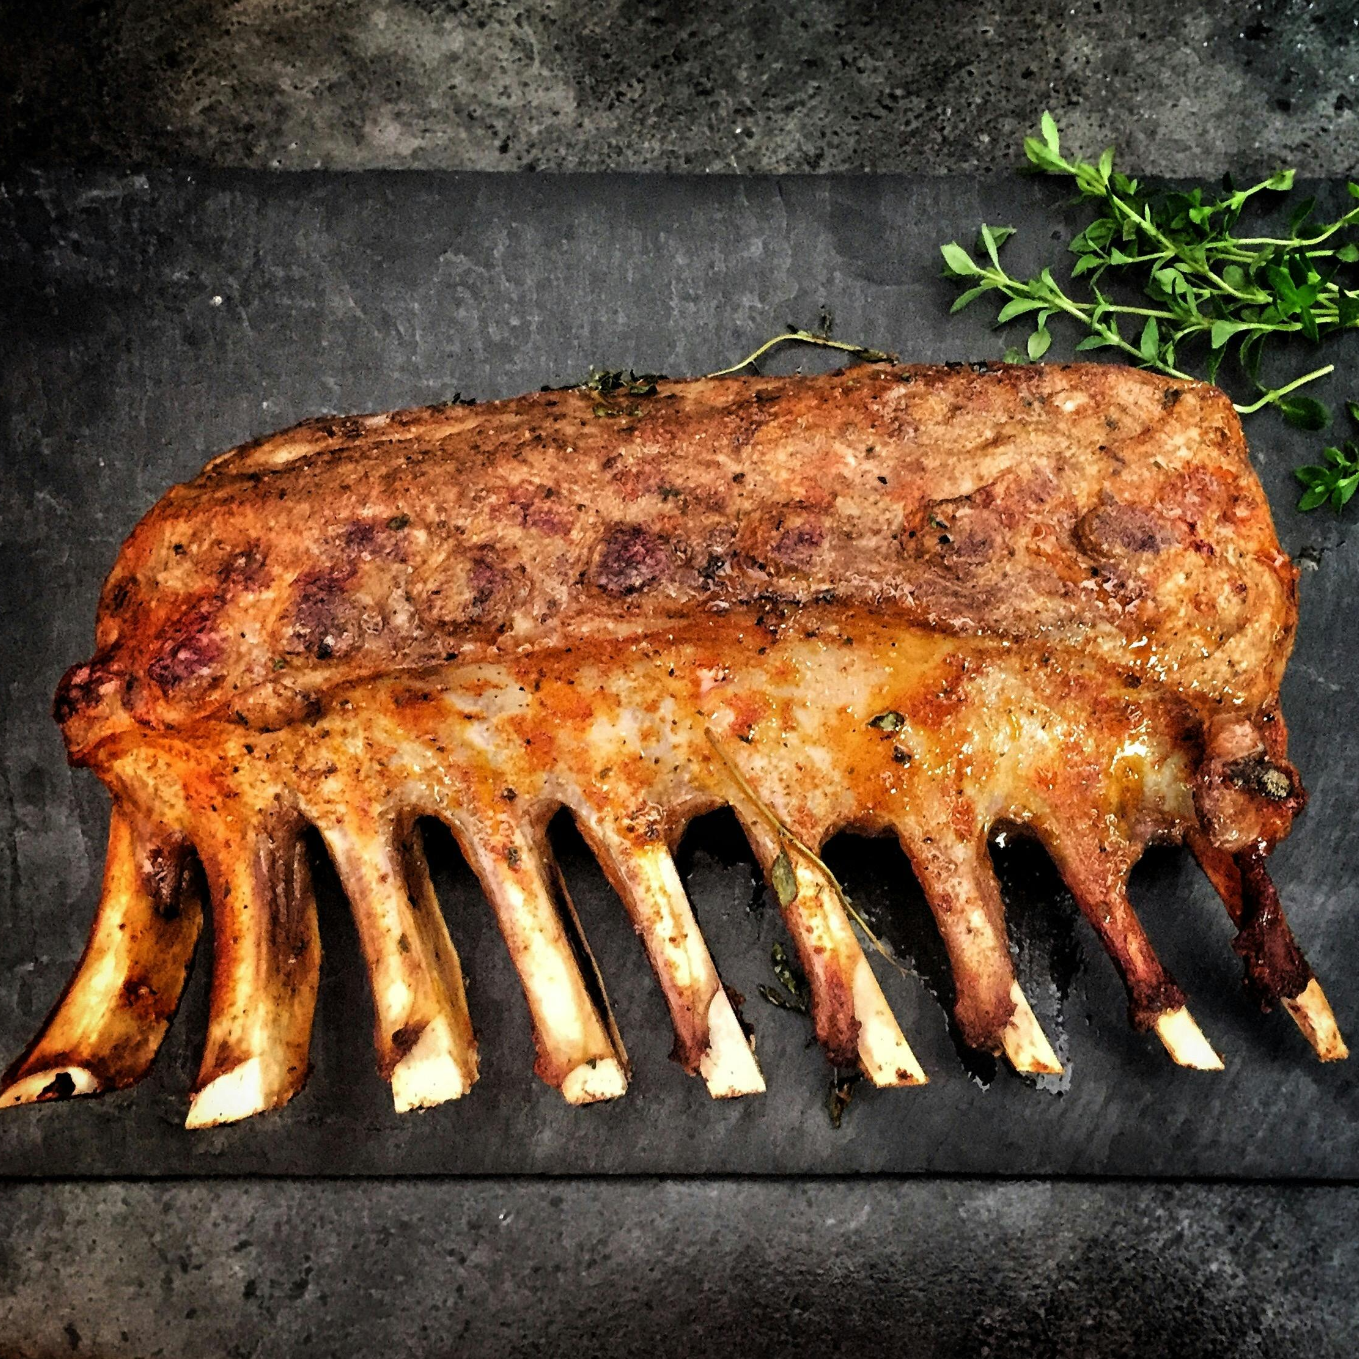
After resting, flip the rack so the bone side is up, and slice between the bones.
You don't need a dedicated smoker to make incredible ribs. Your gas grill is a powerful tool when you use it for low and slow, indirect cooking. You can produce perfectly tender and flavorful ribs when you choose a fatty cut, build flavor with a proper rub, and control your temperature.
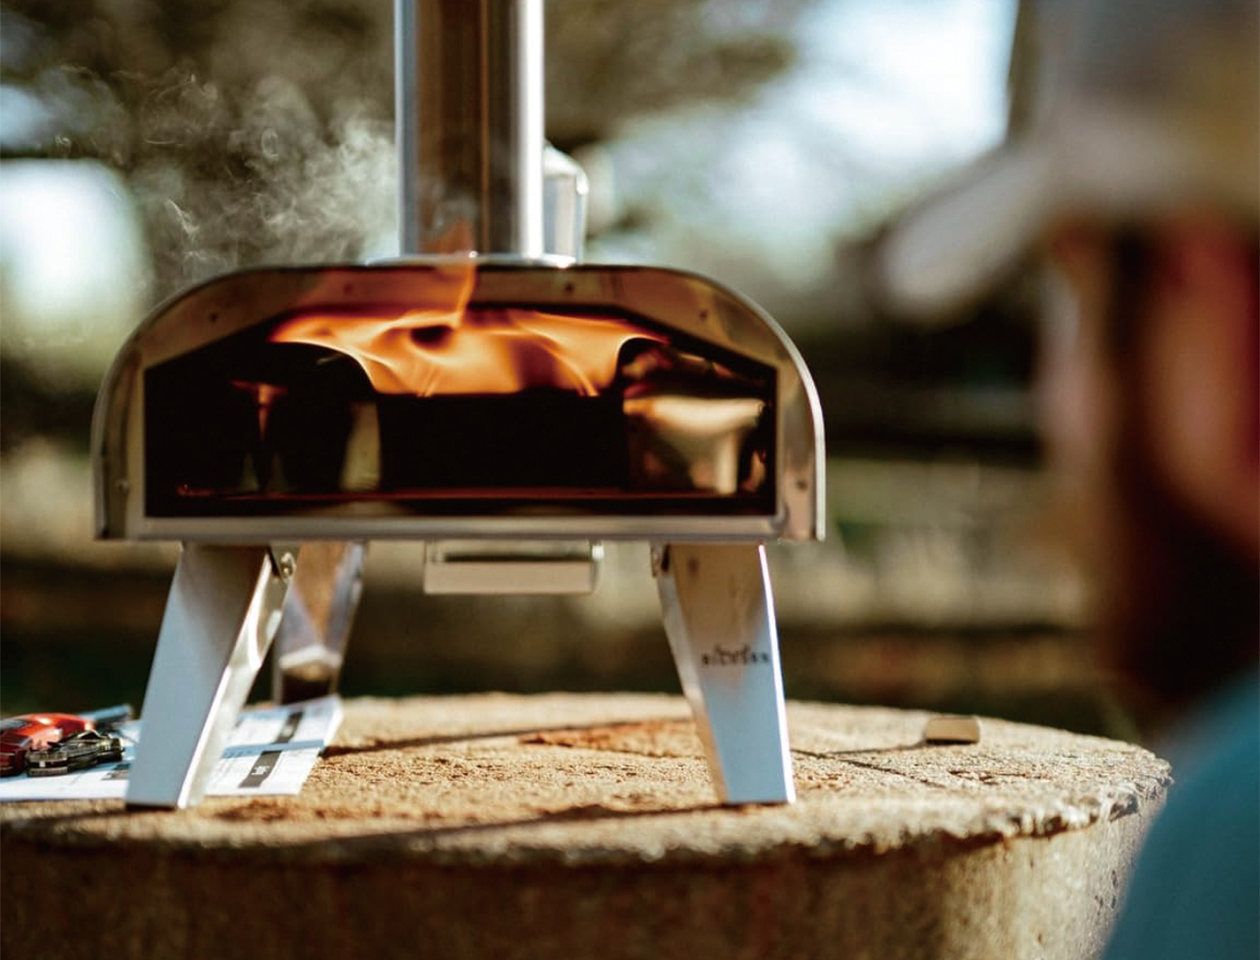
This method gives you complete control over your barbecue. When you are ready to add more high-performance tools to your backyard, check out the full line of Big Horn Outdoors® pizza ovens and infrared grills. We build our equipment to deliver the same quality and control you put into your cooking.
 Red Wine Mushroom Gravy Beef Tips on Infrared Grill
Master steakhouse-quality beef tips at home! Marinated for flavor, seared fast on an infrared grill, and topped with a rich red wine mushroom gravy.
Red Wine Mushroom Gravy Beef Tips on Infrared Grill
Master steakhouse-quality beef tips at home! Marinated for flavor, seared fast on an infrared grill, and topped with a rich red wine mushroom gravy.
 Pro Tips: Grilling Thick-Cut Steak for Maximum Flavor
Master grilling thick-cut steaks at home. Learn essential prep, resting tips, and how to use 1500℉ infrared heat for a flawless, restaurant-quality...
Pro Tips: Grilling Thick-Cut Steak for Maximum Flavor
Master grilling thick-cut steaks at home. Learn essential prep, resting tips, and how to use 1500℉ infrared heat for a flawless, restaurant-quality...
 How to Make a Smash Burger on an Infrared Grill
Standard grills ruin beef by losing flavor. Use a cast iron plate on an infrared grill to lock in moisture and make the perfect smash burger crispy...
How to Make a Smash Burger on an Infrared Grill
Standard grills ruin beef by losing flavor. Use a cast iron plate on an infrared grill to lock in moisture and make the perfect smash burger crispy...