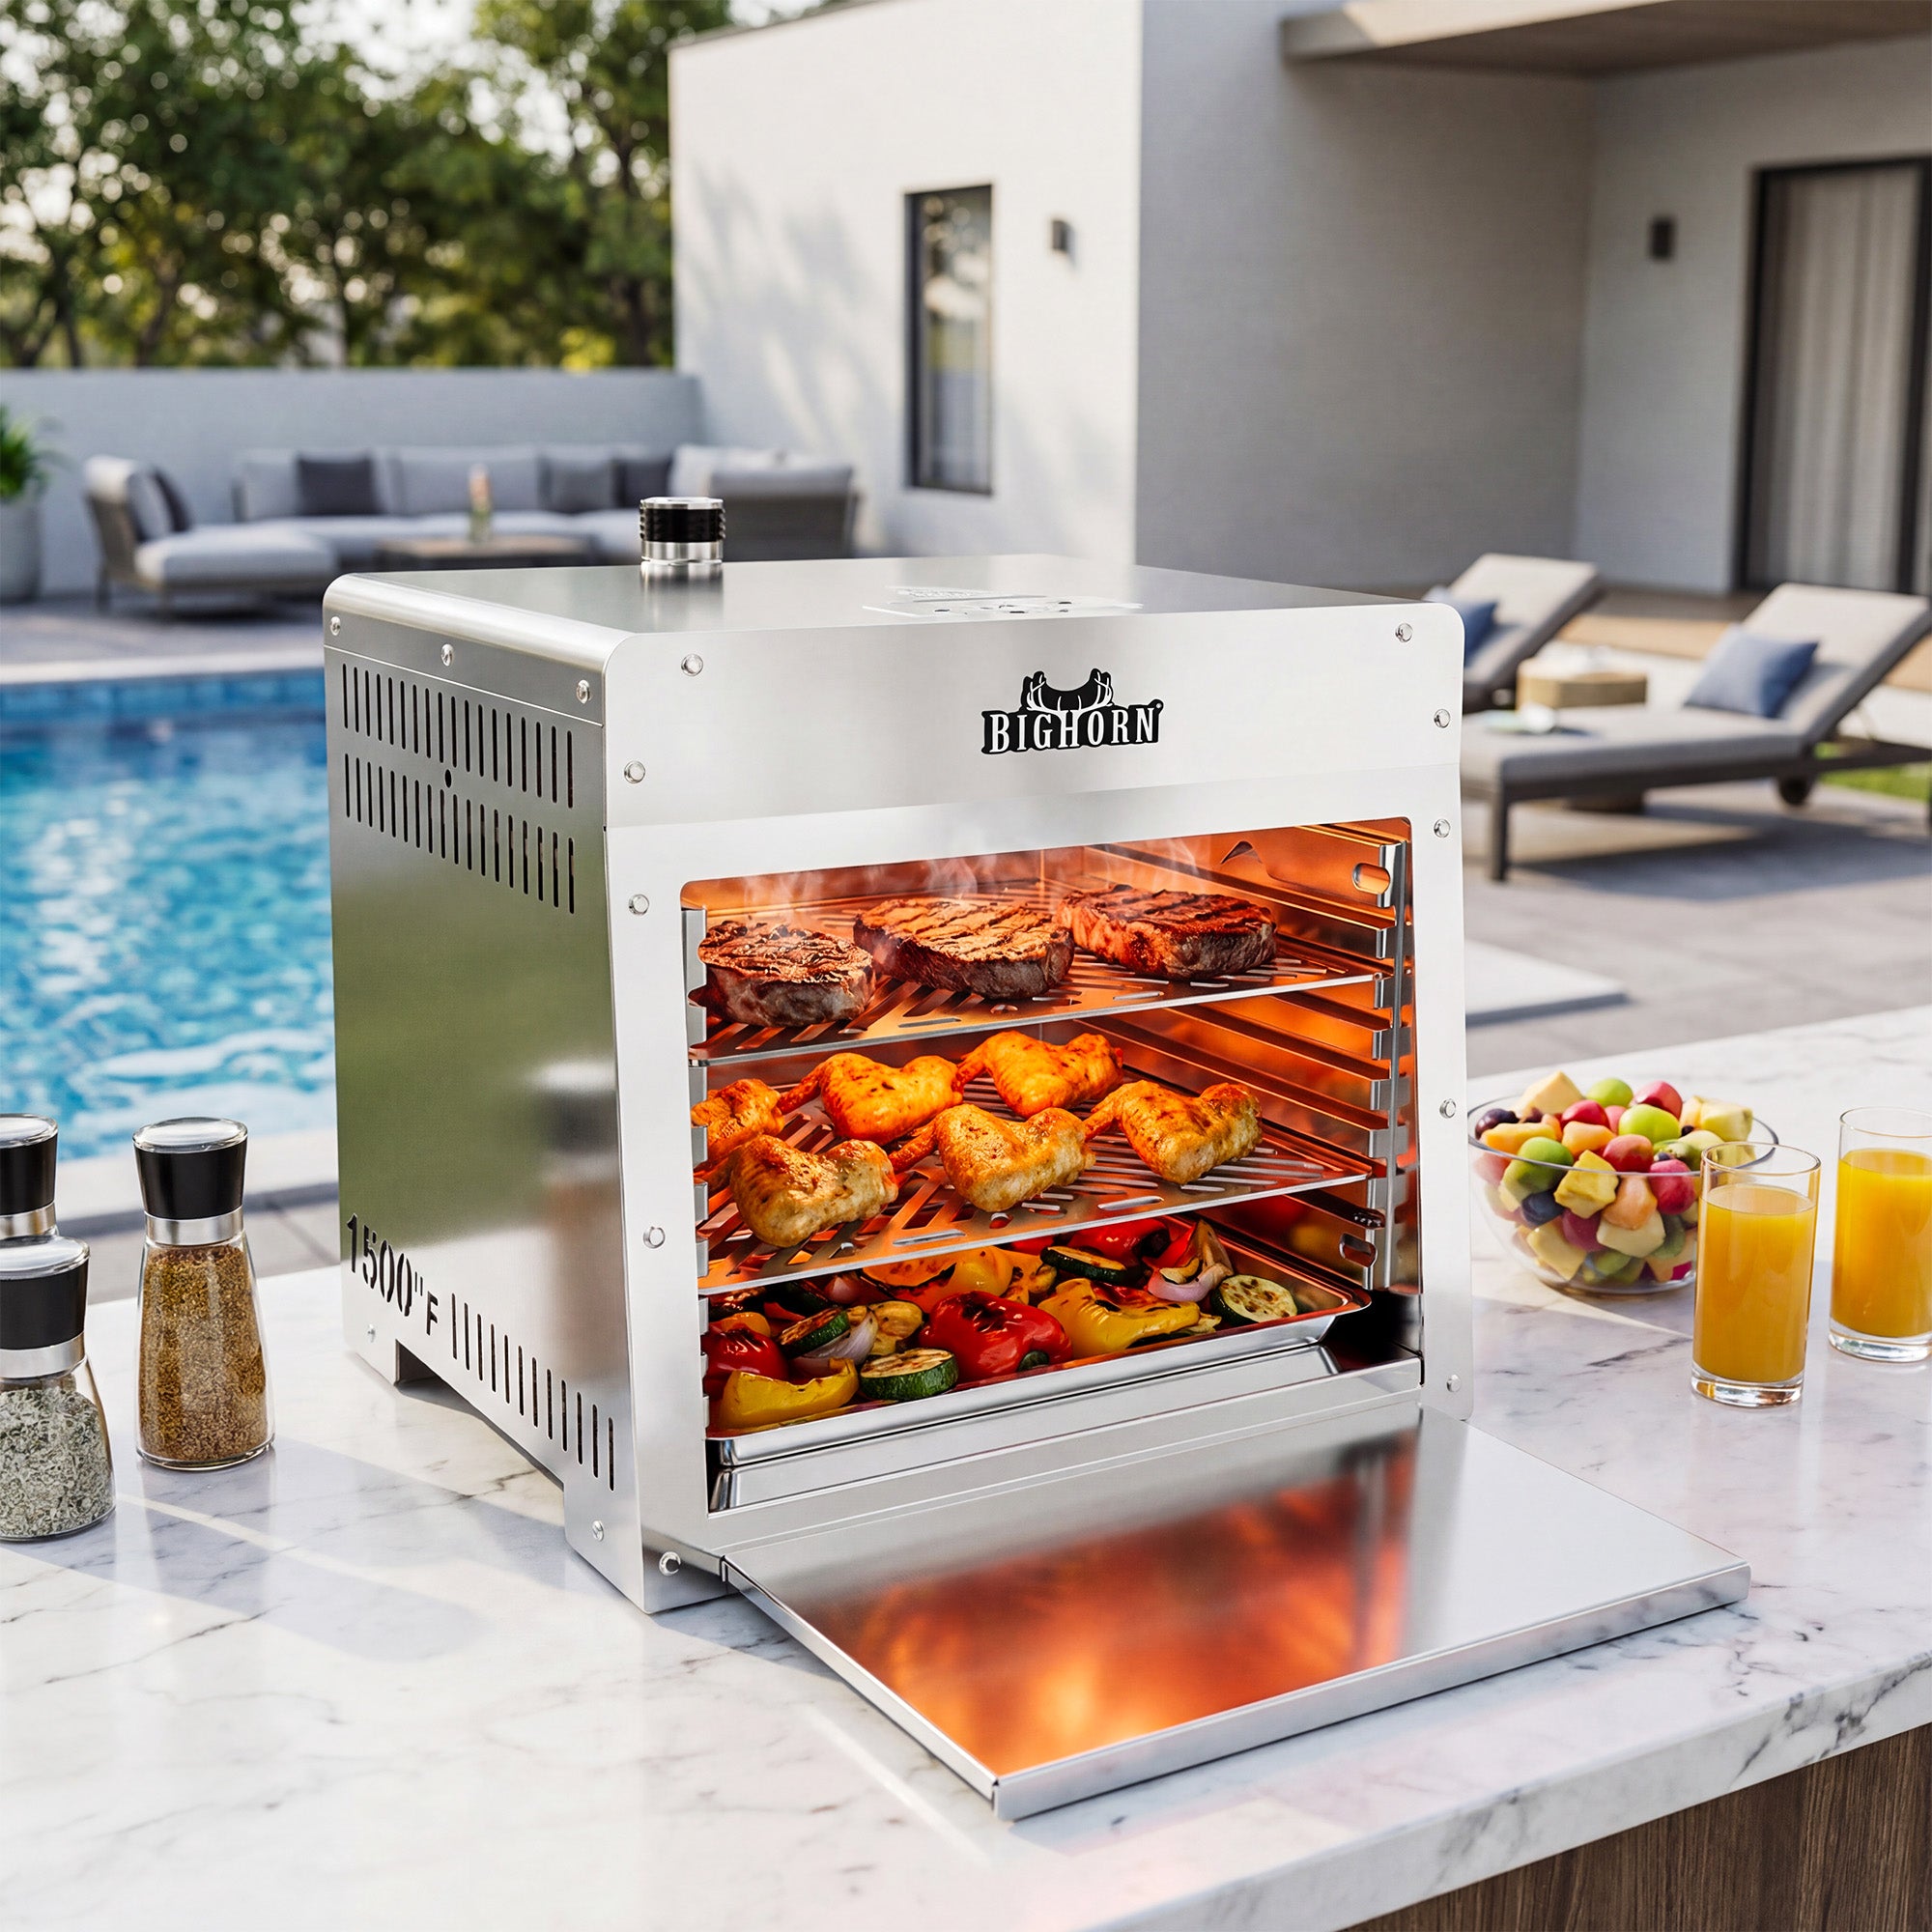
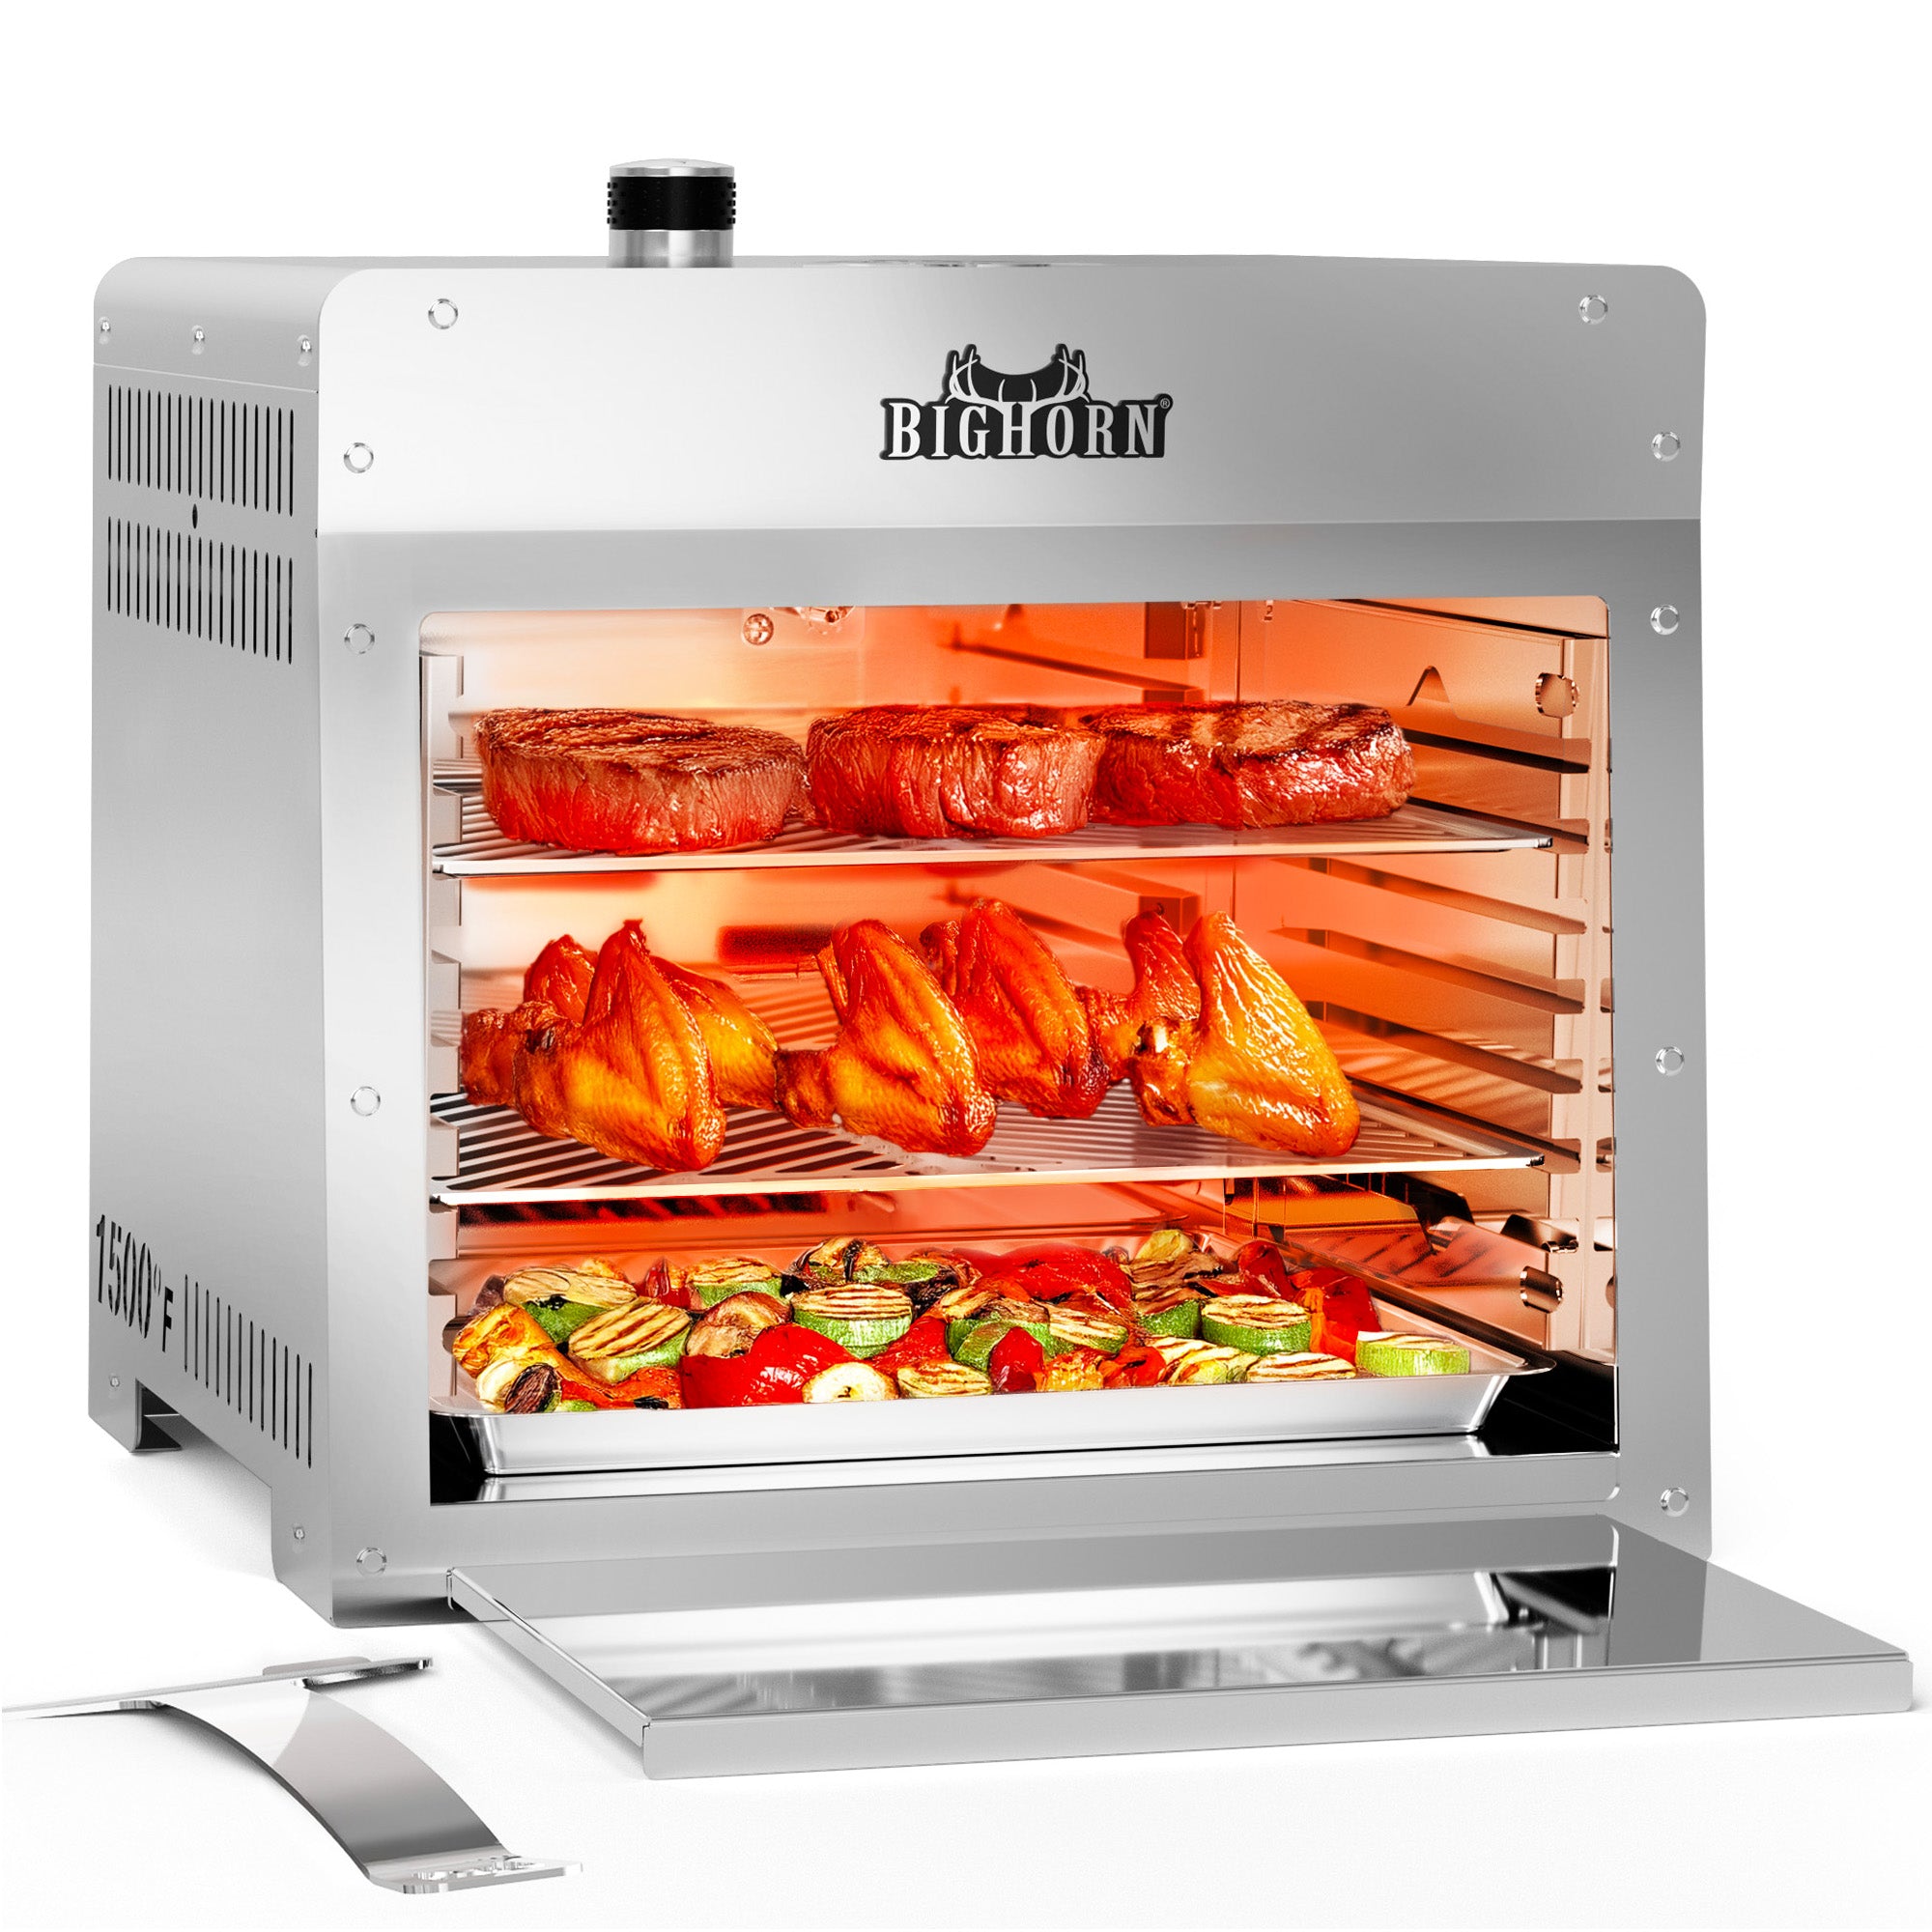
How to Master Top-Down Infrared Grilling
High-temperature cooking works best when heat, distance, timing, and food
thickness are treated as one system. A top-down infrared
grill can reach searing temperatures quickly, but maximum output
is not the right setting for every ingredient. Understanding how radiant
energy behaves makes the grill more predictable and helps protect delicate
foods from overcooking.
Radiant Heat vs. Conventional Grill Heat
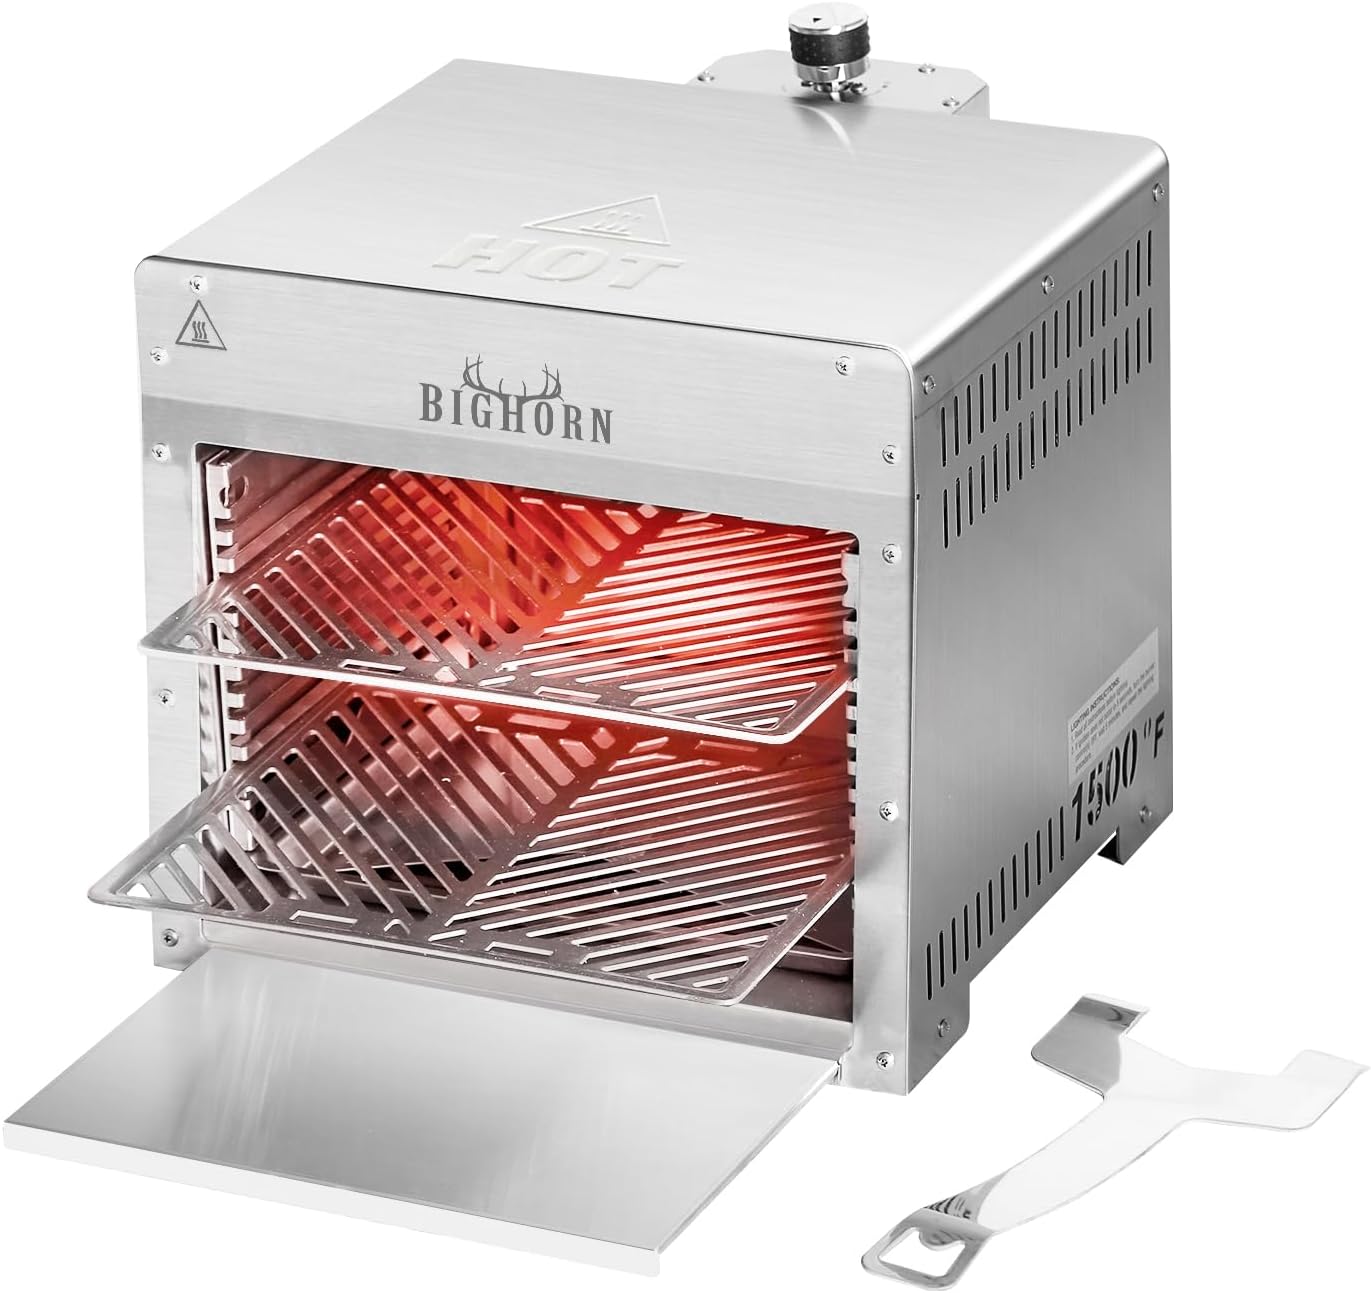
A conventional gas grill warms the grate and circulates hot air around the
food. An infrared burner emits concentrated radiant energy that transfers
heat directly to the exposed surface. Because energy arrives quickly, the
exterior can brown before the interior loses excessive moisture. This is
especially useful when cooking thick-cut steak with a cool or medium-rare
center.
The overhead burner also changes how drippings behave. Fat moves down into
the collection area rather than falling onto the primary heat source,
helping reduce flare-ups. It does not eliminate smoke or grease, so outdoor
ventilation and routine cleaning remain essential.
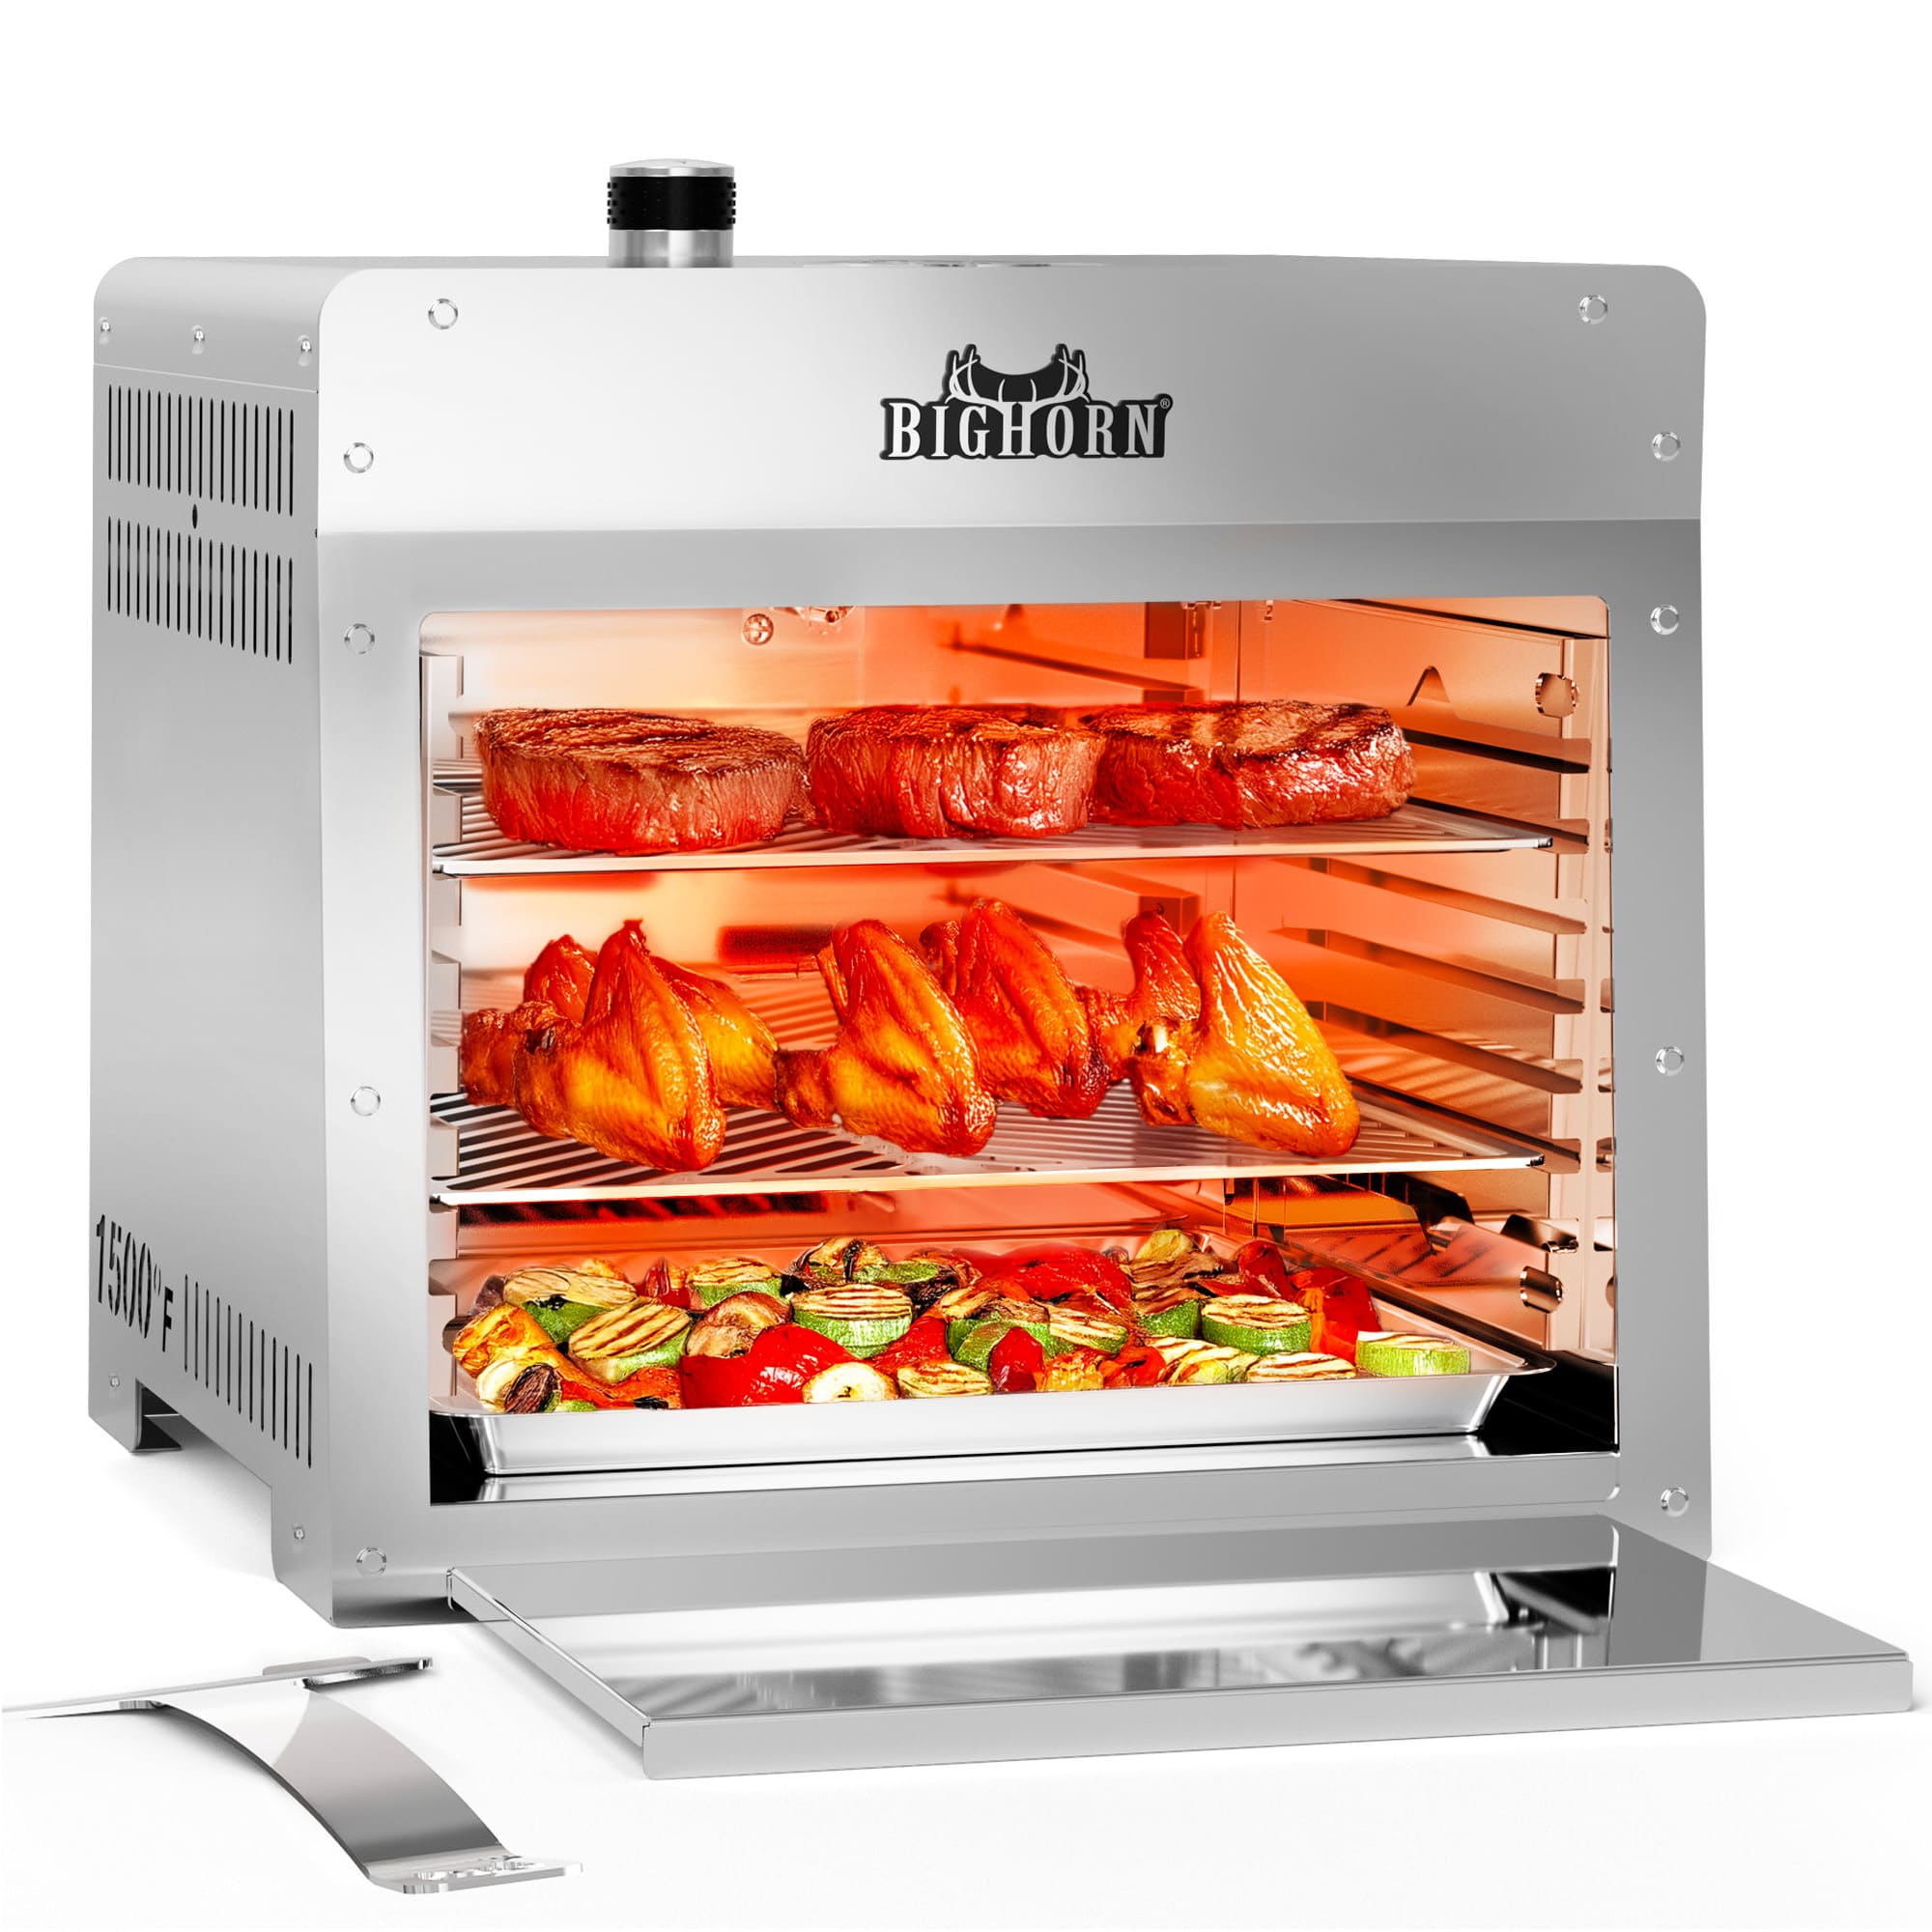
Use Rack Position as a Heat Control
Distance from the infrared burner is one of the most important controls.
Moving food closer increases surface intensity; lowering the rack slows
browning and gives the center more time to cook. Burner setting and rack
position should be adjusted together.
-
Upper positions: use for a rapid finishing sear on foods
that already have the desired internal temperature.
-
Middle positions: a useful starting point for burgers,
chops, seafood, and foods cooked on a compatible plate.
-
Lower positions: provide more distance for thicker or
more delicate ingredients that need additional time.
Control tip: Treat the listed 1500°F capability as the
top of the grill's range, not a required target for every recipe. A
surface thermometer and an instant-read food thermometer remove much of
the guesswork.
A Repeatable High-Heat Steak Method
-
Prepare the surface. Pat the steak dry and season it.
Surface moisture must evaporate before strong browning can begin.
-
Preheat the grill. Follow the product manual and allow
the infrared burner and cooking chamber to stabilize.
-
Start with a controlled rack position. Move closer only
if the surface is browning too slowly; move lower if it darkens before
the center approaches the target temperature.
-
Turn and monitor. Flip the steak so both sides receive
direct radiant heat, and check internal temperature instead of relying
only on elapsed time.
-
Rest before slicing. A short rest allows heat and juices
to redistribute through the meat.
Foods That Benefit From Infrared Heat
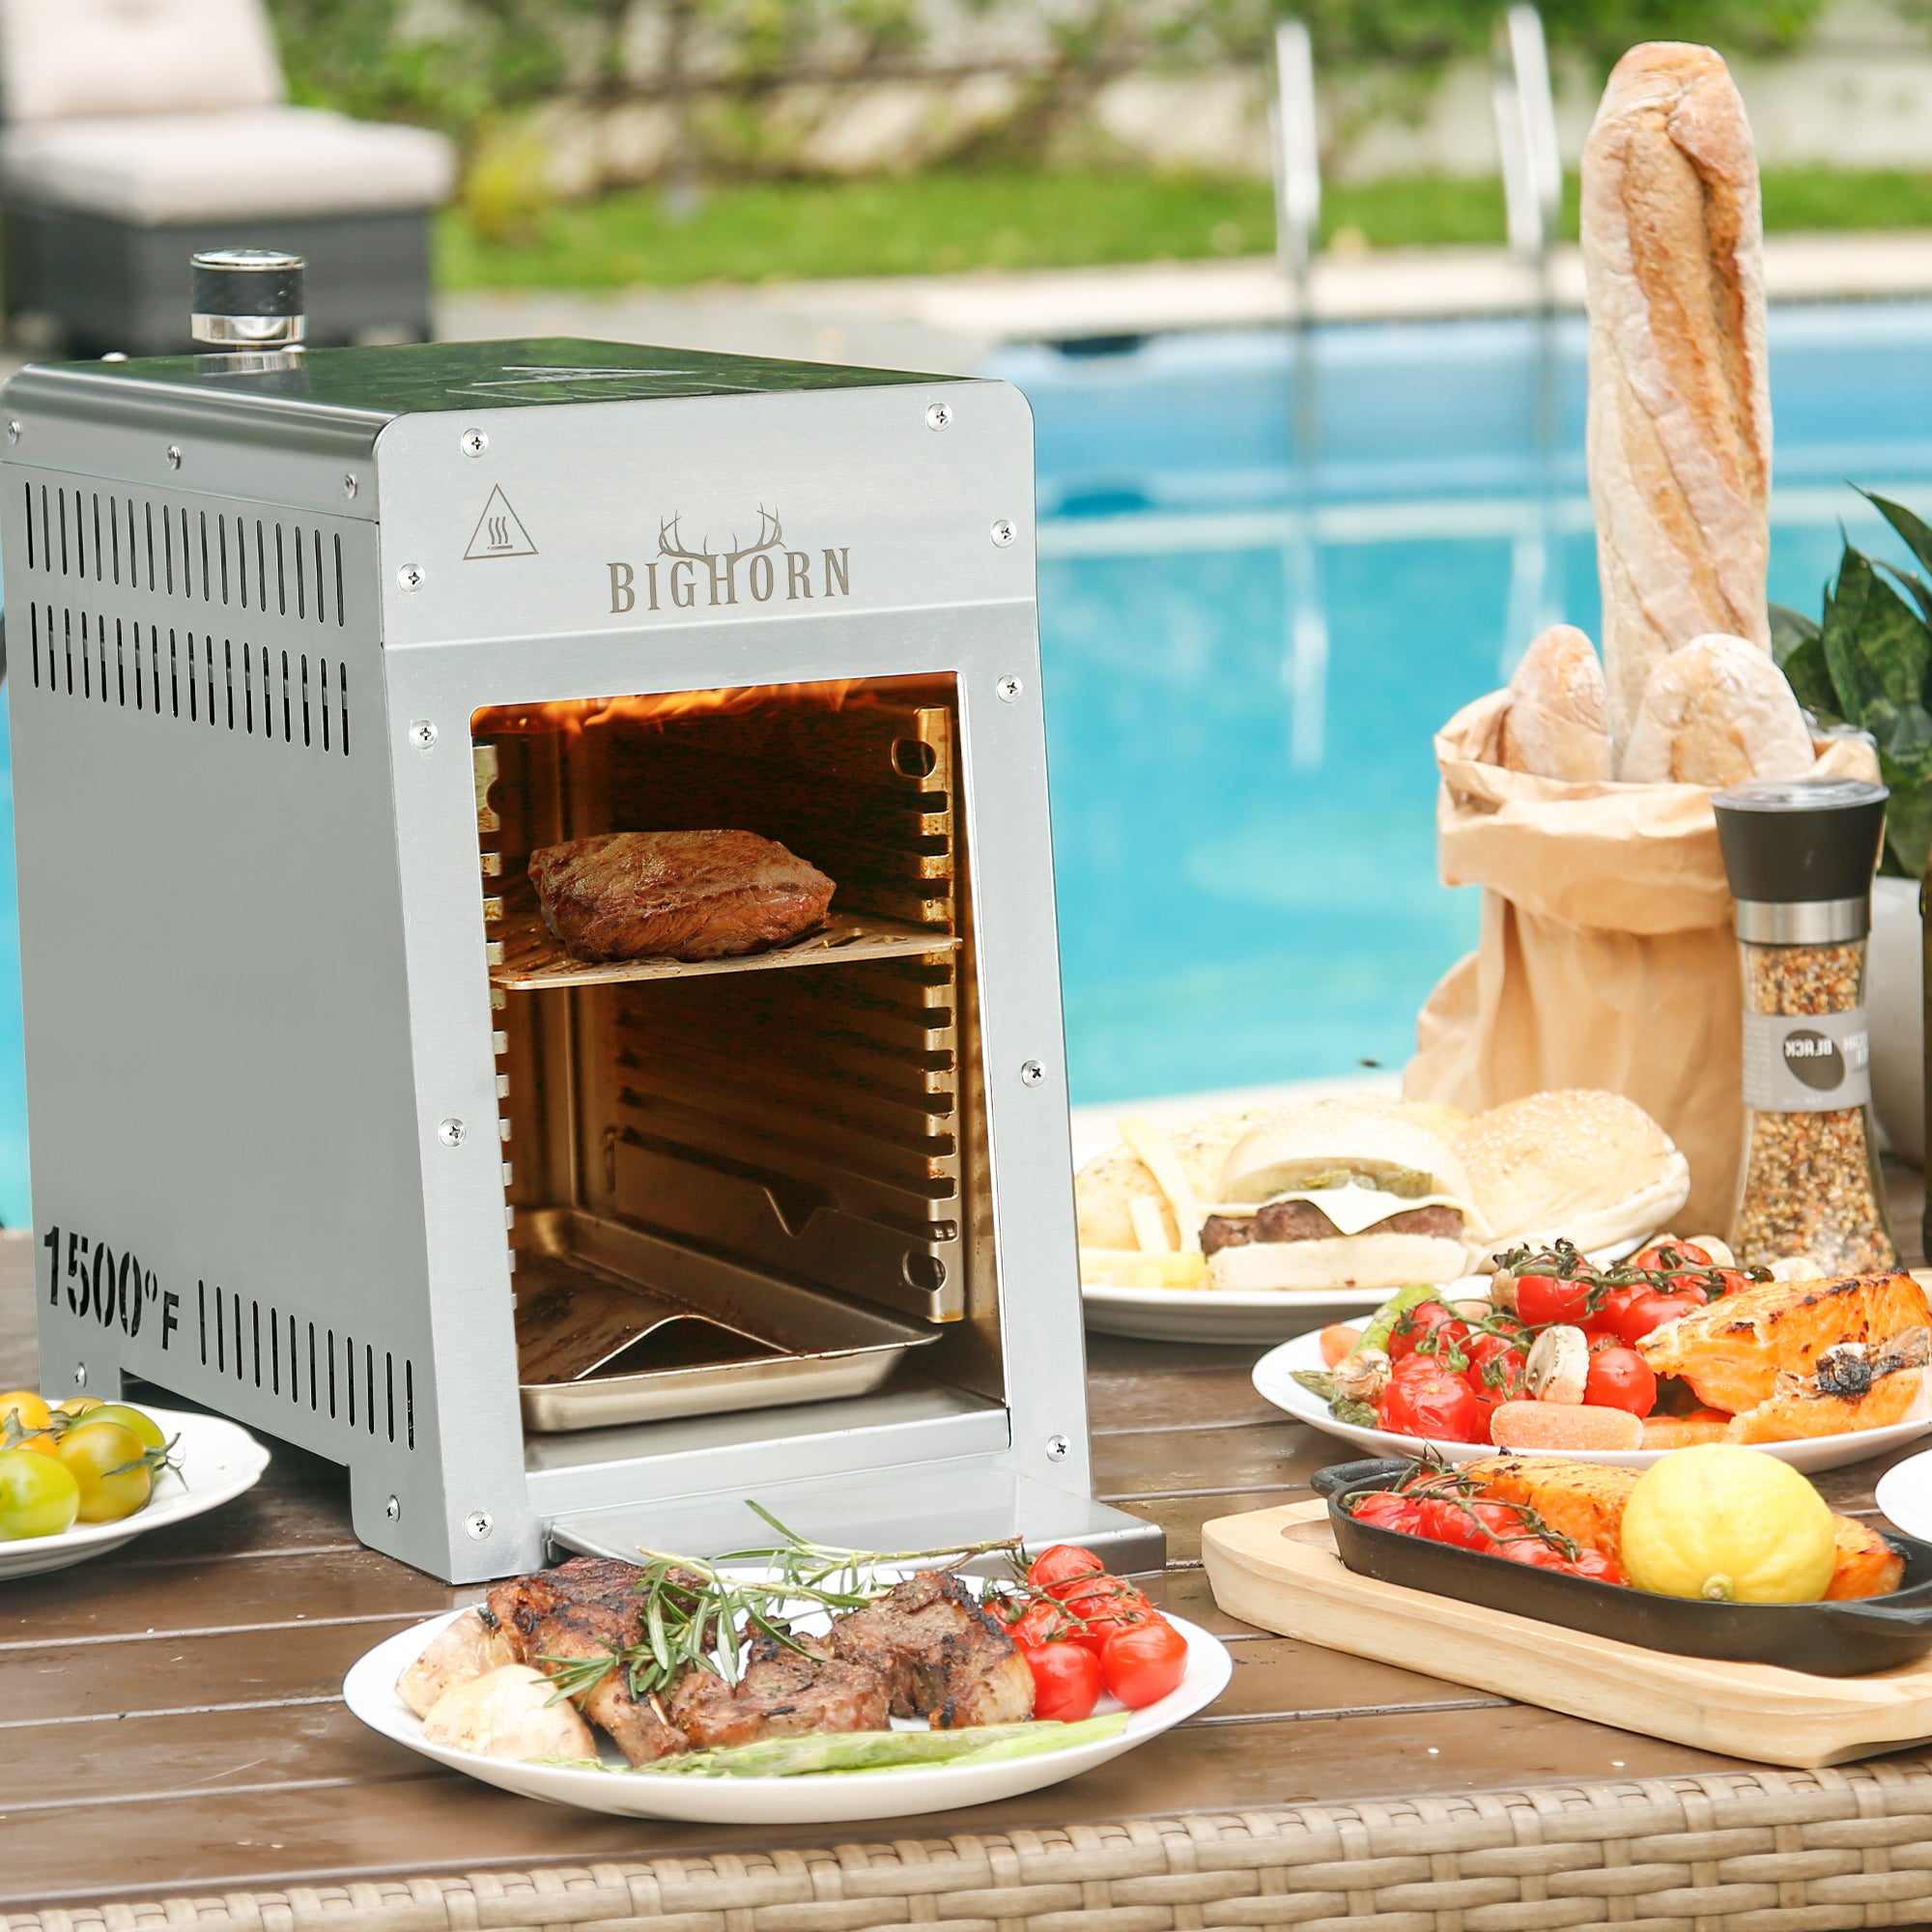
Steaks are the clearest match, but the same control principles apply to
lamb chops, burger patties, salmon, shrimp, and vegetables. Lean seafood
and thin vegetables generally need more distance or lower output. Burgers
cooked on a compatible cast-iron surface need a different temperature
strategy than a steak placed directly on the grate.
Safe Shutdown and Cleanup
- Use propane appliances outdoors in a well-ventilated location.
-
Keep the unit on a stable, heat-resistant surface with the clearances
required by the manual.
-
Shut off the burner and fuel supply, then wait until the grill is fully
cool before removing parts.
-
Empty grease from the drip tray and clean food-contact components after
use; follow the manual for dishwasher suitability and burner care.
-
Inspect the hose and connections before the next cook and never modify
the appliance for an unapproved fuel type.
Infrared Grill Guides and Recipe Ideas
Grill a Thick-Cut Steak
Learn preparation, searing, temperature checks, and resting techniques
for a browned exterior and juicy center.
Read the Steak Guide
Make an Infrared Smash Burger
See how a compatible cast-iron surface, moderate burner setting, and
controlled rack height can produce crisp burger edges.
View the Burger Method
Try Seared Beef Tips
Expand beyond whole steaks with an infrared-seared beef tip recipe
finished with red wine mushroom gravy.
Explore the Beef Tips Recipe
Build Skill Before Chasing Maximum Heat
The strongest results come from matching burner output and rack height to
food thickness—not from running every cook at the highest possible
temperature. Start conservatively, observe how quickly the surface
browns, and record the settings that work for your preferred cuts.