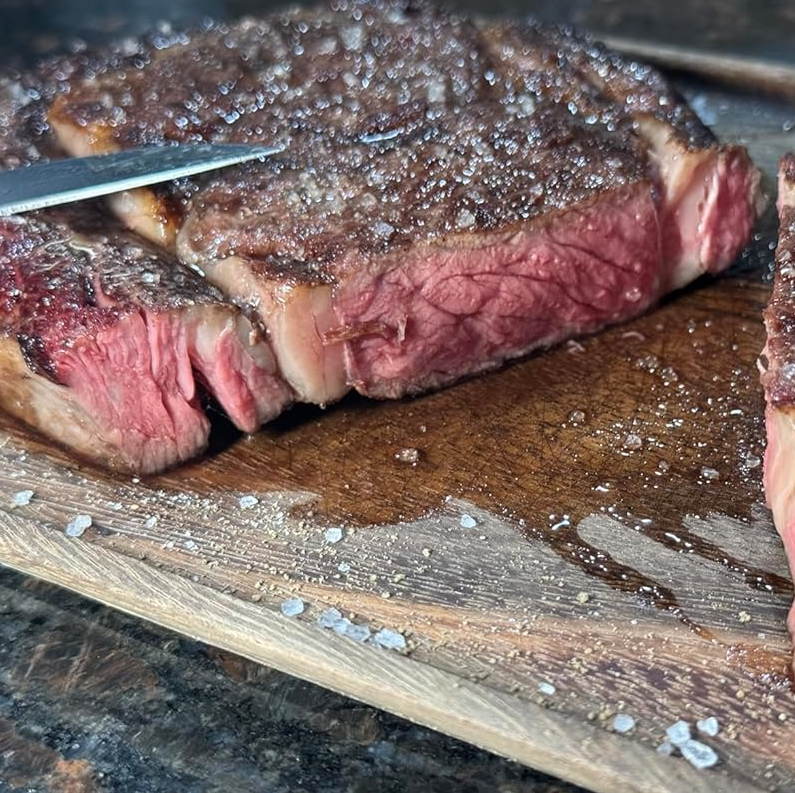
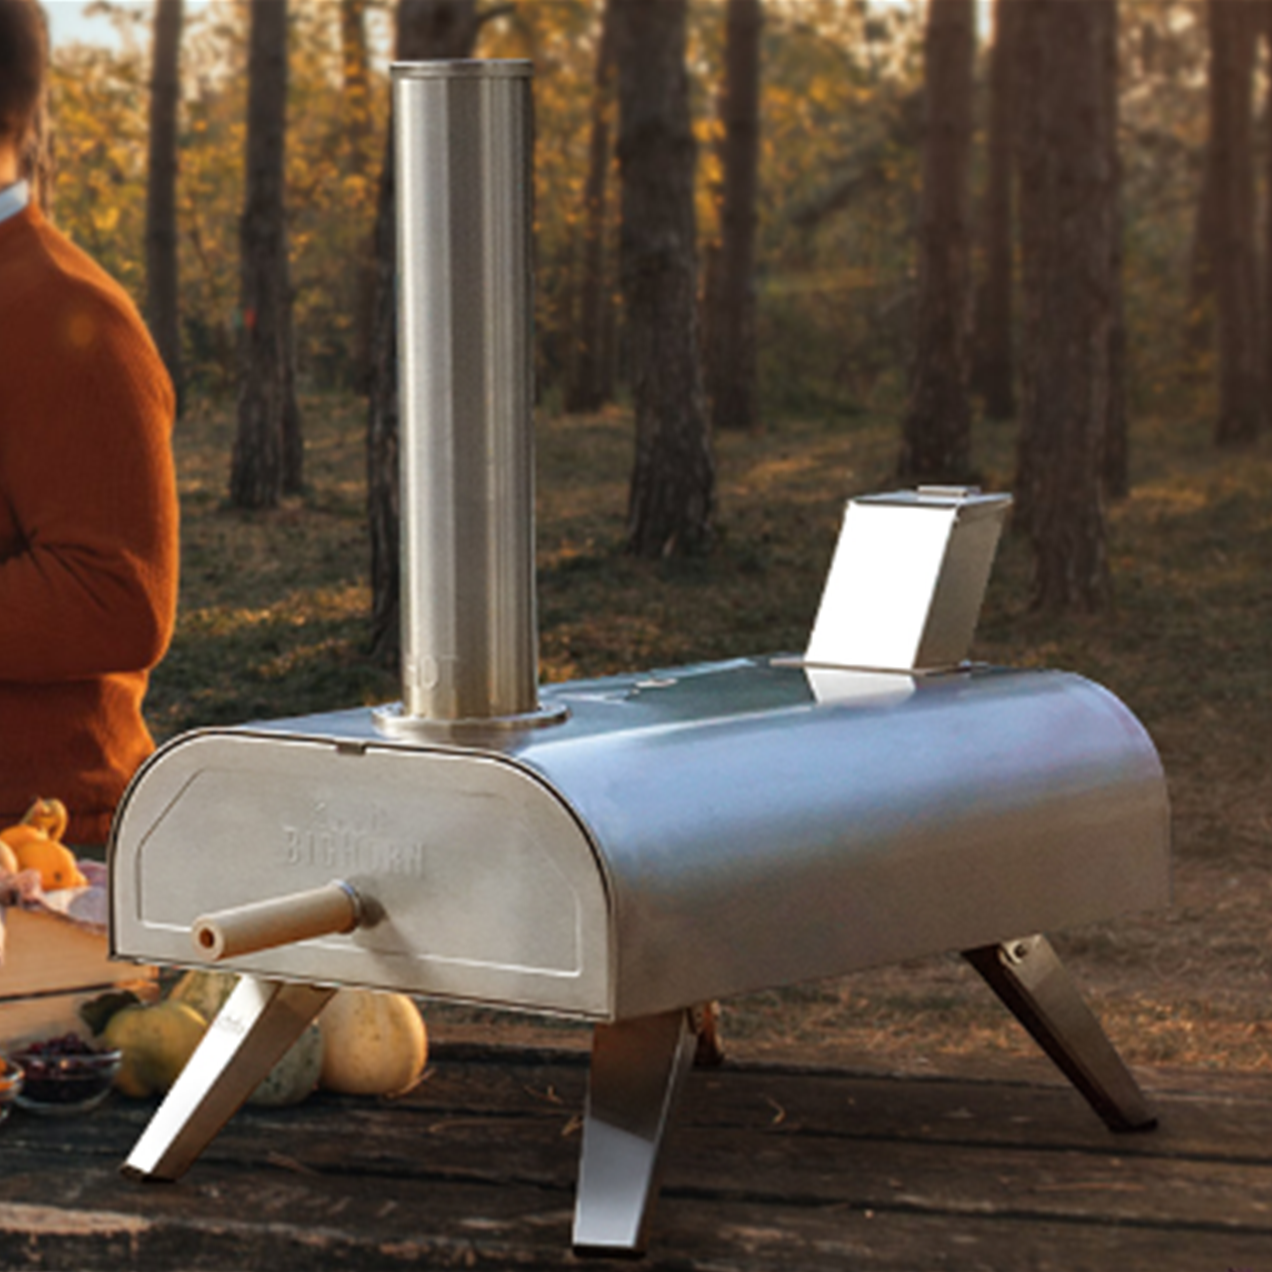
Ever wonder how steakhouses get that perfect, sizzling crust? The kind that crackles just a bit before you hit a wonderfully juicy center? It all comes down to one thing: intense, professional-grade heat. With a tool like the Big Horn® 1500°F Infrared Steak Grill, that power is finally in your hands.
To really get the hang of it, you just need to focus on three things:
- Rack Height: How close your food is to the fire.
- Time: Measured in seconds, not minutes.
- Resting: The final, critical step to lock in all that flavor.
In this ultimate grilling guide, we'll walk you through the whole process. Using the Big Horn® grill as our tested benchmark, we’ll give you the exact numbers and, more importantly, explain the logic behind each step. Let's get to it.
First Things First: Getting Set Up
What's the Deal with the Racks?
Before you cook a thing, let's get familiar with your main tool for heat control: the rack levels. Think of the inside of your steak grill like a small oven with a powerful broiler at the very top. The rack positions are simply different levels of "close" to that fire.
- Rack 1 (High Level): This is the top slot, right under the infrared burner. It's for maximum, intense heat—perfect for creating that beautiful, rapid crust (what chefs call the Maillard reaction).
- Rack 3 (Low Level): This is the bottom slot, furthest from the heat. The temperature here is a bit gentler, which helps the heat penetrate thicker cuts of meat without burning the outside.
- Rack 2 (Mid Level): This is your all-around, balanced position, offering a great mix of searing power and controlled cooking.

A Simple Approach to Seasoning
When you're working with this much heat, simplicity is your best friend. A generous coating of coarse salt and black pepper is all you really need. Hold off on olive oil or sugary marinades until after the main sear, as they can burn and turn bitter at 1500°F.
The All-Important Preheat
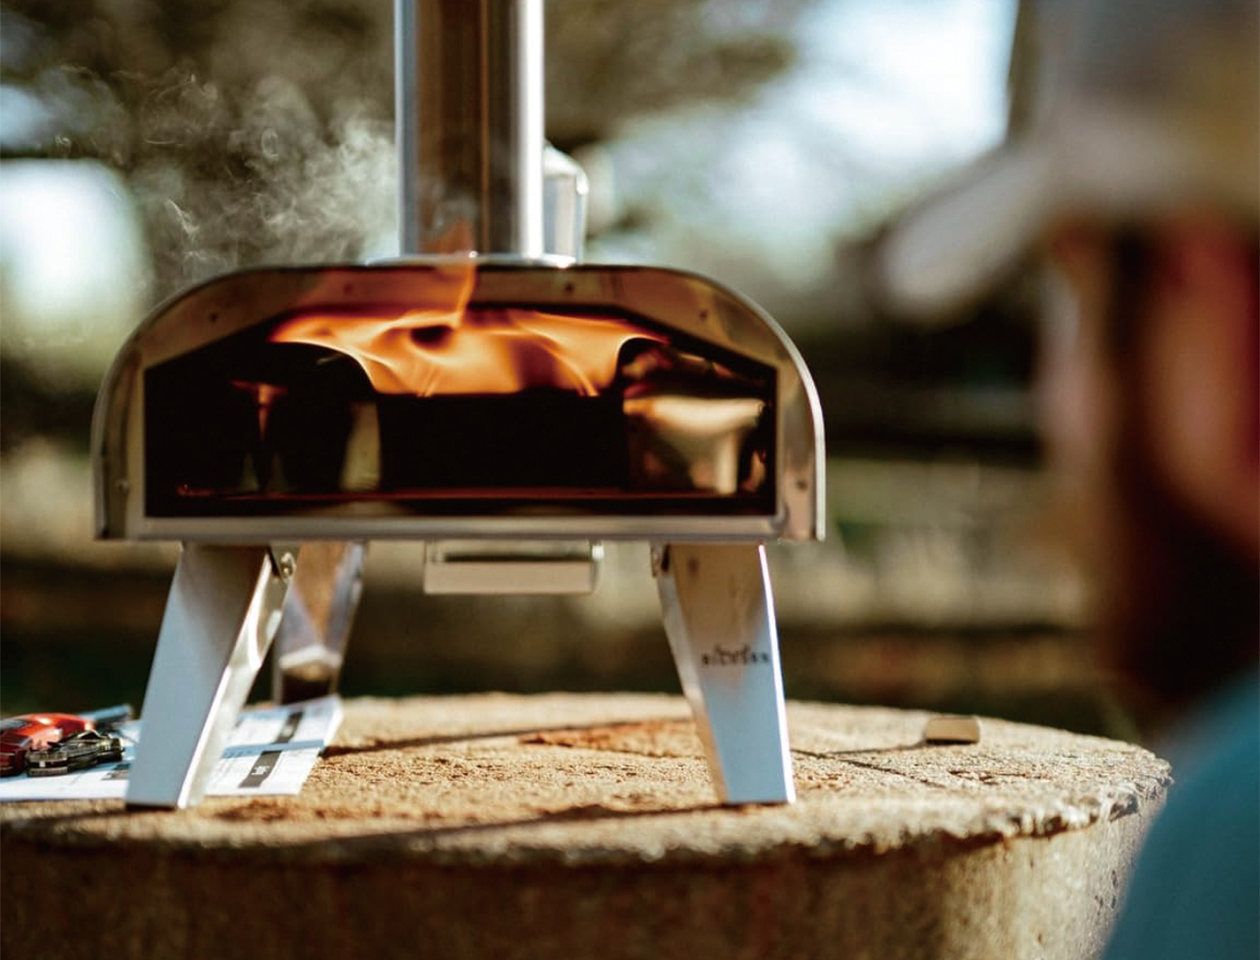
Don't even think about putting a steak in a cold grill. A solid 3-5 minute preheat is mandatory. Thankfully, starting it up is a breeze. The ignition is designed to be reliable, even on a breezy day, so you can get right to the good part without any fuss. You want to see those infrared elements glowing bright orange. That's the sign they're ready to instantly sear the surface and trap all those delicious juices inside from the very first second.
Planning Your Meal: What’s the Capacity?
Before you pull out your ingredients, it helps to know what you can cook at once. This grill is perfectly sized for a weeknight dinner or small get-together, comfortably handling up to three steaks or four burger patties at a time. This way, you can plan your meal perfectly.
The Final, Crucial Step: Resting Your Meat
You'll see "Rest" in every recipe, so let's cover it now. This is the single most important step after the steak leaves the grill.
- What is it? It’s just letting your meat sit undisturbed for a few minutes after cooking and before you slice into it.
- Why does it matter? While cooking, the steak's muscle fibers tighten up and push all the juices to the center. If you cut it right away, a puddle of flavor spills out onto your plate. Resting lets the fibers relax and reabsorb those juices, spreading them evenly throughout the meat.
- The result? A dramatically juicier and more flavorful steak. It's the easiest way to improve your final product. Don't skip it!
Alright, with the fundamentals covered, you're ready to cook the perfect steak with Big Horn® 1500°F Infrared Steak Grill. Let's put these principles into practice, starting with the most tender cut of all.
Tenderloin (Filet Mignon): Precision for Ultimate Tenderness
Let's talk about Tenderloin, or Filet Mignon. This is, hands down, the most tender cut of beef you can buy. It’s lean, with a buttery texture and a milder, more delicate flavor. Its claim to fame is that melt-in-your-mouth tenderness.
Now, because it's so naturally tender, you might be thinking, "Shouldn't I only cook this to Medium Rare?" And you're not wrong! But here's what's so cool about this grill: it’s powerful enough that it can cook a filet to a higher doneness without destroying it and turning it into leather—a feat most grills can't pull off.
Recipe 1: For > Medium Well
- Rack: Rack 1
- Time: 45 seconds per side
- Rest: 1 minute
- The Logic: Using Rack 1 gives you that super-aggressive sear. Keeping the time symmetrical ensures both sides get a perfectly even crust while the inside cooks through quickly.
Recipe 2: For Well Done (While Staying Tender)
- Rack: Rack 3
- Time: 1m 32s (front) | 1m 20s (back)
- Rest: 2 minutes
- The Logic: By using the lower Rack 3, the heat is less intense. This allows it to gently cook the lean meat all the way through without creating a burnt crust.
Ribeye: The Art of Releasing Rich Flavor
Know Your Cut: Famous for its incredible marbling (those little white flecks of intramuscular fat) and rich, beefy flavor, the Ribeye is the top choice for anyone seeking the ultimate juicy steak experience.
Recipe 1: For Medium Rare
- Rack: Rack 2
- Time: 1 minute per side
- Rest: 1 minute
- The Logic: Rack 2 is the sweet spot here. It’s hot enough to melt all that delicious fat and create a gorgeous crust, while still being gentle enough to keep the center a perfect, rosy pink.
Recipe 2: For Medium Well (with a Slight Char)
- Rack: Rack 1
- Time: 1m 30s per side
- Rest: 1 minute
- The Logic: The intense, direct heat of Rack 1 is exactly what a fatty Ribeye loves. It renders the marbling beautifully, creating that intensely flavorful and crispy crust that defines a world-class steak.
And here’s something you’ll notice, especially with a rich cut like this: no sudden flare-ups. Because the heat comes from the top, all that rendering fat drips down harmlessly into a tray, meaning you get a clean, even sear without any of that bitter, burnt taste—and a lot less smoke than you might be used to.

Striploin (New York Strip): The Perfect Balance of Flavor & Texture
Know Your Cut: The Striploin is a steakhouse classic. It has a great, satisfying chew and a bold, beefy flavor, often distinguished by the signature cap of fat running down one side.
Recipe 1: For Medium
- Rack: Rack 2
- Time: 45s (front) | 35s (back)
- Rest: 1 minute
- The Logic: This quick sear on the middle rack is perfect for achieving a warm pink center while rendering the fat cap just enough to be delicious.
Recipe 2: For Medium Well
- Rack: Rack 2
- Time: 55s (front) | 45s (back)
- Rest: 1 minute
- The Logic: A slightly longer time on the same balanced rack pushes the center past pink into a more uniformly cooked, yet still juicy, state.
Recipe 3: An Alternate Method for Medium Rare
- Rack: Rack 3
- Time: 1m 40s per side
- Rest: 1 minute
- The Logic: This is a different approach. Using the lowest rack for a longer time provides a more "gentle" heat. This allows a thicker Striploin to cook more evenly from edge to center, resulting in a consistent medium-rare without a hard-seared crust.
Tomahawk: Mastering the "King of Steaks"
Know Your Cut: A true showstopper, the Tomahawk is a thick-cut Ribeye with the long rib bone left on. It’s all about dramatic presentation and the deep, rich flavor you get from cooking on the bone.
Recipe: For Nearly Well Done
Step 1 (The Deep Cook): Start on Rack 3 and cook the front side for 2m 10s.
The Logic: The greater distance lets the heat start to gently penetrate the center of this massive cut without burning the outside.
Step 2 (The Searing Finish): Move the steak up to Rack 2. Sear the front side again for 40s, then flip and cook the back side for 1m 30s.
The Logic: Now that the inside is warmed up, moving it closer to the heat creates that final, perfect crust and renders the surface fat beautifully.
Step 3 (The Essential Rest): Take it off the grill and let it rest for at least 2-3 minutes due to its size.
Beyond Steak: Mastering Other Delicious Possibilities
1. The Perfect Burger Patty
- Technique: Cook it most of the way on Rack 3, then move it to Rack 1 or 2 for a quick, final sear at the end.
- The Logic: This multi-level approach gets the patty cooked through and juicy on the inside while still giving it that incredible steakhouse-style crust on the outside.
2. Crispy-Skinned Salmon
- Rack: Rack 2
- Time: 1m 20s per side
- Rest: 1 minute
- The Logic: The heat from Rack 2 is just right for making salmon skin incredibly crispy without drying out the delicate fish, leaving it moist and flaky.
Universal Principles & Advanced Grilling Techniques
Rule #1: Don't Walk Away
Seriously. Things happen in seconds on this grill. The difference between a perfect Medium Rare and an overcooked Medium Well can be the time it takes to grab a drink. Stay focused.
Thickness Matters
Consider this guide your starting point. If your steak is much thicker or thinner than average (say, 1.5 inches), you'll need to adjust your times a bit. Adapt and learn.
A Thermometer is Your Best Friend
For 100% confidence while you're learning how to grill steak perfectly, an instant-read digital thermometer is a game-changer. It removes all the guesswork.
Conclusion: The Keys to Delicious Are in Your Hands
So there you have it. Grilling on an Infrared Steak Grill isn't magic, it’s just a different way of thinking about heat. It all comes down to embracing the speed, controlling your variables, and always, always respecting the rest.
You now have not just the instructions, but the knowledge behind them. Go forth, experiment with confidence, and enjoy the incredible, steakhouse-quality food you can now create right in your own backyard.
And perhaps the best part? When the delicious meal is over, cleanup is ridiculously simple. All the internal components slide right out and are completely dishwasher safe. No scrubbing, no mess. Just more time to enjoy with your family and friends.


