Pizza Ovens
Pizza Oven First-Time Setup: The Complete Preparation Guide
You've finally got your pizza oven home, and you're ready to create those crispy, bubbly pies you've been dreaming about. But hold on—before you slide that first pizza onto the stone, there are a few essential steps you'll want to take. Proper preparation ensures your oven performs beautifully, lasts for years, and most importantly, produces delicious food every single time.
Different ovens require different preparation steps. Here's what you need to do for each type before your first cook:
Safety check first: Before anything else, inspect all gas connections.
First ignition: Follow your model's specific lighting procedure. Most gas ovens heat up quickly—you'll reach cooking temperature in 10-15 minutes.

For Pellet Pizza Ovens, follow this quick first-time checklist before cooking your first pizza.
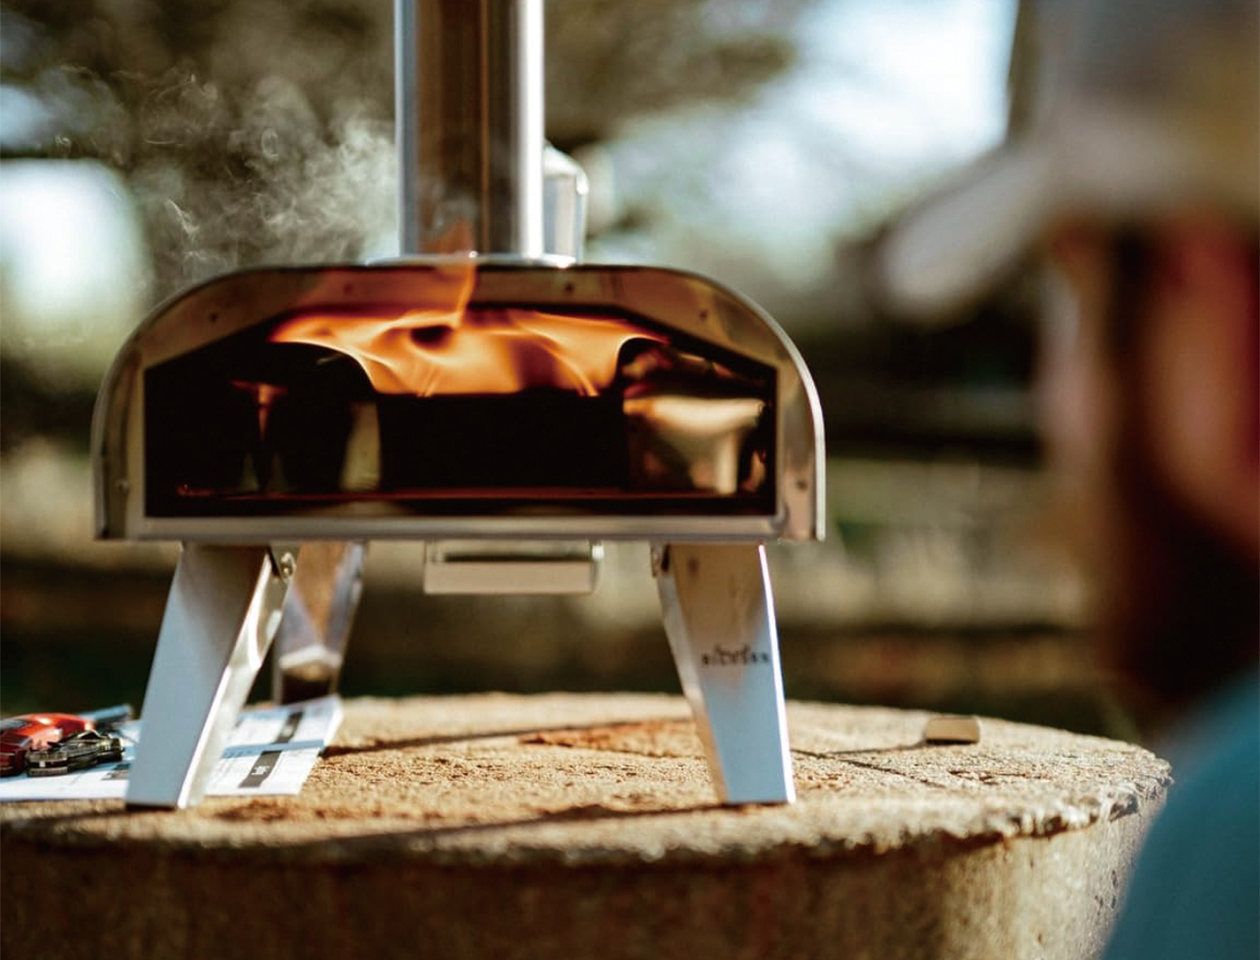
Wood-Fired Ovens take the longest to prep, but they reward patience with intense heat and classic flavor.

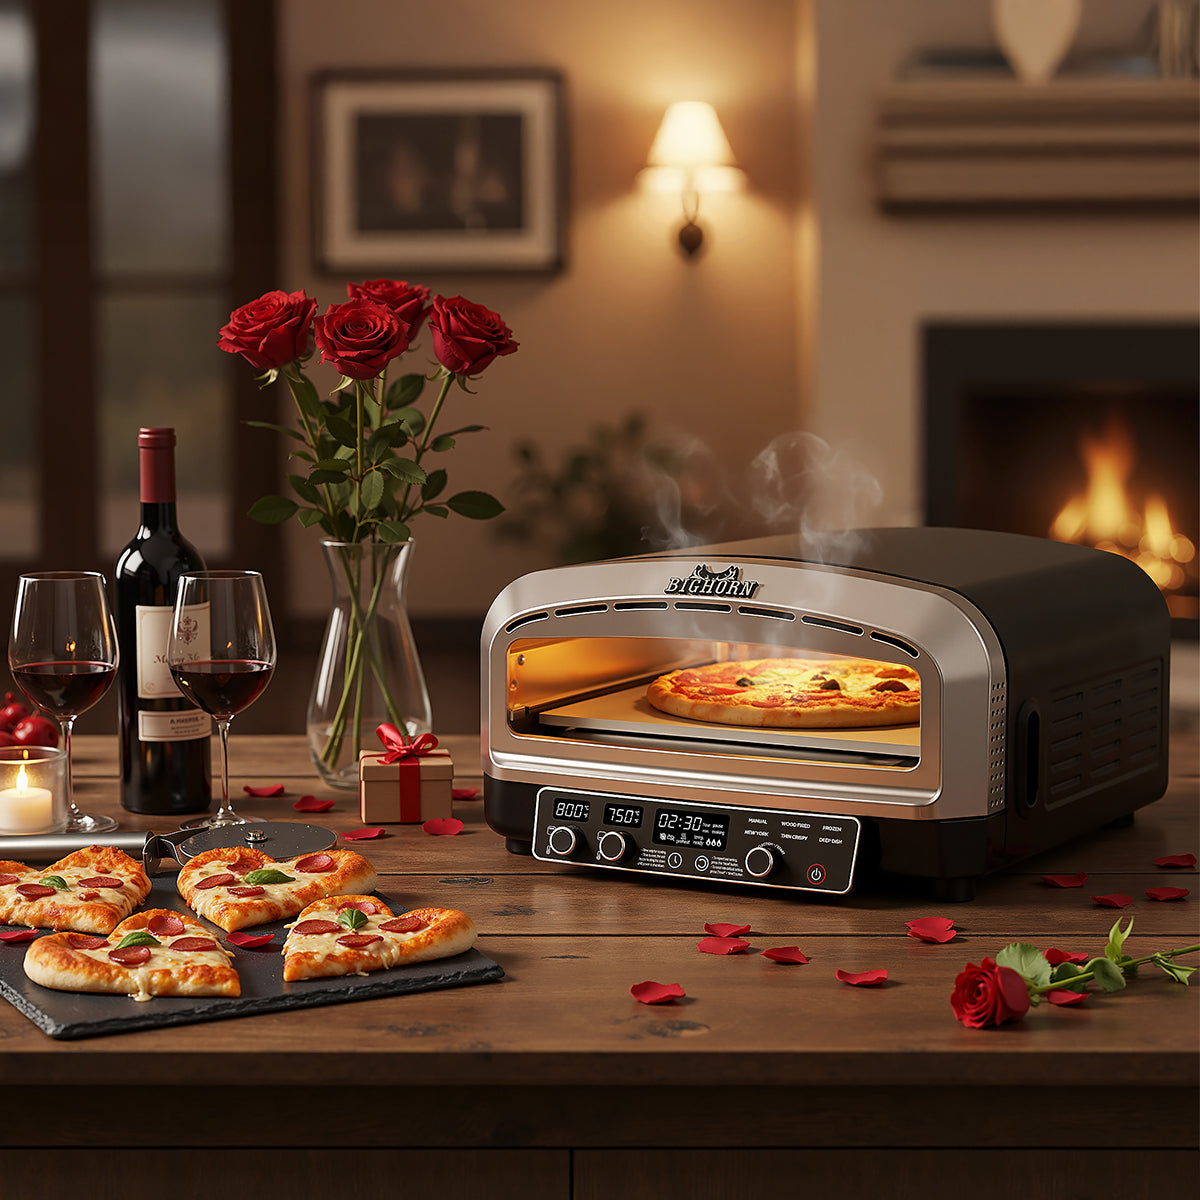
Electric Pizza Ovens are the easiest to start, but the right outlet and proper airflow clearance matter.
Regardless of fuel type, every new oven needs:
If you're familiar with cast-iron cookware, you might wonder whether your pizza stone needs the same oil-seasoning treatment. The answer? Absolutely not.
Unlike cast iron, pizza stones are highly porous. When you apply oil or any kind of fat, it seeps deep into the material. Over time, that oil turns rancid or starts smoking heavily at high temperatures—neither of which improves your pizza experience.
Instead, follow these simple steps:
Think of the burn-off as your oven's inaugural warm-up. During manufacturing and shipping, invisible residues—industrial oils, protective coatings, and warehouse dust—settle inside your oven. You definitely don't want these flavors mingling with your Margherita.
Here's what to do: fire up your oven to maximum temperature and let it run empty for 20 to 30 minutes. Don't be alarmed if you notice a faint odor or see wisps of smoke drifting out. This is totally normal and means the process is working. You're essentially burning away anything that doesn't belong in there.
Once the timer's up, turn off the heat and let everything cool down completely. Now your oven is clean, sanitized, and ready for the real deal.
Having the right tools makes your first pizza-making session infinitely less stressful. Here's what you absolutely need:
Even experienced home cooks often rush this part. Here's the truth: just because the oven feels hot doesn't mean it's ready for pizza.
Give your oven a minimum of 15-20 minutes to preheat. For some models, 30 minutes is even better. The stone needs this time to reach the proper temperature all the way through. If you rush it, you'll get a pale, floppy crust.
Your first pizza shouldn't be an ambitious 14-inch creation loaded with six different toppings. Start small—maybe a 10-inch pie with just sauce, mozzarella, and basil. A thinner crust with fewer toppings gives you room to practice your launching technique without the pressure.
Here's something that surprises most newcomers: pizza ovens have hot spots, usually near the back or closest to the heating element. Your pizza can go from perfect to charred in seconds if you don't rotate it.
After about 30-45 seconds, use your metal peel to rotate the pizza 180 degrees. This ensures even cooking and that gorgeous leopard-spotted crust everyone loves.
No matter which fuel type you've chosen, the key to success is understanding your specific oven's characteristics. Take notes during your first few sessions—how long does it take to preheat? Where are the hot spots? How quickly does it recover temperature after launching a pizza?
Each oven has its own rhythm. Wood and pellet ovens reward patience and fire-tending skills. Gas ovens excel at quick heat-up and consistent performance. Electric models shine with precise control and versatility. Learning these nuances transforms good pizza into great pizza.
Remember, every pizza master started exactly where you are now. Give yourself permission to learn and experiment. That first slightly lopsided pizza? It's still going to taste incredible.
If you're looking to upgrade your outdoor cooking setup with professional-quality equipment, Big Horn Outdoors® offers a range of pizza ovens and accessories designed for serious home chefs. Check out the Big Horn® collection to find everything you need for pizza perfection.
Only if it's specifically designed as an indoor-rated electric pizza oven for home use. Gas and pellet models produce carbon monoxide and must be used outdoors in well-ventilated areas. Never compromise on this—it's a serious safety issue.
No need. Once the oven cools down, give it a quick wipe with a dry cloth if you see any dust, but skip the soap and water. Pizza stones are absorbent and will soak up cleaning chemicals, which you definitely don't want in your food.
Plan on about 45 minutes total. That includes 10-15 minutes for unboxing and assembly, plus the 30-minute burn-off and cooling period. It's not a huge time investment, and it's absolutely worth it.
Not even close. Color changes, staining, and developing a "patina" are completely normal and expected. In fact, seasoned pizza makers consider these marks a badge of honor. They don't affect flavor or performance. If anything, a well-used stone often performs better than a brand-new one.
 Red Wine Mushroom Gravy Beef Tips on Infrared Grill
Master steakhouse-quality beef tips at home! Marinated for flavor, seared fast on an infrared grill, and topped with a rich red wine mushroom gravy.
Red Wine Mushroom Gravy Beef Tips on Infrared Grill
Master steakhouse-quality beef tips at home! Marinated for flavor, seared fast on an infrared grill, and topped with a rich red wine mushroom gravy.
 Pro Tips: Grilling Thick-Cut Steak for Maximum Flavor
Master grilling thick-cut steaks at home. Learn essential prep, resting tips, and how to use 1500℉ infrared heat for a flawless, restaurant-quality...
Pro Tips: Grilling Thick-Cut Steak for Maximum Flavor
Master grilling thick-cut steaks at home. Learn essential prep, resting tips, and how to use 1500℉ infrared heat for a flawless, restaurant-quality...
 How to Make a Smash Burger on an Infrared Grill
Standard grills ruin beef by losing flavor. Use a cast iron plate on an infrared grill to lock in moisture and make the perfect smash burger crispy...
How to Make a Smash Burger on an Infrared Grill
Standard grills ruin beef by losing flavor. Use a cast iron plate on an infrared grill to lock in moisture and make the perfect smash burger crispy...