





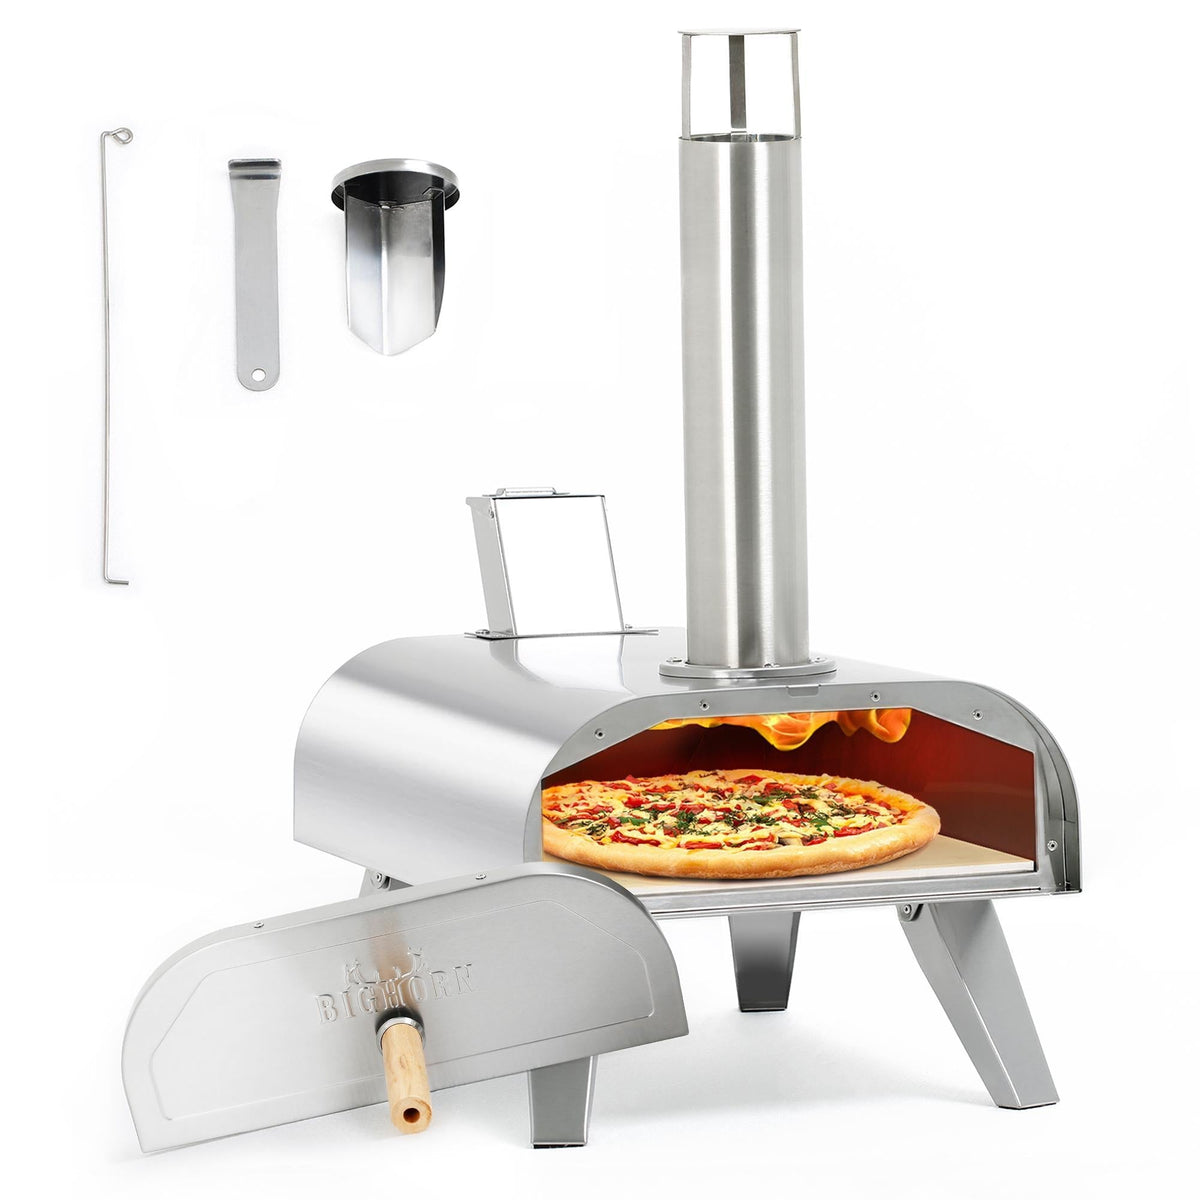
Wet-season care for a wood pellet outdoor oven comes down to three habits: keep the pellets dry, keep the oven covered and sheltered when cool, and dry it fully before the next lit session. Moisture is the pellet oven’s worst enemy — it makes fuel feed poorly, rusts the steel, and leads to weak ignition — so the season’s routine is really a moisture-management routine.
Why moisture matters so much
Damp pellets expand, jam the feed, and burn weak; damp steel rusts; and a damp stone can crack when shocked by high heat. All three failures trace to the same root, which makes wet-season care simple in principle: keep everything dry, and never light an oven that has absorbed moisture. A little prevention here saves a season of frustrating cooks and early wear.
Storing the pellets
Keep food-grade hardwood pellets in a sealed, dry container and store it off the ground, away from rain and splash. A plastic bin with a tight lid or a dry shed corner works well. Check the pellets before use: if they feel damp or show swelling or mold, discard rather than burning them — damp fuel is not salvageable for cooking.

Covering and storing the oven
Use a weatherproof cover designed for the oven, or store it in a dry, covered spot when not in use. Keep the oven off pooled water and out of direct rain. If the unit will sit unused for a long stretch, empty the hopper and ash so nothing holds moisture, and confirm the legs are dry before folding or moving it.
Before the first lit session after rain
Open the hopper and chimney, and let the oven air out fully before lighting. Wipe any visible moisture from the stainless body, confirm the stone is dry, and run a full preheat with dry pellets before cooking. If the oven was heavily exposed, a dry, empty preheat first will drive off residual moisture safely before food goes in.
Can I cook in light rain?
It is possible if the oven and pellets stay dry, but rain can pull heat and make the session unpleasant. If you must cook in light rain, shelter the oven from overhead moisture and keep pellets covered until the hopper. For heavy rain, wait it out.
How often should I check the oven during the wet season?
Check weekly if the oven is stored outside, and after any heavy rain. Look for moisture in the hopper and ash, condensation on the stone, and rust on the steel. Catching moisture early prevents the bigger failures later.
Is rust on stainless steel a problem?
Stainless resists corrosion, but surface stains or rust spots can appear in wet conditions. Clean them with a stainless-safe cleaner and dry thoroughly, and keep the unit covered. Prompt care prevents minor spots from becoming pitting.
What should you do if the oven got wet before lighting?
Air it out fully before lighting: open the hopper and chimney, wipe visible moisture, and confirm the stone and pellets are dry. If heavily exposed, run a dry preheat first to drive off residual moisture safely. Never light a damp oven or use damp pellets — it risks weak ignition and stone damage.
Does humidity alone damage the pellets?
Yes, over time. High humidity can soften pellets and make them swell, which leads to poor ignition and potential jams. Store pellets in a sealed container even in humid seasons, not just during rain, and inspect them before use.
How do you dry out the stone safely?
Let the oven air out fully, then run the stone through a normal preheat on a dry cycle — the gentle heat drives off residual moisture before food goes in. Do not shock a damp stone with a sudden blast of full heat, as thermal shock can crack it. A slow, careful dry is what protects a saturated stone.
What is the best way to carry the oven into storage?
Move the oven only when completely cool, on its foldable legs or by its intended carry points, and never carry a warm stone or ash container. Keep it upright, dry the body, and cover it for storage. Consistent, careful movement protects both the steel and the stone across a wet season.
How do you know if the season damaged the oven?
Inspect for rust spots on the steel, dampness or swelling in the hopper, and cracks or chips on the stone. Address rust promptly with a stainless cleaner, dry the hopper fully, and replace a cracked stone before the season resumes. Catching issues early keeps a wet season from becoming a permanent one.
How often should you use the oven during the wet season?
Regular use helps, because each lit session dries the oven, drives off moisture, and keeps moving parts free. If you cannot cook, at least open the hopper and chimney occasionally to let the unit air out. A monthly dry preheat keeps a stored pellet oven in good shape through a long, wet stretch.
What are the signs of moisture damage in the hopper?
Look for swelling or clumping pellets, a damp smell, and rust or residue around the feed. Damp pellets jam and burn weak, so check the hopper before each use and empty it if the oven will sit unused. Keeping the hopper dry and the fuel sealed prevents the most common wet-season failures.
How do you clean rust off a stainless oven?
For light rust spots, clean with a stainless-specific cleaner and a soft cloth, then dry thoroughly and apply a light protective layer. Avoid abrasive pads that scratch the finish and let moisture back in. If rust has pitted the metal, treat the area promptly and keep it covered — early care prevents deeper damage.
What is the quickest daily check in wet weather?
Before any session, do a two-minute pass: check the hopper and pellets for dampness, look for moisture on the stone, and confirm the chimney is clear. If anything feels wet, dry it or postpone the bake. That short routine catches most moisture problems before they reach the food.
What is the wet-season summary rule?
The whole routine condenses to one rule: keep the pellets dry, keep the oven dry and covered, and dry it fully before lighting. Moisture is the pellet oven’s only real enemy, and the care is simply its defense. Follow that rule through the wet months and the oven will be ready the moment the season turns.
Wet-season care FAQs
Can I leave my pellet oven outside in the rain?
Only with a proper cover and dry storage for pellets and hopper. Even covered, a long wet season calls for periodic drying; do not assume the cover makes it maintenance-free.
What if my pellets got wet?
Discard them. Damp pellets are unreliable and can jam the feed — drying them does not restore the original burn quality, and the risk is not worth it.
How do I know the stone is dry before baking?
Visually and by touch — it should feel dry and show no damp spots. When in doubt, run a dry preheat before cooking to drive off residual moisture.
For current specs and compatible covers or storage options, review the 12-inch Big Horn pellet pizza oven product page.
