Pizza Ovens
Master Your Pizza Oven Temperature: A Complete Guide

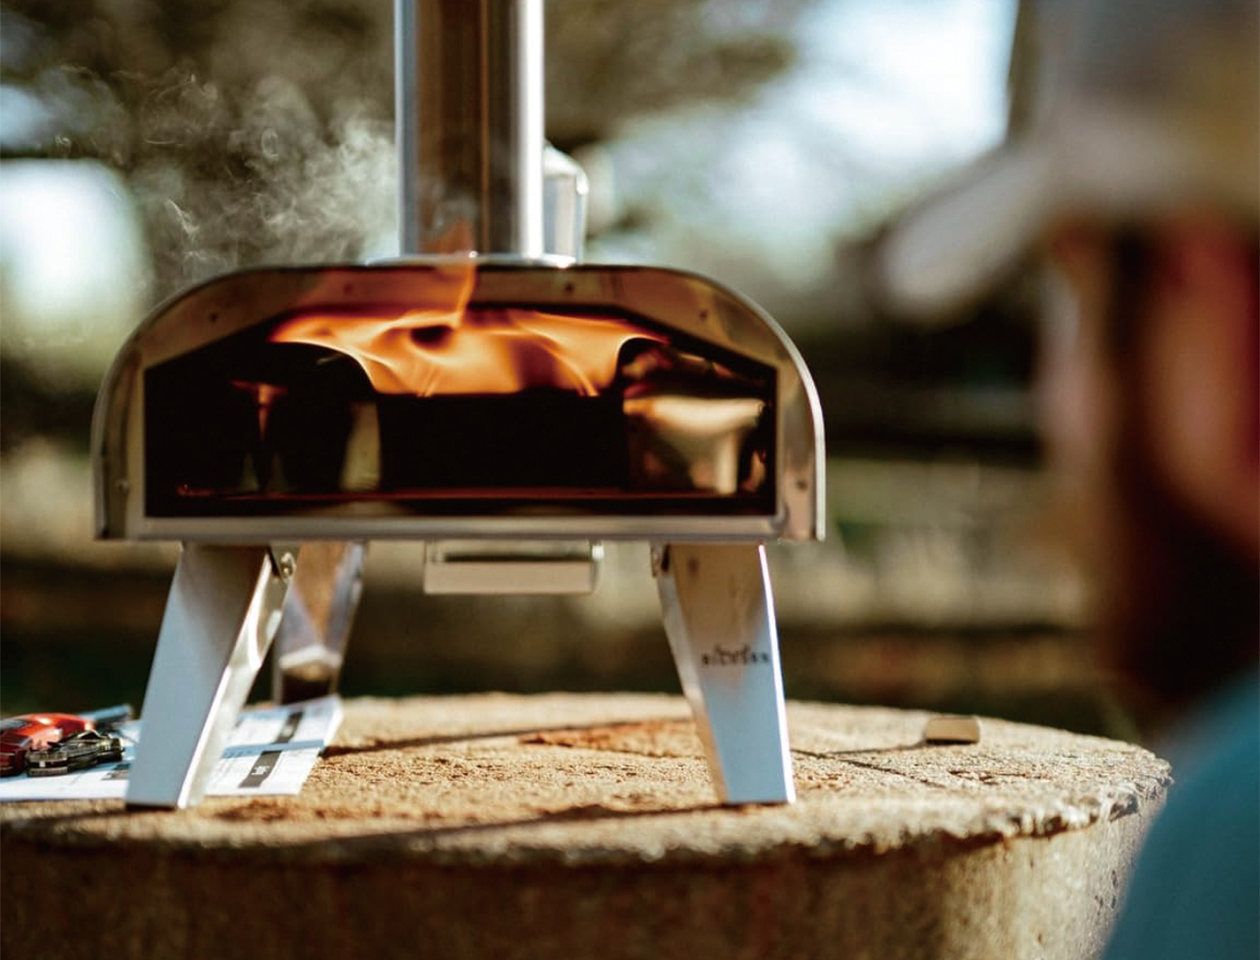
Poor temperature control leads to burnt crusts and undercooked toppings. Whether you're using wood pellets or gas, controlling your oven temperature requires proper flame regulation. Understanding how to control your pizza oven's temperature is what separates beginners from serious pizza enthusiasts. The following few pages will explain how to effectively maintain your oven at the right temperature.
Heat creates texture. Your temperature choice depends on dough thickness and topping density.
This zone is ideal for thin, lean dough made with Italian "00" flour. At this temperature, water vapor instantly turns to steam. This creates "oven spring," pushing the cornicione (the puffy outer edge) upward before the crust hardens. This requires only 60-90 seconds of cooking time. This temperature provides the "leopard spots" on the dough due to the charring condition.
Pizzas with thick crusts or heavy toppings require lower temperatures to cook evenly. Baking for 4-6 minutes allows the bottom crust to crisp up as moisture evaporates. This zone melts cheese thoroughly and cooks meat properly without burning the bottom. This temperature works well for dough that contains oil and sugar because the latter burns at a temperature of above 700°F.
Dense dough needs time to rise and roast properly. Too high heat will char the outside while leaving the center undercooked. A well-calibrated oven roasts the dough well within a period of 12-15 minutes when preparing pan pizzas or calzones.

| Pizza Type | Recommended Temperature |
| Margherita | 750°F-900°F |
| Pepperoni | 550°F-700°F |
| Neapolitan | 750°F-900°F |
| Sicilian (thick) | 450°F-550°F |
| New York-style | 550°F-700°F |
| Chicago-style (deep dish) | 450°F-550°F |
| White Pizza (no sauce) | 550°F-700°F |
| Veggie Pizza | 550°F-700°F |
| Hawaiian | 550°F-700°F |
Your oven operates on the "fire triangle" principle: heat, fuel, and oxygen. This knowledge enables control over the temperature.
In a pellet oven of the type provided by Big Horn Outdoors®, air movement creates temperature. Keep the vent on the top of the oven open at all times. Excessive smoke indicates insufficient oxygen. Pellet quality will contribute greatly to the temperature of the oven. Always use dry hardwood pellets—moisture in wet pellets absorbs heat energy and lowers oven temperature. A flame that extends from the back burners across the top of the oven should ideally go up to the roof so that radiant heat is transferred to the toppings.

Gas Ovens:
For gas ovens, preheat the stone on "High" until it reaches your target temperature. After the stone reaches the target temperature, gas users should immediately switch the settings to the "Low" or "Medium" setting right before launching the pizza. This prevents the pizza's toppings from being burnt.
Pellet Ovens:
Fuel amount sets the temperature. Fill the hopper completely for peak performance. For lower temperatures, let the hopper burn down to half capacity.
Electric outdoor ovens usually come with dual-zone control. If the crust burns, remove the power from the bottom heating elements. If the melted cheese is too well-browned on top, turn down the top heating elements. To do the standard bake setting on the oven, the elements must go on max power during the preheating mode.
Air in the oven heats up rapidly. The stones take much more time. This particular process should not be hurried.
Preheat for 15-20 minutes. The stone acts as a heat battery. A cold stone will absorb too much heat from your dough, resulting in an undercooked crust. Ensure the stone is fully heated before baking.
Look for the "clean burn" as a visual indicator. When you first light a wood-fired oven, black soot appears on the walls. Once the oven exceeds 700°F, this soot burns off, leaving the walls white or gray.
Don't rely on the door temperature gauge alone. This only measures the air temperature. Use the infrared thermometer gun to take the temperature of the surface of the stone. Use the laser on the center of the stone that the pizza will rest on. Check the back and front zones. This tells you when and how to rotate your pizza.

"Fluctuations result in uneven cooking." Consistency requires a set routine with respect to the management of fuel and its handling.
For pellet ovens, use the "micro-dosing" method. Do not let the flame go out completely. Simply add a small dose of pellets every 10-15 minutes or after every pizza. Adding too many cold pellets at once restricts airflow and drops the temperature.
Heat escapes quickly out of the open door. The door should remain closed during the pre-heating and recovery phases. When opening the door to rotate or launch a pizza, work quickly. Have the peel and equipment at the ready just prior to opening the door.
Allow 30-60 seconds between pizzas for the stone to recover its temperature.
If temperature control appears challenging, consider the following checklist:

Mastering pizza oven temperature comes down to preparation. Proper preheating and steady fuel management eliminate temperature fluctuations. This offers consistent pizza oven temperatures.
If you are looking at equipment that offers superior heat retention and air circulation, take a look at the Big Horn Outdoors® pizza oven series. No matter if it's the authentic taste of pellets or the convenience of gas that you prefer, we have the equipment that will make you an expert at the flame!
Most portable gas and wood pellet pizza ovens need 15-20 minutes to preheat to the required temperature of 700°F-900°F. This varies greatly with the climatic conditions. A cold climate temperature could potentially make the oven take up to an additional 25 or even 30 minutes of extra preheating time. This should only happen after measuring the temperature using a thermometer.
You must measure the temperature of the surface of the baking stone, or more accurately, the center of the stone. This is where your dough makes contact with the heat. You do not want to do this measurement with the temperature gauge that comes with your oven. This temperature gauge reads the temperature of the region of air near the top of the dome of the oven. This could well be very different from the temperature of the area on which the dough rests.
At 700°F-900°F, you can do more than cook pizza. You can also cook flatbreads, naan, roasted vegetables, seared steaks, whole fish, and fruit desserts. Lower temperatures (450°F-550°F) are ideal for roasted chicken, baked pasta, and artisan bread.
This is achieved by using a digital thermometer so that the temperature of the stone surpasses the required temperature of above 750 degrees Fahrenheit. On the other hand, if the required equipment cannot be used, the temperature of the oven can be measured by looking at the walls of the oven and determining that there is a 'clean burn.' This occurs after the first burnout of the oven because the walls of the oven will have soot on them. This soot will have burnt away at the optimal temperature of the oven.
DO NOT place anything in the oven during the warming-up time. This prevents the stone from reaching optimal temperature. The preheating process charges the stone with heat energy—it acts as a heat battery. If you put the pizza into the oven while the stone has not reached its peak temperature, the pizza will be undercooked.
 Big Horn Outdoors® Expands Retail Presence with New Experience at Piedmont Outfitters
Big Horn Outdoors® is excited to announce a new retail destination for outdoor cooking enthusiasts. Customers can now experience the brand's popula...
Big Horn Outdoors® Expands Retail Presence with New Experience at Piedmont Outfitters
Big Horn Outdoors® is excited to announce a new retail destination for outdoor cooking enthusiasts. Customers can now experience the brand's popula...
 As Seen on NBC Daytime: Big Horn Outdoors® Pizza Oven and Infrared Steak Grill Featured on National Television
Featured on NBC Daytime, the 12-Inch Multi-Fuel Pizza Oven and 16-Inch Infrared Steak Grill demonstrate how Big Horn Outdoors® helps make high-qual...
As Seen on NBC Daytime: Big Horn Outdoors® Pizza Oven and Infrared Steak Grill Featured on National Television
Featured on NBC Daytime, the 12-Inch Multi-Fuel Pizza Oven and 16-Inch Infrared Steak Grill demonstrate how Big Horn Outdoors® helps make high-qual...
 Red Wine Mushroom Gravy Beef Tips on Infrared Grill
Master steakhouse-quality beef tips at home! Marinated for flavor, seared fast on an infrared grill, and topped with a rich red wine mushroom gravy.
Red Wine Mushroom Gravy Beef Tips on Infrared Grill
Master steakhouse-quality beef tips at home! Marinated for flavor, seared fast on an infrared grill, and topped with a rich red wine mushroom gravy.