
Infrared Grilling Expansion
Before the first platter leaves the kitchen, check three things: the skin is dry, you have a two-stage heat plan, and you know how you will protect the tips. The useful numbers on an infrared grill are batch size, rack position, and how often you turn, not a steak-sear clock copied onto a jointed wing.
This page is a wing method for a close, intense cooker. It is not a thigh walkthrough, and it is not a pizza-oven wing recipe. Those jobs already have their own pages.
Chicken wings on an infrared grill: rendered skin is the job, not a steak sear
Chicken wings on an infrared grill need rendered, dry skin and cooked joints, not a hard steak sear. Use a two-stage heat so fat can render before the tips scorch, turn often, and sauce after the cook. Poultry should reach 165°F in the thickest part, per the FDA chart.
A steak wants a fast crust. A wing wants the fat under the skin to melt out so the skin can dry and then crisp. If you park a crowded rack of wings in the closest, hottest position from the first second, the thin tips take the heat first and the joint still looks underdone. That is the usual failure, and it is a sequence problem more than a seasoning problem.
Split the work: a gentler first stage to render, a shorter second stage to color. Keep the pieces in a single layer so steam does not wet the skin you just dried. For the published poultry number, use the FDA safe food-handling chart, which lists 165°F for poultry parts. That figure is the official line this page cites, not a taste preference.
Party vs snack batches, and a two-stage heat idea
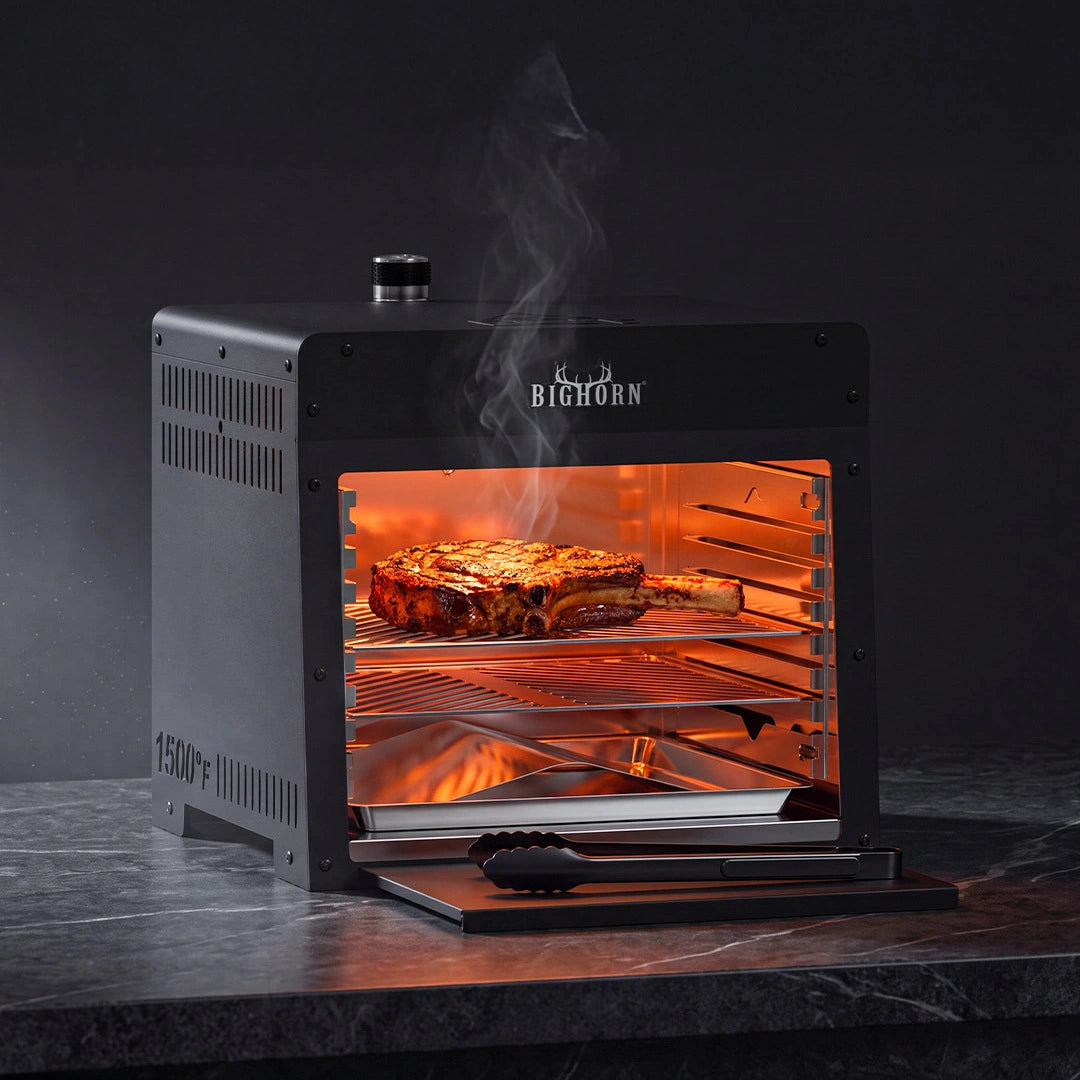
A snack batch is a single layer you can turn without shuffling. A party batch is two or three of those waves, not a packed pile on one rack. Infrared cookers in this portable class have a small footprint. If you overload them, the skin steams and the tips still burn at the edge of the emitter.
Two-stage heat means you start farther from the emitter, or on a lower setting, until the skin looks less glossy and some fat has dripped. Then you move the rack closer, or raise the heat, for a short color pass. The first stage does the rendering. The second stage is brief on purpose.
If you are feeding a small group, cook one layer, hold it on a warm platter, and start the next layer on the hot cooker. Do not try to finish twenty wings in one crowded pass because a larger gas grill could. For a broader sense of what this hardware handles well, see what to cook on an infrared grill, and keep wings in the foods that can take a staged heat.
Timing, turning and protecting the tips
There is no single minute count that fits every infrared model, every rack height, and every pack of wings. A useful way to think about it is in stages, with turns often enough that one face of a tip does not sit in the hottest line of the emitter. Common starting ranges, not a lab test, are a longer render stage and a short crisp stage, with a turn each time the exposed skin has taken color.
Protect the tips by keeping them out of the closest heat until the thicker drumette and flat have rendered. You can point the tips toward a slightly cooler edge of the rack, fold a very long tip under the flat, or leave the most delicate pieces for the second stage only. If a tip is already dark and the joint is not done, shield that piece or move it to a farther rack and finish by temperature, not by more close heat.
Stay with the cooker. Wings drip, and drips in a close box can smoke hard. For grease and fire attention around a hot grill, use NFPA grilling safety and U.S. Fire Administration cooking-fire prevention.
| Situation | Heat idea | Tip and sauce note |
|---|---|---|
| Snack batch, one open layer | Render on a farther rack or milder setting, then a short close pass | Turn when the exposed skin has color; sauce after the cook |
| Party batch, more wings than one rack | Cook in waves; hold finished wings on a warm platter | Do not crowd a single rack just to finish faster |
| Very skinny tips or already dark edges | Keep those pieces farther from the emitter for longer | Finish to 165°F in the joint, not with more close heat |
| Sugary sauce or glaze | Keep the cook dry until the end | Toss after the crisp pass so sugar does not blacken |
Sauce after the cook so sugar does not burn
Sauce is a finish, not a marinade, on this cooker. Sugar in a thick glaze blackens in a close infrared heat long before the joint is ready. Salt, a little oil, and a dry rub can go on ahead of time. The sticky bottle waits until the wings are crisp and off the rack.
Toss in a bowl, not on the emitter. If you want a second kiss of heat to set the sauce, make it a few seconds on a farther rack, then get the wings back to the platter. A wet sauce put on too early also undoes the dry skin you worked for.
If you already have a favorite recipe for seasoned, unsauceed infrared wings, the live crispy infrared chicken wings recipe can sit beside this method. This page owns the render-then-crisp sequence and the tip problem, not a single seasoning formula.
How this differs from infrared thighs and pizza-oven wings
Thighs are a thicker, meatier piece with a different clock and a different failure mode. Use how to grill juicy chicken thighs on high heat when that is the cut on the rack. Do not import a thigh timeline onto a wing, and do not treat a wing tip like the thick side of a thigh.
A pizza oven is a different chamber. It can crisp a wing, but it is built around stone heat and, often, dough. The Neapolitan pizza dough recipe for a high-heat oven is for pizza, not for a wing protocol. If you already cook wings in a pizza oven, keep that method on that cooker. This page stays with an infrared grill and a two-stage rack plan.
General infrared habits, including preheat and cleanup rhythm, belong on outdoor infrared grilling tips and recipes. This article only adds the wing-specific checks.
A platter plan for a small group
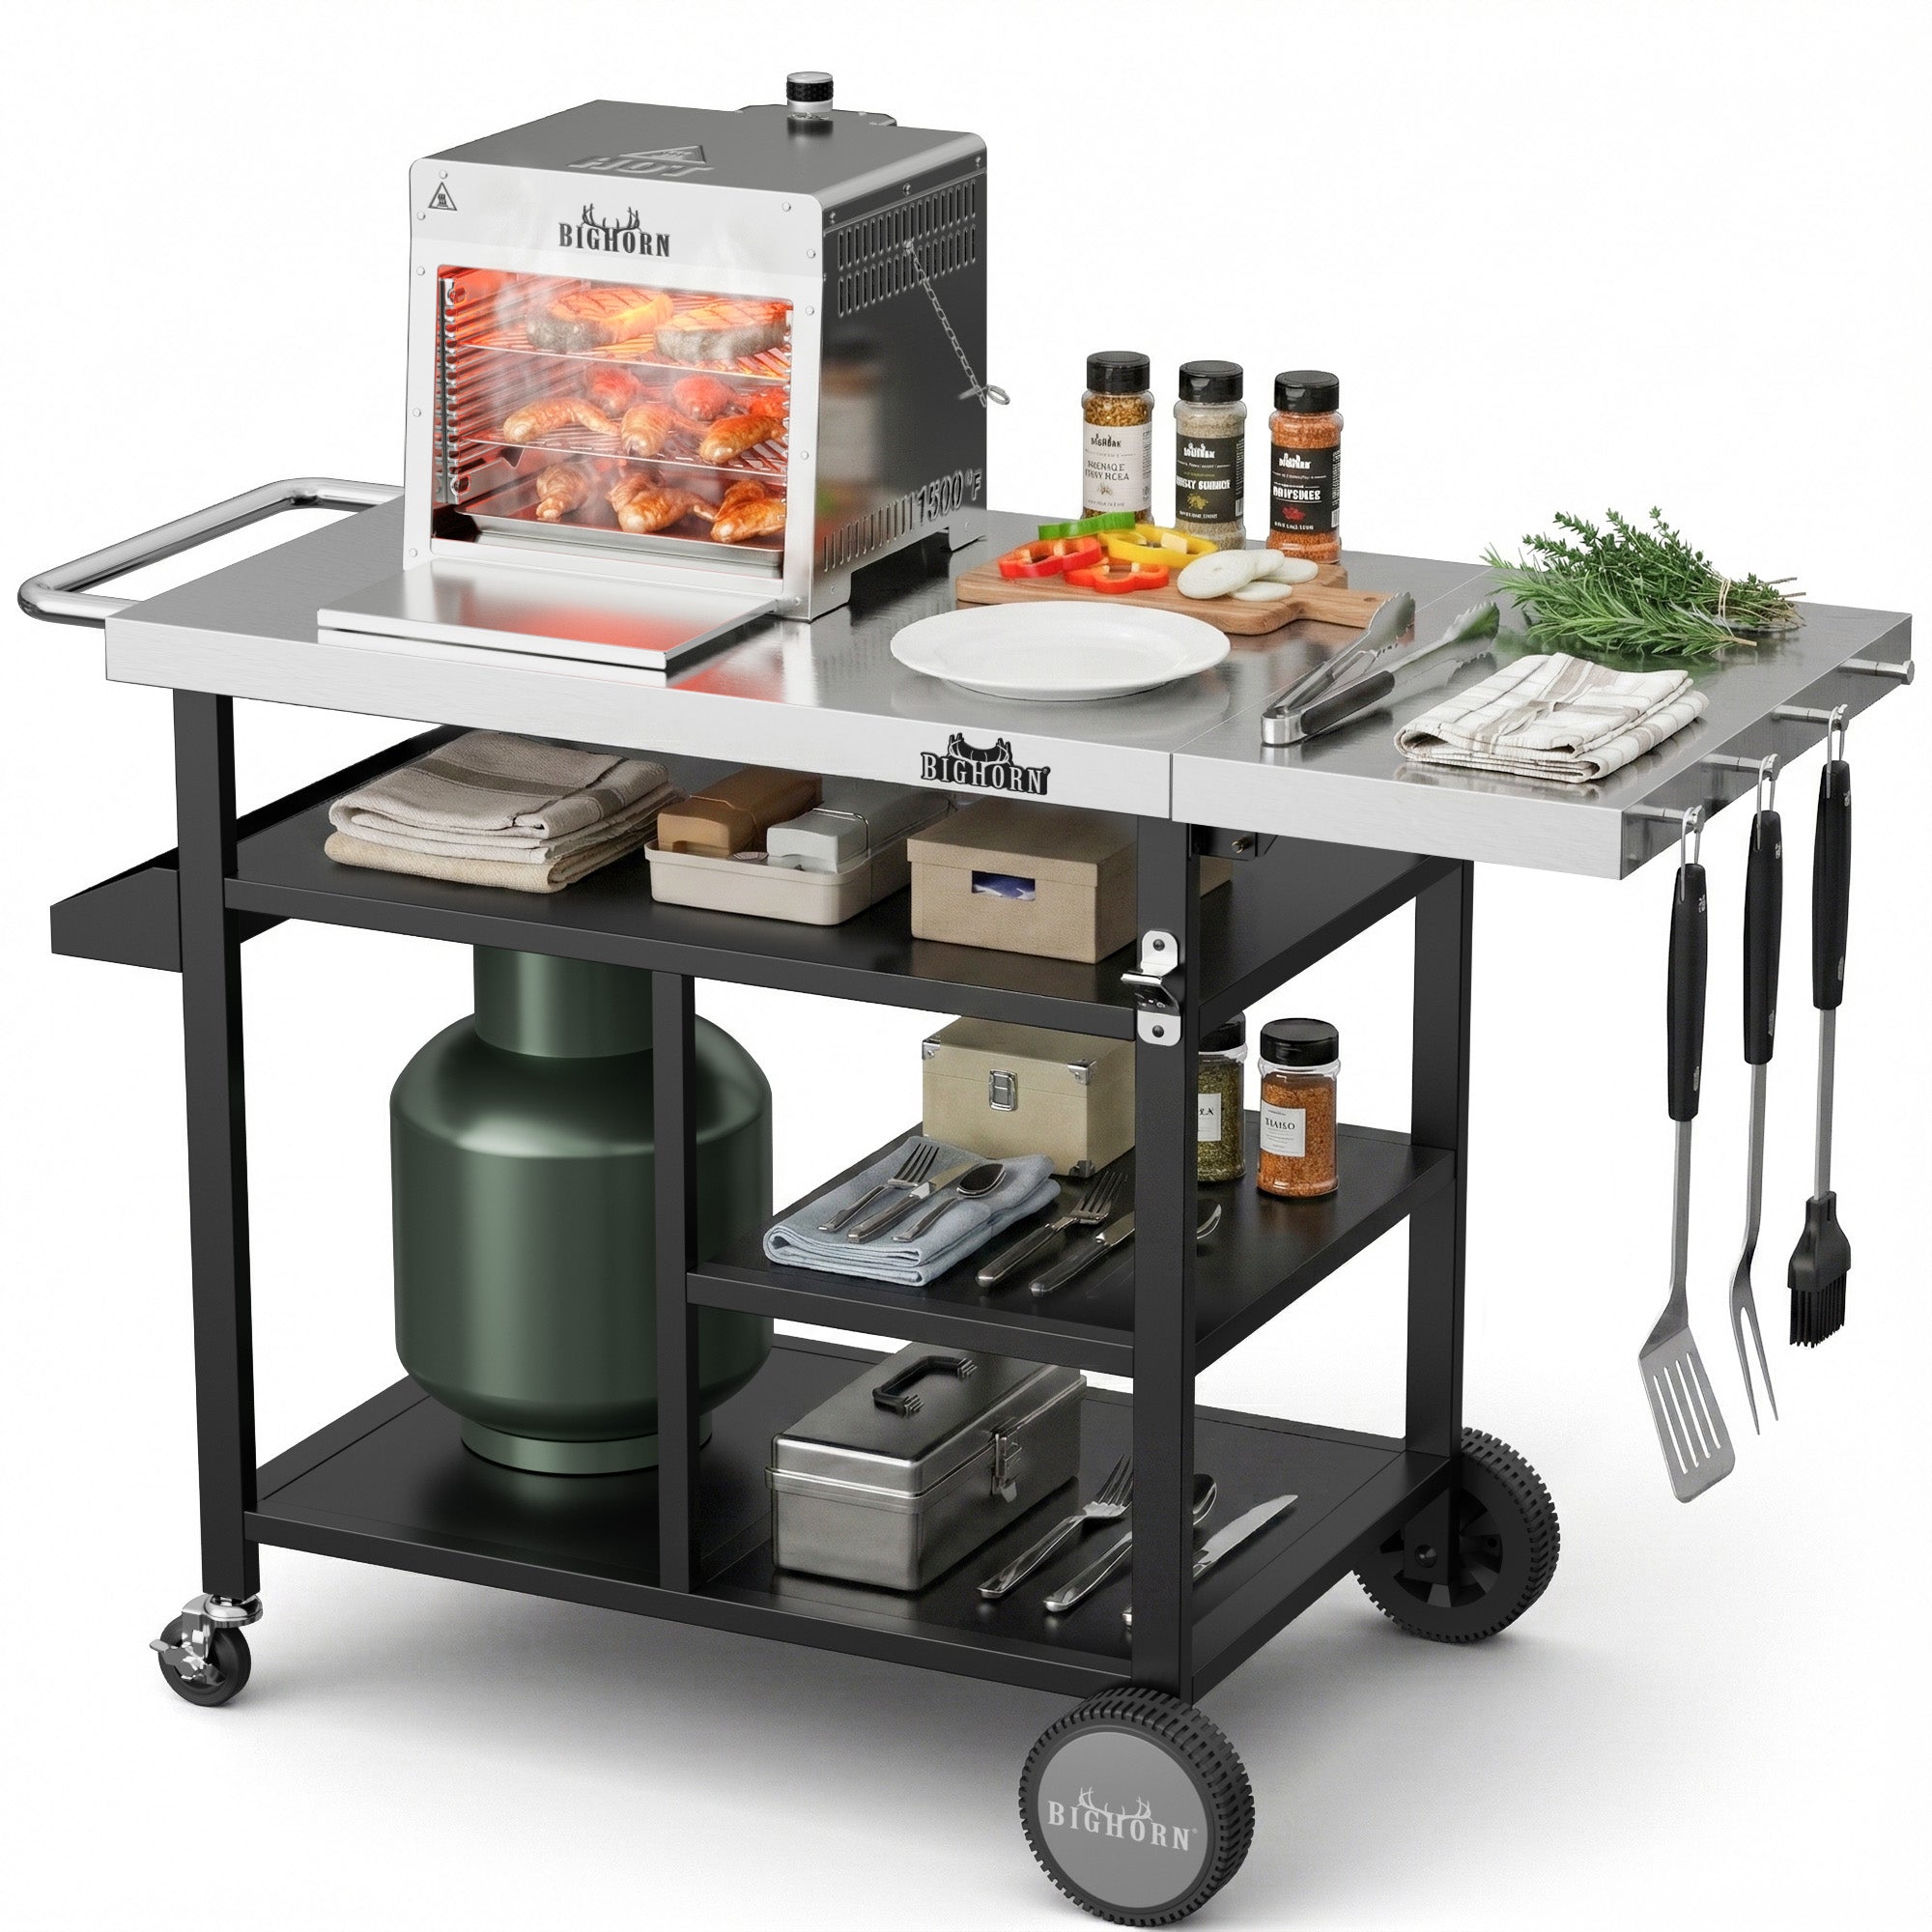
For six to eight people as a snack, plan on more than one wave and a place to land the finished wings. A stainless outdoor grill cart and pizza oven table gives you a platter zone, a towel, and a sauce bowl off the hot box. The cart is not a heat source. It is how you keep the second batch from piling onto the first on a tiny rack.
Set out a thermometer, tongs, and a clean platter before the first wing goes on. Once the cooker is hot, you will not want to walk back inside for a bowl. Keep raw and cooked tools apart, following the FDA kitchen food-safety page for boards and plates that held raw poultry.
Hold finished wings loosely, not under a tight wrap that steams the skin. If you need a short hold, an uncovered warm plate is kinder to the crust than a covered bowl.

A dry rack or uncovered fridge rest so the skin is not wet going on
Wet skin will not render cleanly. After you pat the wings dry, set them on a rack, uncovered, in the refrigerator for a stretch if you have the time. Overnight is helpful; even a couple of hours is better than going from a damp package straight to a hot emitter. The goal is a dull, dry surface, not a leathery wait that exists only to fill a recipe step.
Salt can go on before that rest, or just before the cook, as long as the surface is not glistening with moisture. Skip heavy, wet marinades. If the only wings you have are still icy, thaw them in the refrigerator first. A frozen, wet wing on infrared is how tips burn and joints stay underdone.
When you take the wings out of the fridge, pat them once more. Then they go on the already-hot cooker, in a single layer, starting on that farther or milder first stage.
A recap of who this method is for, and who should use a different cooker
This method is for someone with an infrared grill who wants a platter of wings with rendered skin and intact tips, and who can cook in waves instead of one crowded rack. It is a good fit for a small group when you can stand at the cooker and turn.
If you need a huge batch in one pass, a conventional gas grill or a pizza oven with more deck space will be less frustrating. If the cut in the package is thighs, use the thigh page. After the last wave, let the infrared grill cool fully before you cover or store it, and keep leftovers chilled on the timeline in the FDA advice on storing food safely and in Ready.gov home-fire guidance if you are still around an open flame or a hot box. Do not cover a cooker that is still hot.
When the last wing batch is off and the infrared grill has cooled, a cart such as the stainless outdoor grill cart and pizza oven table is a stable place to roll the unit aside and keep platters off the ground.
FAQ
How hot should a grill be for chicken wings?
For an infrared grill, think in stages rather than one blast of heat. Start on a farther rack or a milder setting so the fat under the skin can render, then move closer or raise the heat to crisp. A conventional gas-grill wing cook often sits in a medium-hot range; infrared is more intense at close range, so copying a steak sear usually scorches the tips first. Poultry should still reach 165°F in the thickest part, as listed on the FDA safe food-handling chart. These are method cues, not a thermometer reading of one model.
How do I grill boneless skinless chicken breasts perfectly?
A boneless, skinless breast is a different job from a wing. There is no skin fat to render, the piece is lean, and a close infrared heat will dry the surface before the center is done if you treat it like a party wing. This page does not own a breast protocol. If you want high-heat poultry with skin, use the wing method here or the live page on grilling juicy chicken thighs on high heat. For any poultry, the FDA chart still lists 165°F in the thickest part.
How long to reheat air fry chicken wings at 400 degrees?
Leftover wings in an air fryer are a reheat, not a first cook. A common starting window is only a few minutes at a high setting, and you should check early so the already-cooked skin does not go past crisp into dry. The FDA chart lists 165°F for leftovers and casseroles; use a thermometer in the thickest part rather than a fixed minute count. This is a leftover question, not an infrared first-cook time, and it is not a test of one air-fryer model.
Can I cook frozen wings without thawing?
You can cook wings from frozen on some cookers, but an infrared grill is a poor fit for that shortcut. The emitter browns the outside quickly, while the joint is still icy, so the tips and skin can scorch before the center is safe. Thaw in the refrigerator, then dry the skin as this method describes. However you start, poultry still needs 165°F in the thickest part on the FDA chart. A wet, frozen surface also steams instead of rendering.
More to Read
Leftover Holiday Turkey on the Grill or in the Pizza Oven: Sandwiches, Tostadas and a White Pie
Give leftover turkey a second heat, not another roast: grill sandwiches or tostadas, or bake a white pie, after a safe leftover inventory the night...
Parrilla Taco Night: Carne, Salsas and Grate Space for a Crowd
Run taco night on a parrilla as a grate-space plan: carne, a second protein, a salsa station, and tortillas held soft, without one crowded fire.
Bone-In Lamb Leg or Shoulder on a Santa Maria or Gas Grill
Grill a bone-in lamb leg or shoulder as a roast: Santa Maria height or a gas two-zone fire, a USDA safety floor, and a probe that does not touch bone.