


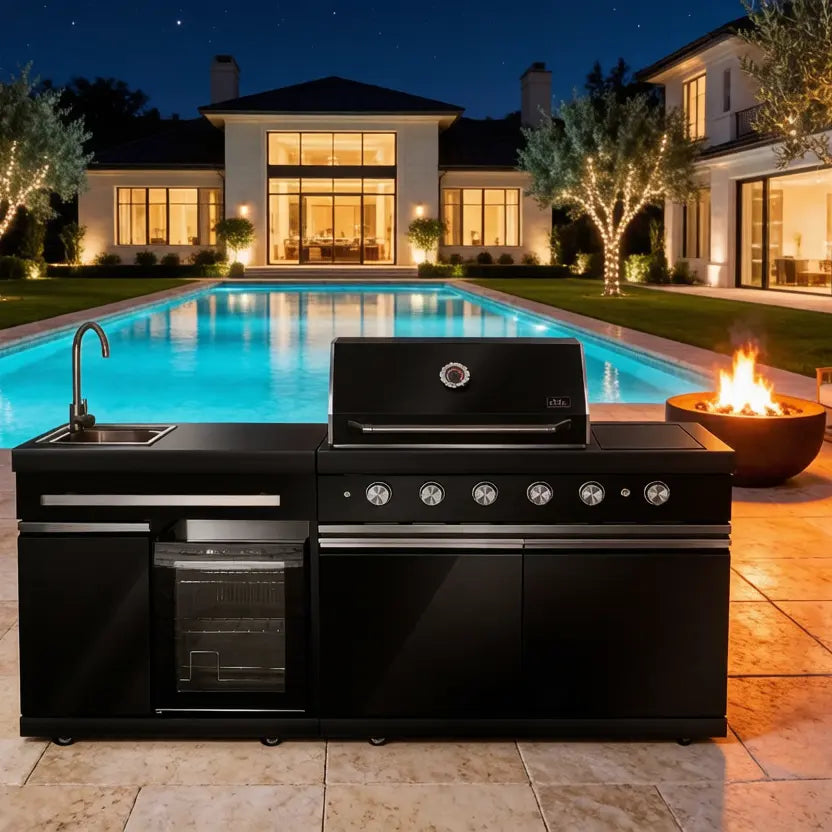
Outdoor Kitchen Islands & Patio Planning
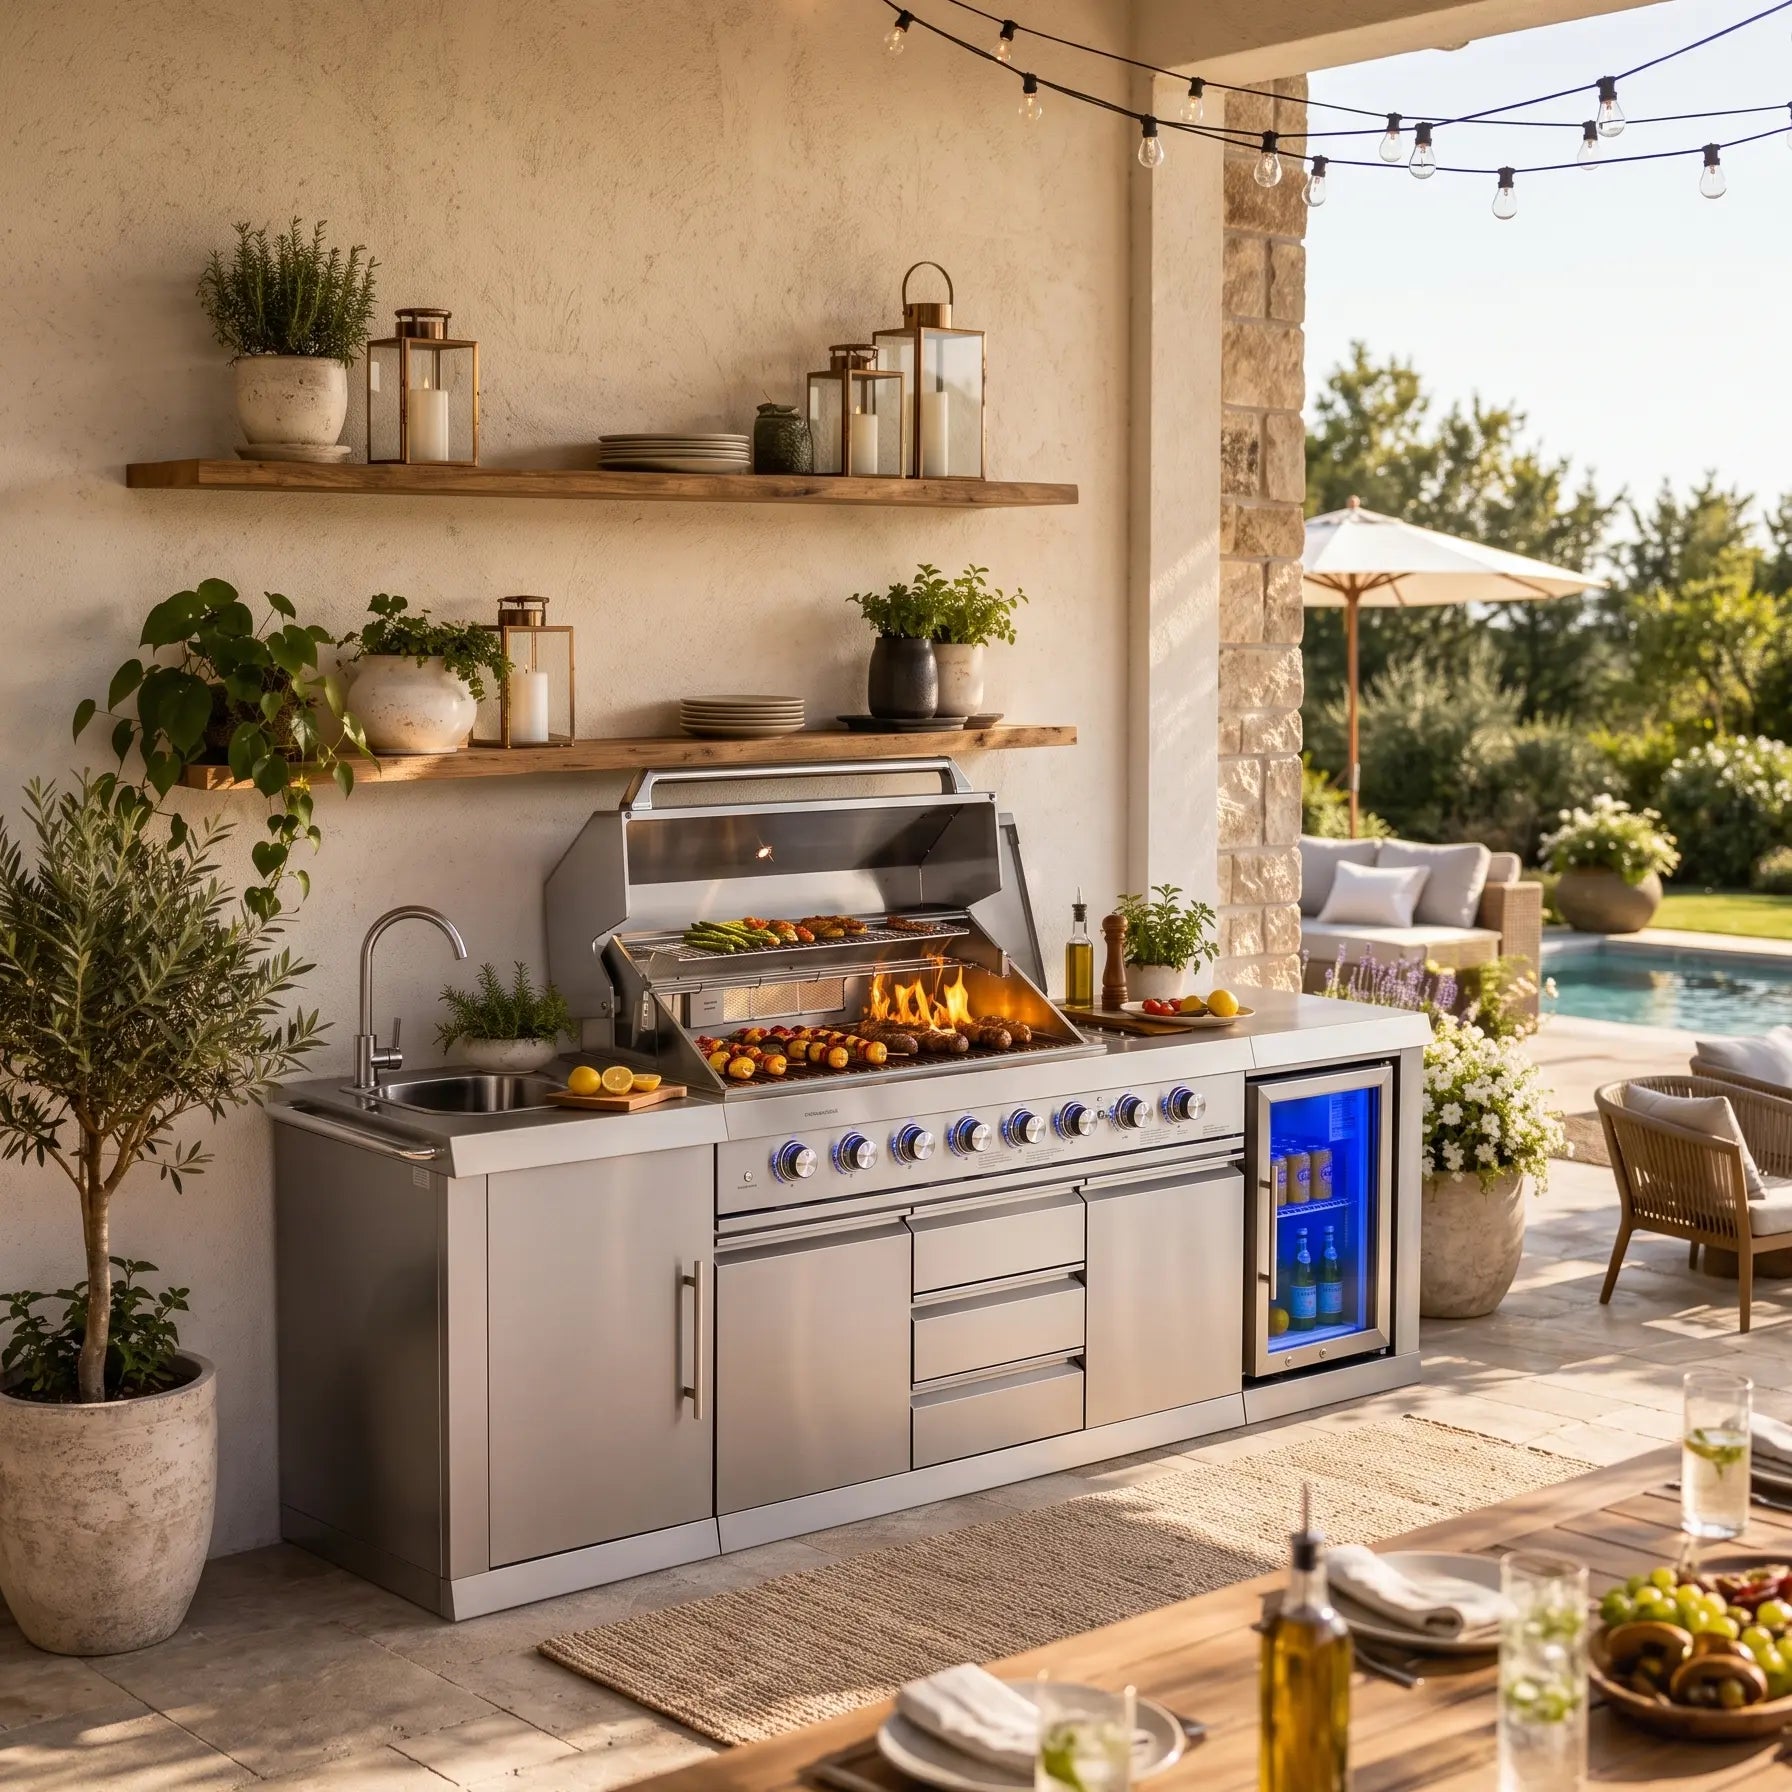
A freestanding island that rocks is annoying on calm days and dangerous in wind. Learning how to anchor an outdoor kitchen island starts with a level pad, then sensible anchoring—not random lag bolts into mystery pavers.
Follow the island manual first. General patio safety themes from CPSC fire safety and NFPA grilling safety still apply around gas appliances. Shop layouts in the outdoor kitchen island collection after the groundwork plan is real.
Pad choices: concrete, pavers, compacted base
Concrete slabs offer stability when thick enough and well drained. Pavers can work if the base is compacted and even—loose sand beds settle.
Soft soil without a proper base will sink one leg by autumn. Fix the ground before blaming the island.
Slope slightly away from the house so rain does not puddle under cabinets.
Checking the site for level and drainage
Use a long level across multiple directions. Shim problems you can see before the island arrives.
Watch where roof runoff lands. A perfect pad under a downspout becomes a pond.
Mark utility lines before digging for any anchors or conduits.
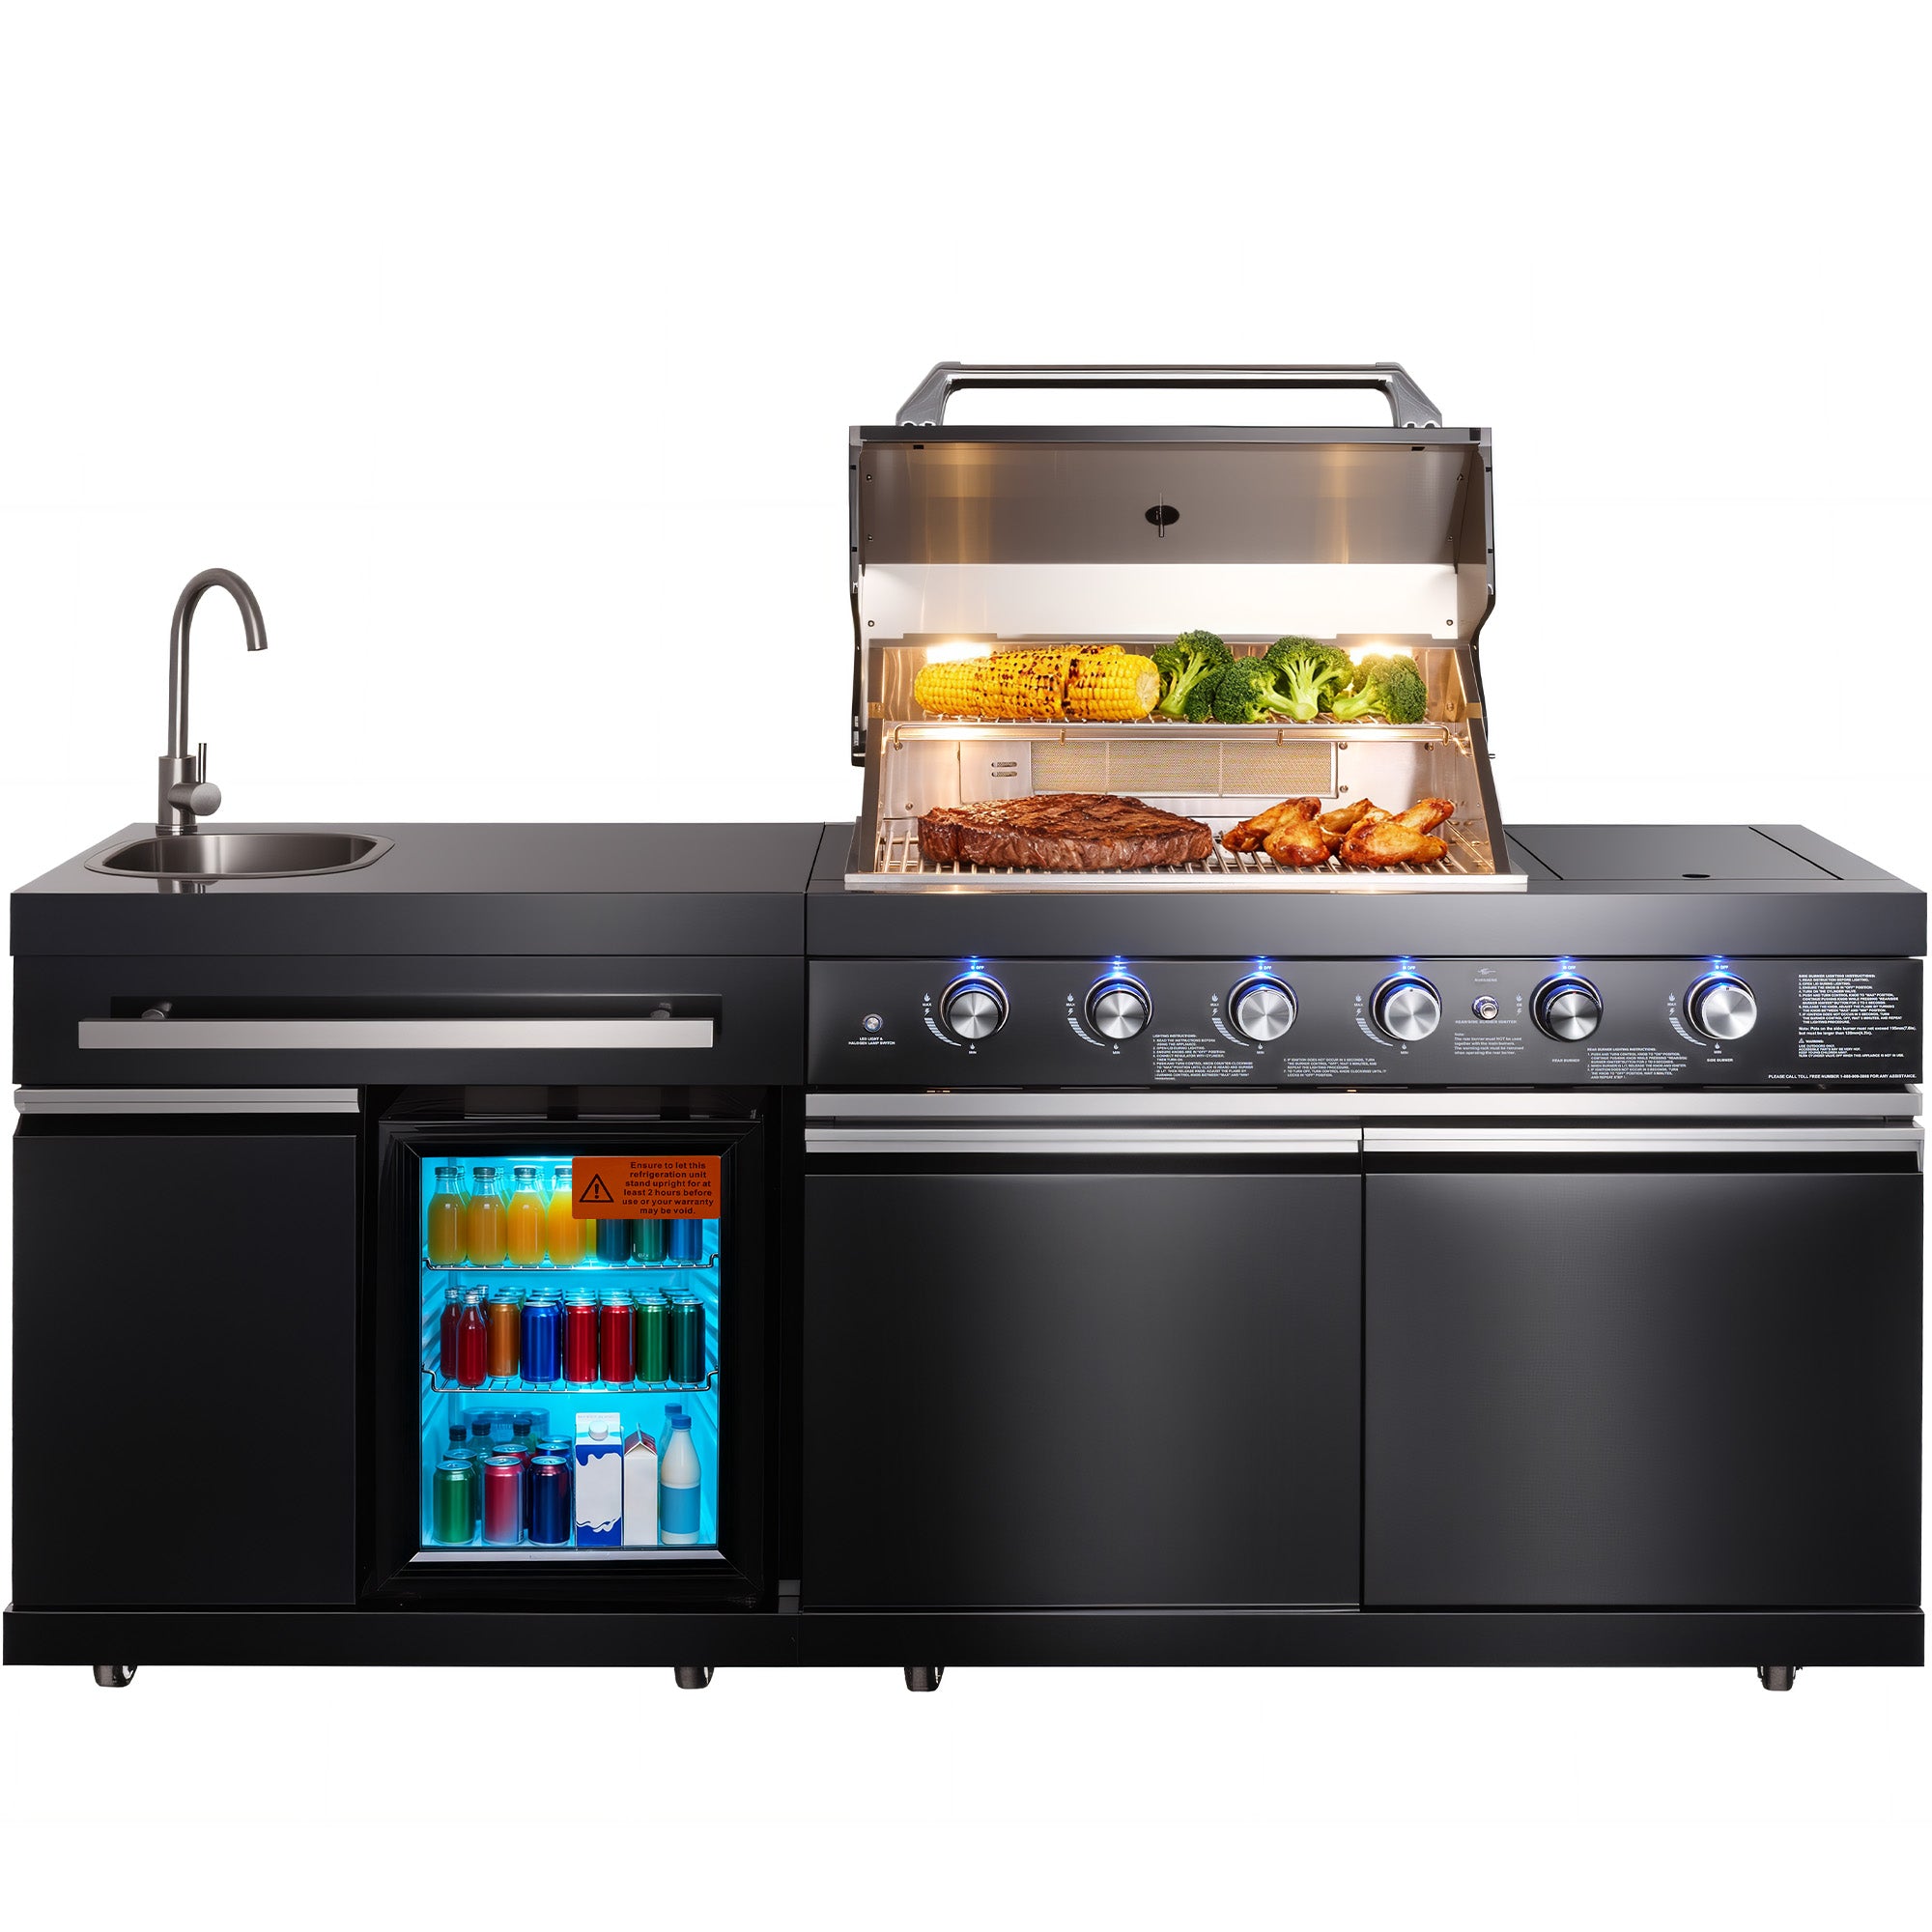
Leveling feet and shims
Many islands include adjustable feet. Fine-tune after the unit is roughly placed so doors align and oil in fry pans does not run downhill.
Use outdoor-rated shims where feet cannot reach. Avoid stacks of scrap wood that compress and rot.
Recheck level after the first week; settles happen.
Anchoring options and when to use them
Anchoring matters in wind corridors, on elevated decks with rail gaps, and anywhere kids might climb. Methods vary: concrete anchors, bracket kits, or manufacturer hardware.
Do not invent anchors that pierce gas lines or sealed electrical conduits. Read the 4+2 burner island manual for model-specific guidance rather than generic forum advice.
When the manual is silent, consult the seller or a qualified installer—especially for gas.
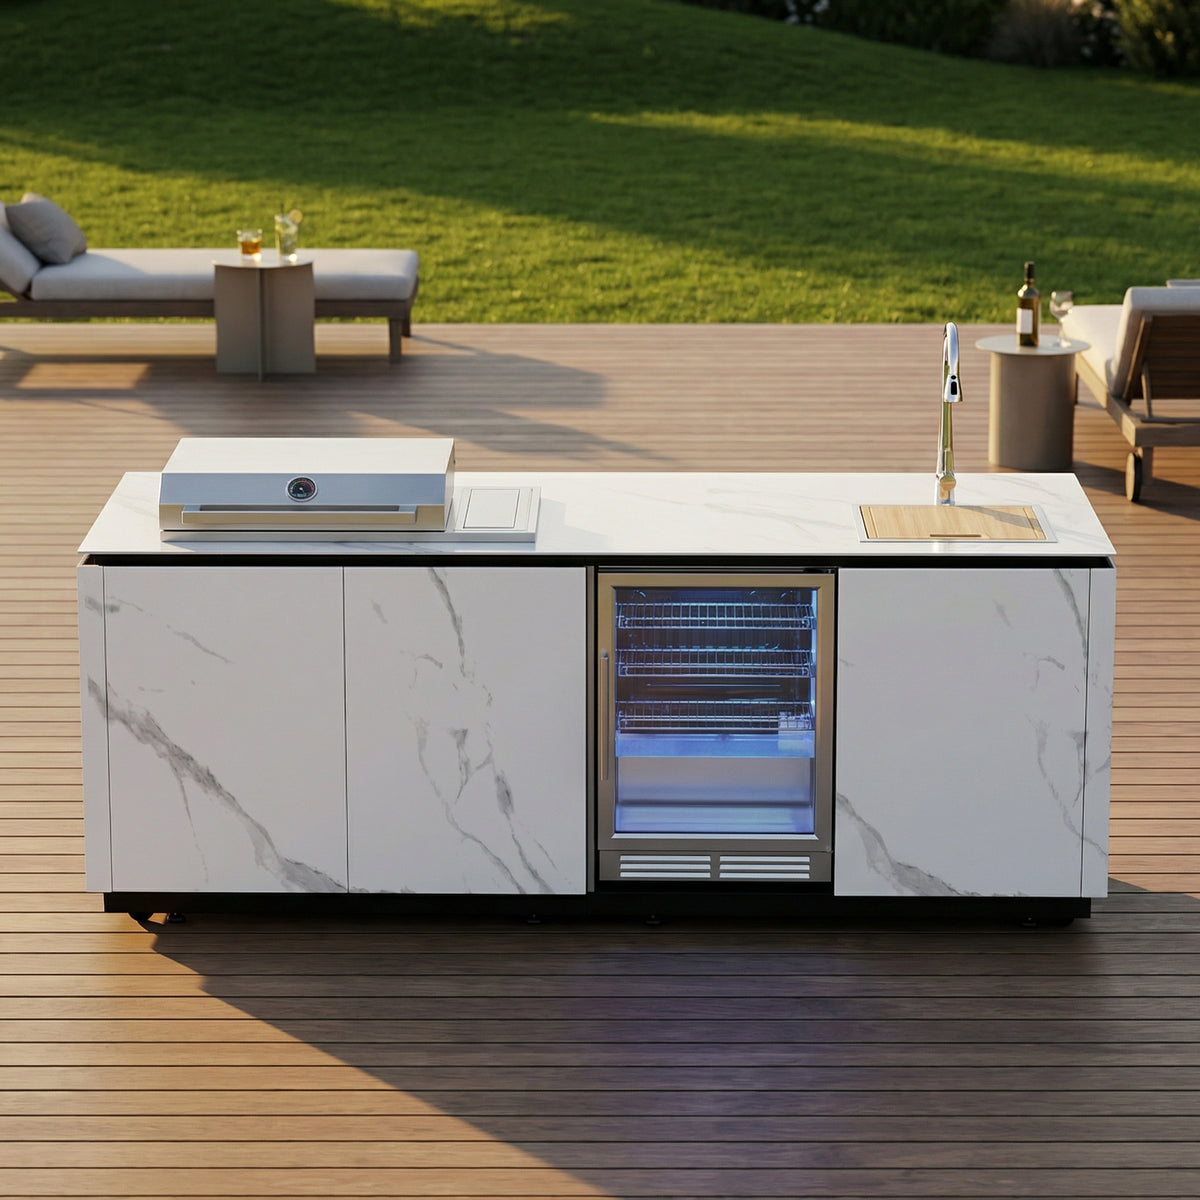
Wind and tip safety
Lid wings and tall backsplashes catch gusts. Lower lids in storms and park islands out of funneling wind paths when possible.
Casters must lock. Rolling toward a pool edge is not a personality quirk—it is a hazard.
Keep propane cylinders upright and secured per propane safety guidance.
Final checks before the first cook
Confirm doors close, burners sit level, and no hose is pinched under a foot. Leak-check gas connections using proper procedures from the manual.
Remove shipping materials and toolkits from burners. Light a gentle first burn outdoors with clearances observed.
Keep an extinguisher accessible.
Common mistakes and how to fix them
Setting on soft lawn is mistake one—build a pad. Over-tightening anchors into cracked pavers is mistake two—repair the surface first.
Ignoring caster locks is mistake three. Fix: lock every time.
If doors swing open on their own, you are still not level.
Field notes you can reuse next time
Write down timing, heat feel, and what you would change. A two-line phone note beats trying to remember a perfect cook a month later. Keep raw and cooked tools separate, and chill leftovers within two hours.
If wind is strong, shield the fire and extend timing rather than maxing every control. If food browns too fast, build a cool zone and finish there. If food stays pale, preheat longer before the next batch hits the surface.
Scrape grease mid-session when smoke turns bitter. Keep a lid or sheet pan ready for flare-ups, and shut fuel down fully before you walk inside. Confirm ashes or burners are out.
Practice once on a quiet night before you host a crowd. One calm rehearsal teaches timing better than another tip list. Stage spare fuel, a clean platter, and a thermometer before you light anything.
Buy the ingredient your method actually needs when tenderness or melting behavior matters. Assign one person to the heat and one to sides when guests arrive so the cook is not pulled away mid-sear. Taste, adjust salt, and repeat the part that worked.
Buy the ingredient your method actually needs when tenderness or melting behavior matters. Assign one person to the heat and one to sides when guests arrive so the cook is not pulled away mid-sear. Taste, adjust salt, and repeat the part that worked.
Keep a simple kit nearby: tongs, thermometer, gloves, and a metal ash can when charcoal is involved. Put phones down while launching pizzas or flipping fish. Most mishaps happen during distracted seconds, not during the long preheat.
After service, wipe surfaces you will regret later and cover equipment only when fully cool. Store leftover fuel dry and labeled. A five-minute reset makes the next cookout start cleaner and safer.
When to call a pro instead of improvising
Call a qualified installer when gas lines, electrical outlets, or structural deck anchors are involved. Patio furniture logic does not equal appliance anchoring logic.
If pavers rock underfoot, fix the base before drilling anything. Anchors in a failing surface create a false sense of security.
Keep the island product page and manual handy so hardware matches the model you actually own.
Recheck clearances, fuel shutoffs, and tool placement every time you cook—habits beat one-time luck. If something feels unstable, stop and fix the pad, stand, or perimeter before food goes on. Guests can wait five minutes; injuries last much longer.
For related references while you plan, see Ready.gov home fire guidance; American Gas Association safety pages; ICC code resources; Big Horn Outdoors contact page.
Conclusion
Build or choose a level drained pad, dial in feet, and anchor when wind or climbing risk demands it. Stable islands cook better and tip less. Groundwork is part of outdoor kitchen quality.
Browse stable outdoor kitchen layouts in the outdoor kitchen island collection.
FAQ
How do you anchor a kitchen island?
Outdoors, use manufacturer hardware or appropriate anchors into a sound concrete or approved base after the unit is level. Avoid piercing gas or electrical lines. When the manual is unclear, hire a qualified installer.
Does a kitchen island need to be anchored?
Not every freestanding island requires permanent anchors, but wind exposure, deck settings, and climbing risk can make anchoring wise. Casters must lock either way. Follow the model manual.
How to keep a kitchen island from moving?
Start with a level, stable pad, lock casters, and adjust feet. Add anchors where wind or safety conditions call for them. Recheck after storms and seasonal settling.
How can I secure my grill on my patio?
Place it on a firm surface, lock wheels, maintain clearances, and use any manufacturer retention kits. Secure propane cylinders upright. Do not block shutoffs with decorative clutter.
Explore more in the Outdoor Kitchen Guides.
More to Read
Fireproof Grill Mat Under Pizza Ovens and Infrared Grills
Place a fireproof grill mat to catch grease and sparks under ovens and grills. Confirm the live 48-by-30-inch claims, and use a cart when you need ...
No Oven Spring on a High-Heat Pie: Dough Temp, Launch and Floor
Diagnose no oven spring on a high-heat pizza by checking dough temperature, launch handling, and floor heat before you spend another mix changing t...
Heat-Resistant BBQ Gloves: Temperature Ratings and Wet-Grip Limits
Read a 1472°F glove rating as a short, dry, instant figure. Wet or oily conditions change grip, so let long peels reach into hot ovens and grills.