Build a Repeatable Steak Searing Method
A steak searing grill can supply intense heat, but the grill cannot correct every preparation or
timing error. Repeatable results come from controlling four variables: surface moisture, steak
thickness, distance from the burner, and internal temperature. Record what works for the cuts you
buy most often, then adjust one variable at a time instead of relying on a universal minute count.
Thickness Check
Thin steaks move from browned to overcooked quickly. Thick steaks create more separation
between exterior crust and center doneness, but often need a lower rack position after the
initial sear. Group steaks by similar thickness when cooking several at once.
Surface Check
Pat the exterior dry before seasoning and cooking. Water must evaporate before strong browning
develops, while wet marinades and sugary sauces can scorch rapidly under top-down infrared heat.
Rack-Position Check
Start close enough to the burner to create the desired crust, but be ready to lower the grate.
Distance is the primary way to reduce surface intensity when the outside is progressing faster
than the center.
Temperature Check
Insert an instant-read thermometer into the thickest section, avoiding bone and large fat seams.
Remove the steak with expected carryover cooking in mind and rest it before evaluating the final
result.
Prepare the Steak and Work Area First
- Confirm the grill is outdoors on a stable, heat-resistant surface with the required clearances.
- Check the propane connection and grease tray according to the exact model instructions.
- Pat steaks dry, season them, and organize portions by thickness and desired doneness.
- Set out high-heat tools, clean plates, protective gloves, and an instant-read thermometer.
- Preheat the grill fully before placing food in the high-intensity searing zone.
Sear First, Then Adjust the Finish
Place the steak near the burner and monitor it continuously. Once the first surface has developed
the desired browning, turn the steak and sear the second side. For a thick cut, move the rack lower
after both sides are browned and continue cooking more gently. For a thin cut, the searing stage may
account for most of the total cook, so begin checking internal temperature early.
Manage Different Doneness Requests
Label or position steaks consistently so they do not become mixed. Start thicker or more-done portions
earlier, or lower them after searing while less-done steaks finish sooner. A dual-burner model can make
this workflow easier by providing separately controlled sections, but a thermometer is still required
to verify each steak rather than assuming the two sides cook identically.
Avoid Common Searing Problems
- Pale exterior: Dry the surface more thoroughly, preheat fully, or begin closer to the burner.
- Burned seasoning: Reduce sugar-rich coatings, shorten high-position exposure, or lower the rack sooner.
- Overcooked center: Use a thicker cut, monitor temperature earlier, and remove the steak before carryover pushes it past the target.
- Uneven doneness: Choose steaks with consistent thickness and reposition irregular cuts as they cook.
- Excess smoke or grease: Trim only excessive exterior fat, keep the grease system clean, and follow the appliance instructions.
Rest, Record, and Refine
Rest the steak long enough for the temperature to stabilize, then slice only when ready to serve.
Note the cut, thickness, starting rack position, approximate exposure, finishing position, removal
temperature, and final result. This short record is more useful than copying a fixed cooking time
that ignores differences in meat and outdoor conditions.
Clean Only After the Grill Has Cooled
Shut down the propane appliance according to its instructions and wait until all surfaces are fully
cool. Remove the grate, drip tray, and approved components for cleaning. Regular grease removal helps
maintain a cleaner cooking environment and reduces problems during the next high-heat session.
Continue with the Right Searing Setup
Use the links below to compare capacity and working format. Choose a grill around your normal steak
count and cooking routine rather than treating maximum chamber size as the only measure of performance.
9-Inch Searing Grill
Review the compact option for smaller steak batches and limited storage.
View the 9-inch grill
16-Inch Searing Grill
Compare the balanced 19,000 BTU format for regular family steak meals.
View the 16-inch grill
Dual-Burner Searing Grill
Explore independent heat control for larger batches and mixed doneness.
View the dual-burner grill
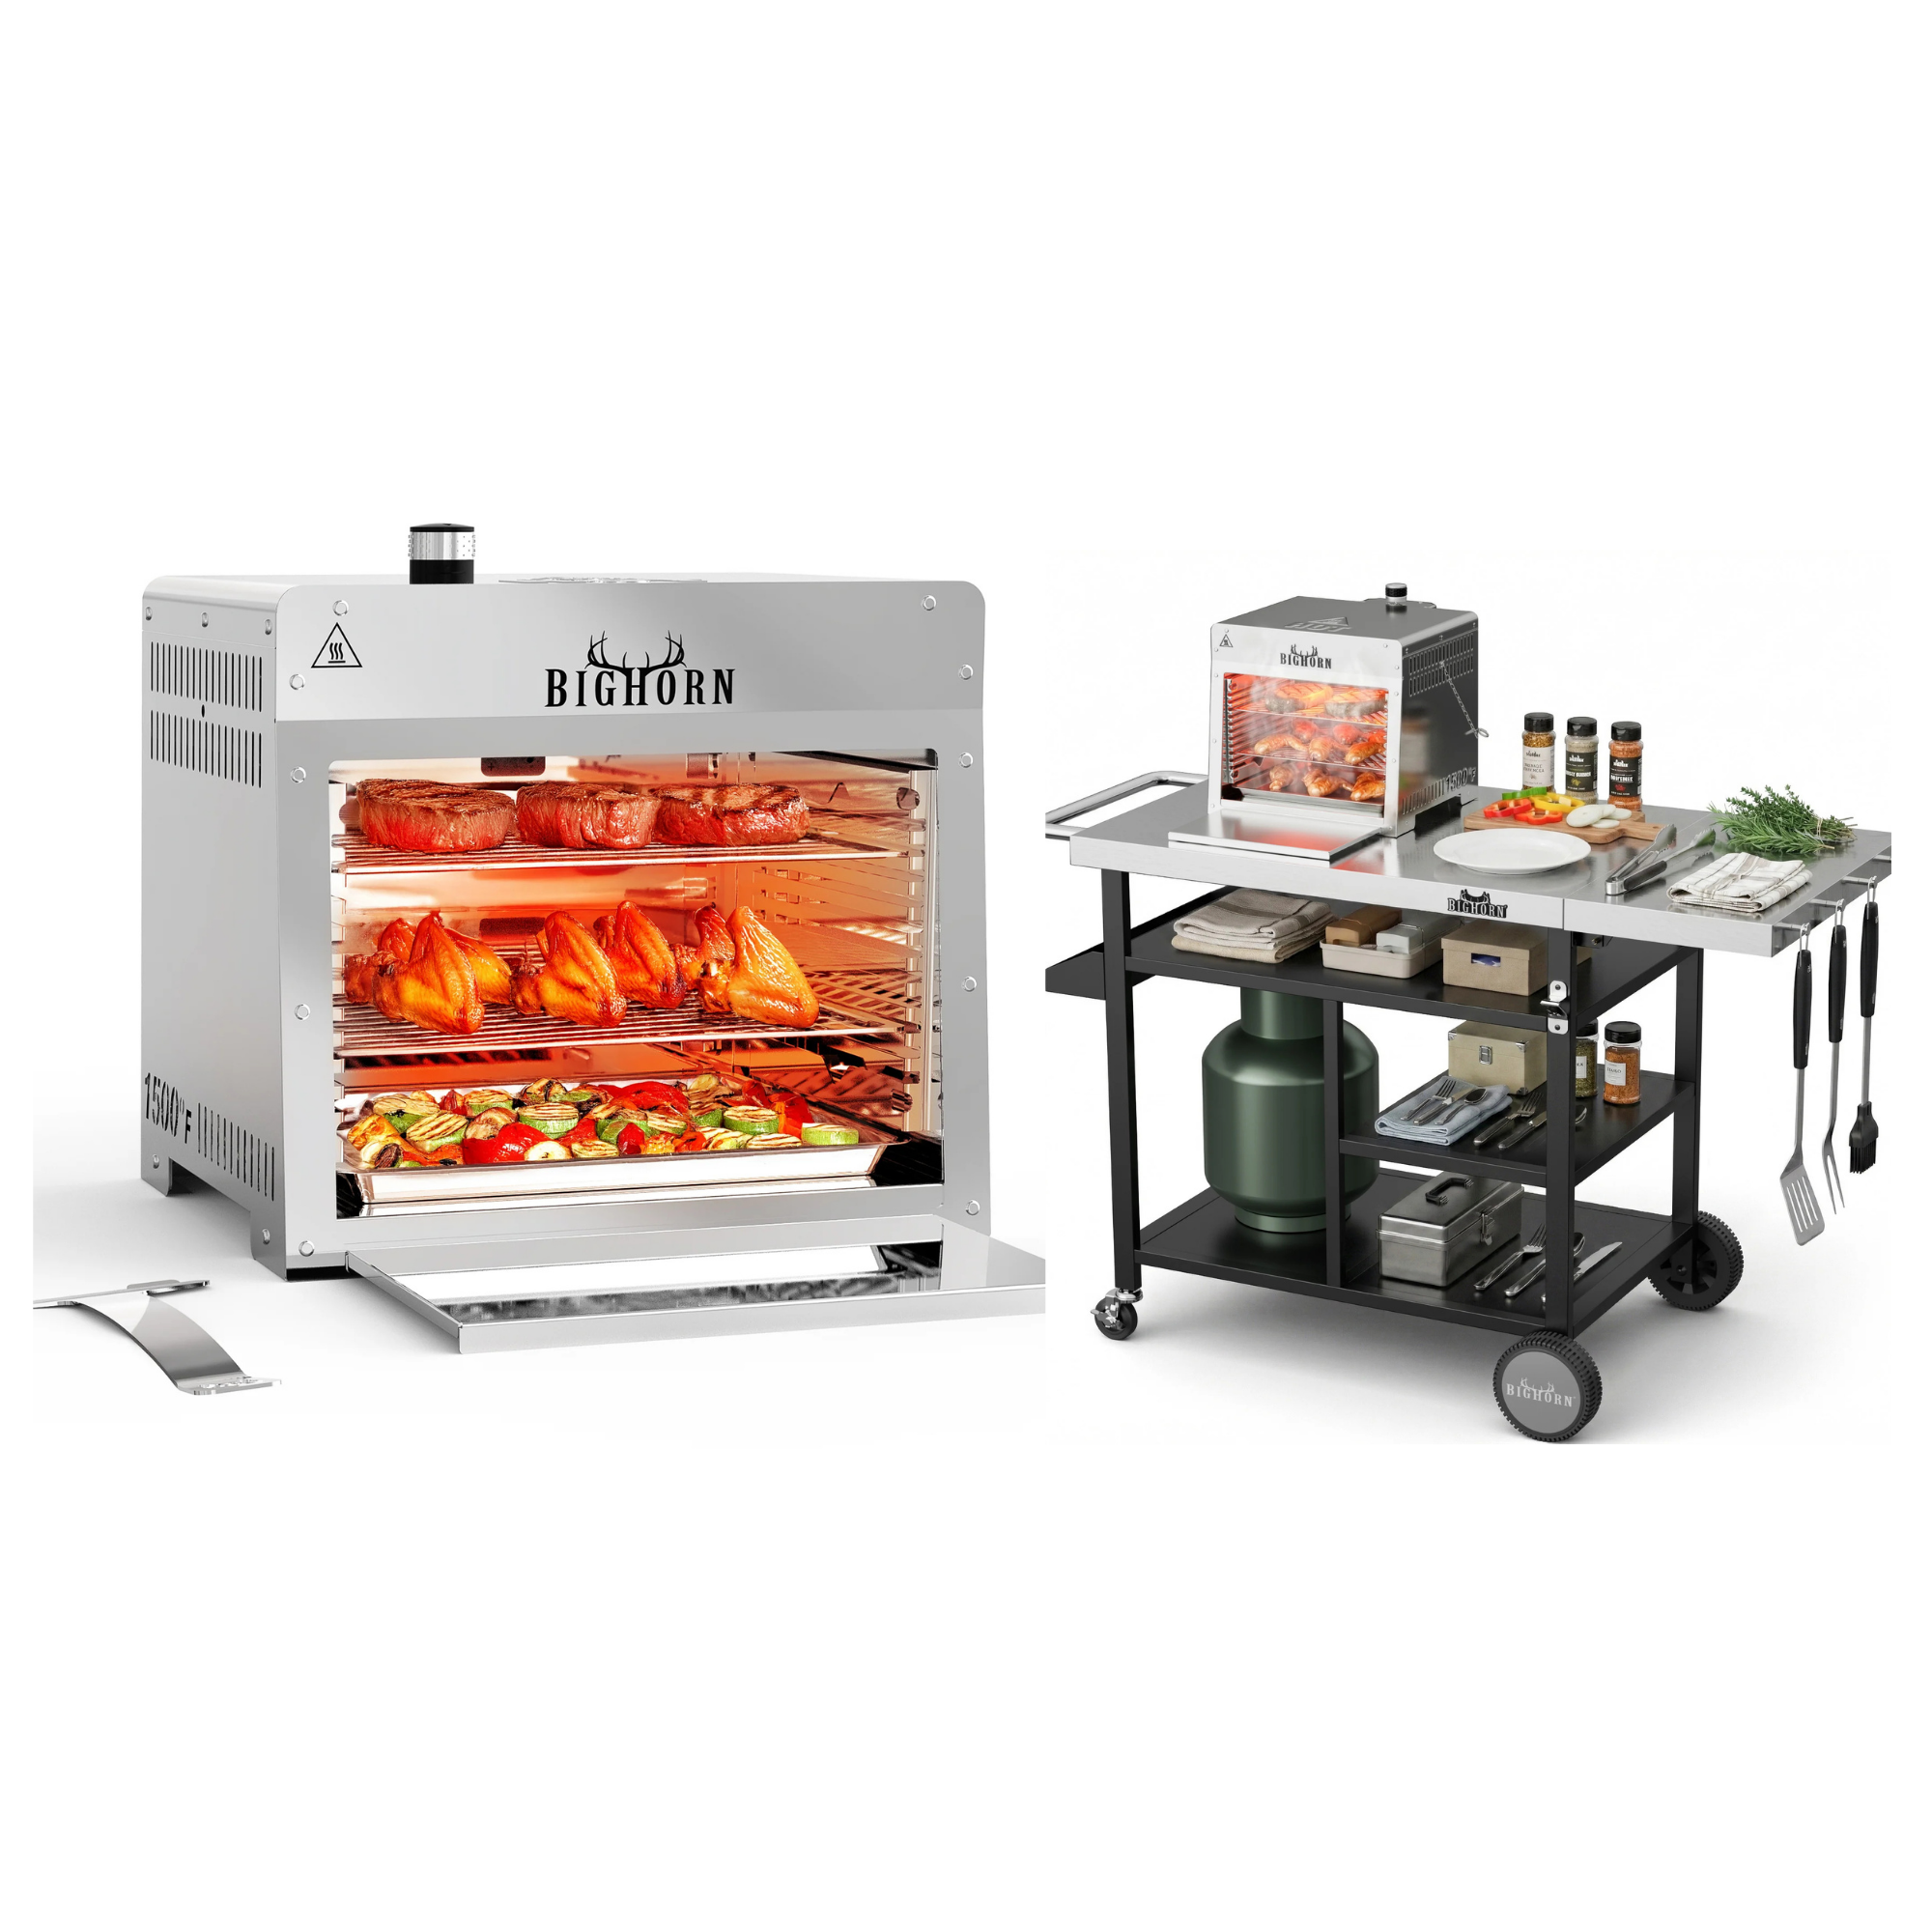
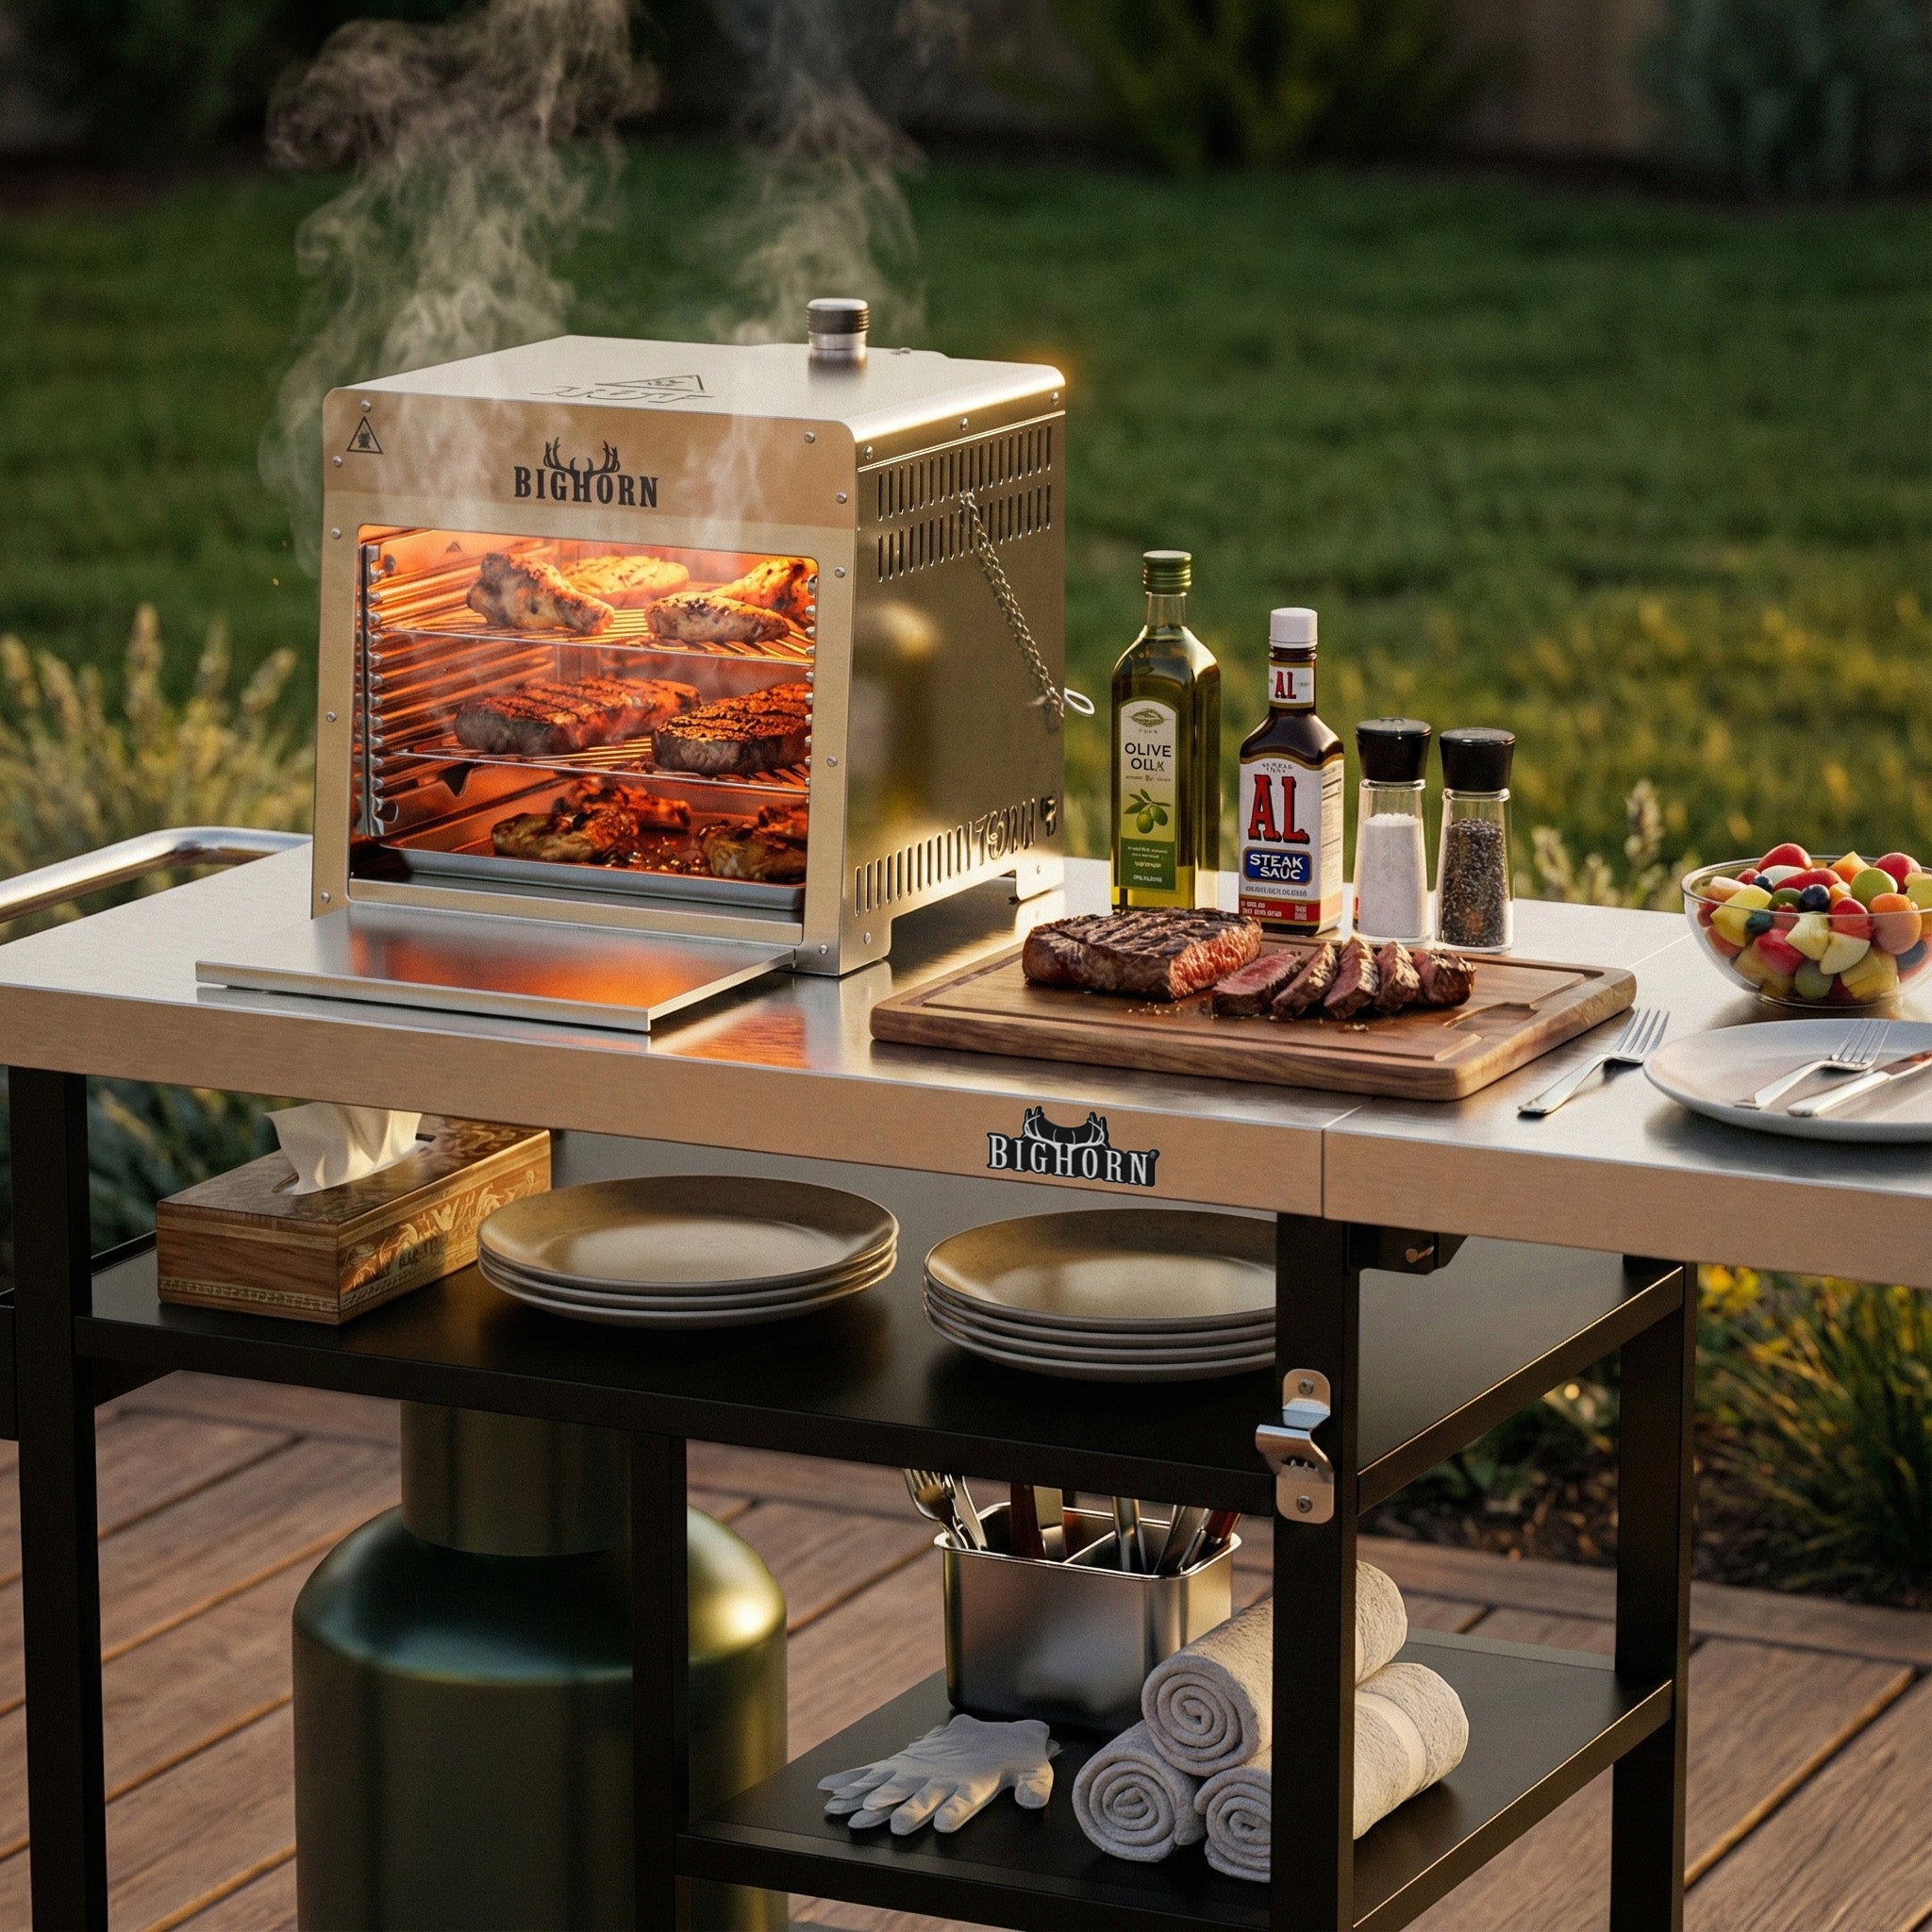
Grill and Cart Bundle
Create a dedicated freestanding backyard station with a selected grill size.
View the cart bundle
Steak Searing Grills
Return to the collection to compare current searing configurations.
Shop steak searing grills
Infrared Steak Grills
Learn more about infrared technology, model sizes, and equipment selection.
Explore infrared steak grills
Control the Center as Carefully as the Crust
High heat makes the searing stage fast, which leaves less time to correct mistakes. Dry the steak,
watch the surface, adjust rack distance, and measure internal temperature. That combination—not
temperature alone—creates a repeatable steak-searing process.