Pizza Ovens

Flame-Kissing Perfect Shrimp in Your Pellet Pizza Oven

Grilled shrimp skewers with garlic herb butter
ByShumin Liu

Skip rubbery shrimp for good. Cook pellet pizza oven shrimp in cast iron with lemon garlic marinade for a smoky, flame-kissed sear in 2–4 minutes.

Share

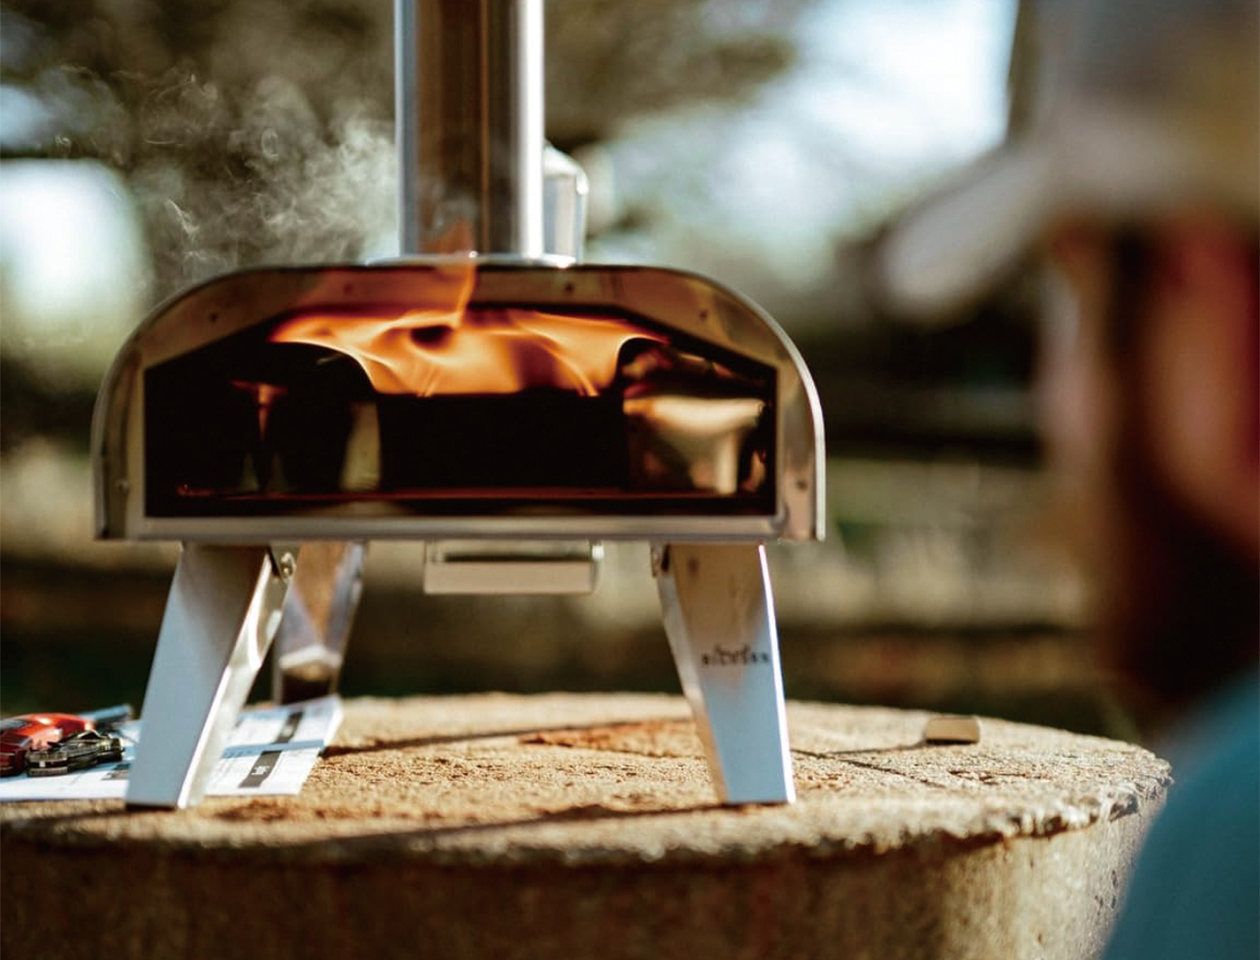
When you think of your pellet pizza oven, your mind probably goes straight to bubbling mozzarella, perfect leopard-spotting on a crust, and the aroma of basil and tomato. And while it is an artisan pizza-making machine, thinking of it only as a pizza oven is like owning a sports car and only driving it in the school pickup line.

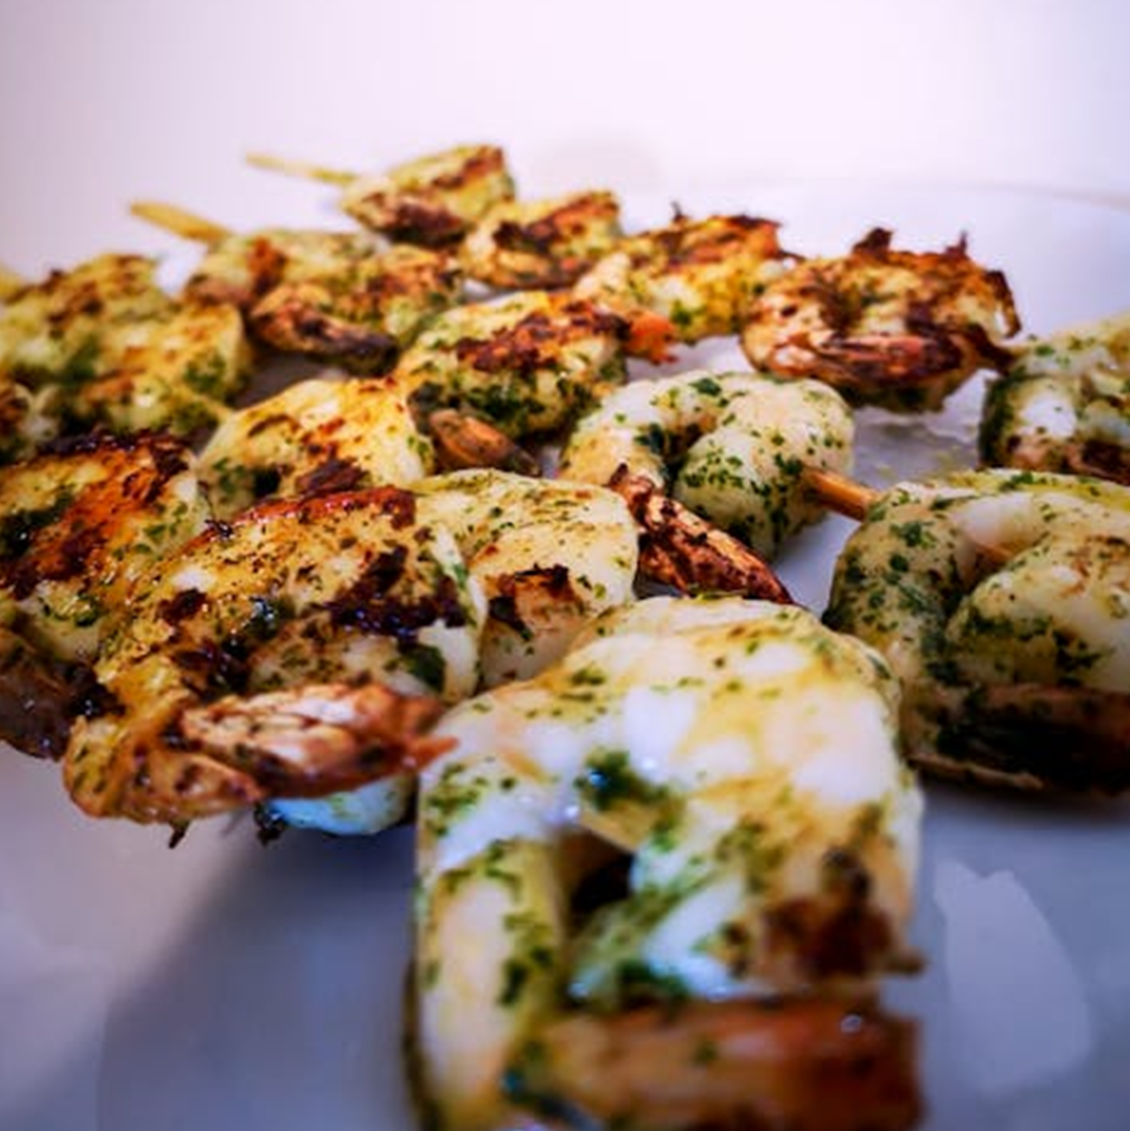
That high-heat, wood-fired dome is your secret weapon for a world of other culinary adventures, like cooking the most succulent, juicy, and flavorful shrimp you’ve ever had, like in just a few minutes.

Why Your Pizza Oven Makes Seafood So Easy

  1. Extreme Heat: Your oven gets to ~700–900°F. This intense heat sears the outside of the seafood almost instantly, locking in all the moisture.
  2. Incredible Speed: Because the heat is so high, shrimp cook in just 2-4 minutes. This speed is actually your greatest advantage—it's almost impossible to overcook them to that rubbery, tough state.
  3. Wood-Fired Flavor: The burning wood pellets add a subtle, smoky flavor that you simply cannot get from a regular indoor pan or oven.

In short, the pizza oven gives you a faster, more flavorful, and juicier result with less risk of overcooking.

Big Horn pellet pizza oven set up outdoors

Select and Prepare the Best Shrimp for Roasting

You can't end with a great product if you don't start with one. For this high-heat application, your choice of shrimp and how you prep them is critical.

Get Big Sizes

This is not the time for a small salad shrimp. The intense heat of the pellet pizza oven will vaporize them. You need shrimp that are large enough to withstand the heat and develop a sear on the outside before the inside overcooks.

  • Look for: Large (21/25 count per pound) or Jumbo (16/20 count per pound).
  • Avoid: Anything smaller than 26/30 count, as they will cook too quickly and become tough.

Go Fresh and Thaw

Unluckily, unless you live on the coast, most "fresh" shrimp at the seafood counter were previously frozen and thawed for display. There is absolutely nothing wrong with buying high-quality frozen shrimp. In fact, they are often "flash-frozen" on the boat, making them fresher than the thawed ones at the counter.

The key is how you thaw them.

  • The Right Way: Place the frozen shrimp in a colander in the sink and run cold water over them for 5-10 minutes, tossing them occasionally. Alternatively, place them in a covered bowl in the refrigerator overnight.
  • The Wrong Way: Never use warm or hot water, as it will start to cook the outside of the shrimp, leading to an uneven texture. Never thaw them in a microwave or leave them out on the counter at room temperature.

Peeled, Deveined, and Tail-On

For this recipe, you have a few options, but one is the clear winner.

  • Shell-On: This adds great flavor, as the shells toast and protect the meat. However, the marinade can't penetrate, and they are messy to eat. This is best for a rustic, peel-and-eat style appetizer.
  • Peeled & Deveined (Tail-Off): This is fine, but you lose the "handle" that the tail provides, which is great for serving as an appetizer.
  • The Winner: Peeled, Deveined, and Tail-On. This is the perfect compromise. The shrimp is ready to eat, the marinade can cover the most surface area, and the tail-on presentation looks professional.

And Pat Them Dry

If you remember one thing from this section, make it this: your shrimp must be bone dry. After thawing, peeling, and deveining, lay them on a plate lined with paper towels and pat the tops dry with another paper towel.

Why? Wet shrimp will steam. When the moisture hits the hot pan, it will create steam, which boils the shrimp. You will get a grey, soft shrimp instead of a seared, flame-kissed one. Dry shrimp allows the oil in the marinade to make direct contact with the hot pan, creating an instant, flavorful sear.

Raw shrimp size comparison 16/20 ideal vs 26/30 too small

5-Minute Zesty Lemon-Garlic Marinade

Now it's time for this classic Marinade. It’s bright, aromatic, and has just enough kick to complement the wood-fired flavor without overpowering the sweet shrimp.

The Ingredients:

  • 1.5 lbs large or jumbo shrimp (peeled, deveined, and patted dry)
  • 1/3 cup extra-virgin olive oil
  • 5-6 cloves garlic, finely minced
  • 1 teaspoon red pepper flakes (or to taste)
  • 1/2 cup chopped fresh parsley
  • 1 teaspoon Kosher salt
  • 1/2 teaspoon fresh-ground black pepper
  • Zest of one lemon
  • Juice of half a lemon (save the other half for serving)

The Method:

  1. In a medium-sized bowl, whisk together the olive oil, minced garlic, red pepper flakes, parsley, salt, pepper, and lemon zest. Whisking it before adding the shrimp ensures everything is well combined.
  2. Add your prepped, dry shrimp to the bowl and toss to coat them completely.

A Critical Timing Tip:

Do not marinate the shrimp for more than 30 minutes. The lemon juice is acidic and will start to "cook" the shrimp (like ceviche). If it sits too long, the shrimp will get a soft, mushy texture.

The perfect time is 15 to 30 minutes. If you're in a hurry, 5 minutes will work fine, too.

Lemon garlic shrimp ingredients with ideal shrimp size 16/20

How Long and What Temp to Cook Shrimp

The Right Tool for the Job

You cannot just toss shrimp onto the pizza stone. You need a vessel that can withstand and, more importantly, retain the extreme heat of your pellet pizza oven.

  • The Best Choice: A 10-inch or 12-inch cast-iron skillet.
  • Also Great: A carbon steel pan.
  • What to Avoid: Do not use any pan with a non-stick coating (it will break down and release fumes at this heat) or a thin, aluminum baking sheet (it will warp instantly). Glass or ceramic bakeware can shatter from the thermal shock.

The Temperature and Process

  1. Preheat Everything: Get your pellet pizza oven roaring. Ignite your wood pellets and let the oven preheat for at least 15-20 minutes, aiming for a stone and ambient temperature of 700°F - 850°F.
  2. Preheat the Pan: This is a non-negotiable step. Place your empty cast-iron skillet inside the pellet pizza oven for 5-10 minutes. It needs to get screaming hot.
  3. Load the Pan: Using a high-heat oven mitt, carefully pull the hot skillet from the oven. Add your marinated shrimp directly to the pan. They should sizzle loudly and immediately. Arrange them in a single layer. If you crowd the pan, the shrimp will stack on top of each other and steam. If you have too many shrimp, cook them in two batches.
  4. The Cook: Slide the skillet back into the oven. You can place it near the back or side, closer to the flame, to help get that "flame-kissed" char.
  5. Watch Closely: This will take only 2 to 4 minutes total. After about 90 seconds, you can use a spatula or tongs to give them a quick stir or flip to ensure an even cook, but at this high temperature, the radiant heat from the dome is cooking the tops, too.

How to Know When They're Done

Forget the timer and use your eyes. There are two "C" cues to look for:

  • Color: The shrimp will turn from translucent grey to opaque pink.
  • Curl: The shrimp will curl into a "C" shape. This is the sign of a perfectly cooked shrimp. If they curl into a tight "O" shape, it means they are "Overcooked."

Pull the skillet from the oven, squeeze the juice of the remaining lemon half over the top, and serve immediately.

Shrimp cooking in a pellet pizza oven

Serve It Five Ways: Tacos, Bowls, Pasta & More

The beauty of these wood-fired shrimp is how they pair with other ingredients to make meals so rich in texture and vibrant in color:

  1. Wood-Fired Shrimp Tacos: This is a crowd-pleaser. Serve the hot shrimp on warm corn or flour tortillas with a chipotle aioli, some crumbled cotija cheese, pickled red onions, and fresh cilantro.
  2. Instant Shrimp Scampi: All that sizzling marinade in the pan? That is now a delicious, smoky scampi sauce. Toss the hot shrimp and all the pan juices with cooked linguine or spaghetti and a bit more fresh parsley. Dinner is done.
  3. The Ultimate Protein Bowl: Make a simple grain bowl with quinoa or brown rice. Top it with the shrimp, black beans, corn salsa, and sliced avocado for a healthy and satisfying meal.
  4. Rustic Skillet Appetizer: The simplest way is often the best. Just put the screaming hot cast-iron skillet (on a wooden trivet to protect your table) in the middle of your guests with a basket of crusty bread for sopping up all the delicious, garlicky pan sauce.
  5. Caesar Salad Supreme: Give your salad a massive upgrade. Top a classic Caesar salad with the hot-from-the-oven shrimp for a smoky, savory, and satisfying meal.

Master Wood Fired Cooking

Next time you fire up the pellets, think beyond the crust. You have the secret to perfect, flame-kissed shrimp right in your own backyard.

Ready to unlock the full potential of wood-fired cooking? The Big Horn Outdoors® pellet pizza oven delivers the consistent high heat and smart design you need to master everything from perfect pizza to succulent shrimp. Explore our ovens today and transform your backyard into the ultimate outdoor kitchen.

FAQs about Cooking in Pellet Pizza Ovens

Q1: What is the perfect temperature for shrimp?

The perfect internal temperature for shrimp, according to the USDA, is 145°F (63°C). However, almost no one uses a thermometer for shrimp because they cook so quickly. The visual cues are far more practical and reliable. Look for the shrimp to turn from translucent grey to fully opaque and pink. The most telling sign is the shape: a perfectly cooked shrimp curls into a gentle "C" shape. If it curls into a tight "O" shape, it is "Overcooked" and will likely be rubbery.

Q2: How to ignite wood pellets for pizza oven?

While you should always follow the specific instructions for your oven model, the general method is straightforward. First, fill the hopper or combustion box with 100% food-grade hardwood pellets (like those from Big Horn®). Use a natural fire starter (like a wax-and-sawdust cube) and avoid using lighter fluid or any other chemical accelerant, as this will transfer a chemical taste to your food and stone. Light the fire starter and allow the pellets to catch and establish a small, steady flame. Gradually add more pellets as needed to build the fire, and then let the oven preheat for 15-20 minutes. This preheating time is crucial to get the pizza stone and the oven dome fully saturated with heat.

Q3: What else can you cook in a pellet pizza oven?

So many things! Think of your pellet pizza oven as a high-heat wood-fired roaster. It's perfect for:

  • Steaks: Get an incredible sear on a steak, especially when using a cast-iron pan.
  • Fish: Roast salmon fillets (especially on a cedar plank) or a whole branzino.
  • Vegetables: Get a beautiful "blister" and char on vegetables like asparagus, shishito peppers, broccoli, or halved bell peppers.
  • Flatbreads: Cook naan, pita, or other flatbreads in seconds.
  • Cast-Iron Desserts: Bake a sizzling skillet cookie, a fruit cobbler, or roasted apples.

More to Read

A plate of juicy grilled beef tips with red wine mushroom gravy over white rice, placed in front of a Bighorn infrared grill with a glowing orange heating element. Red Wine Mushroom Gravy Beef Tips on Infrared Grill Master steakhouse-quality beef tips at home! Marinated for flavor, seared fast on an infrared grill, and topped with a rich red wine mushroom gravy. Close-up of a perfectly seared, thick-cut steak sliced and resting in juices with fresh herbs Pro Tips: Grilling Thick-Cut Steak for Maximum Flavor Master grilling thick-cut steaks at home. Learn essential prep, resting tips, and how to use 1500℉ infrared heat for a flawless, restaurant-quality... Smash burger cooking on infrared grill with melting cheese How to Make a Smash Burger on an Infrared Grill Standard grills ruin beef by losing flavor. Use a cast iron plate on an infrared grill to lock in moisture and make the perfect smash burger crispy...