
Gas Grill Techniques
A Tuesday cook and a Saturday cook can use the same gas-grill setup. On Tuesday, bone-in chicken and a pan of vegetables need a cool side so dinner does not char while you finish a salad. On Saturday, steaks want a hard sear and then a calmer finish so the middle can catch up. Both nights fail in the same way if every burner is blasting and the lid is up. Two-zone grilling is a repeatable setup, not a special-occasion trick, and this page is the place to learn that setup once.
Recipe pages for ribs or a turkey should point here rather than re-teaching burner patterns every time. You should be able to zone the grill in a few minutes and then cook whatever is actually for dinner.
What two-zone grilling is, in one repeatable setup
Two-zone grilling on a gas grill means a hot direct side and a cooler indirect side, made by leaving some burners on and some off, then cooking with the lid closed unless you are searing. Use the direct side to brown, and the indirect side to finish thicker food without burning the outside.
The setup is physical, not poetic. Food over lit burners takes radiant heat from below. Food over unlit burners cooks in the hot air of the closed grill. If all burners stay on, you have a hot grill with slightly cooler corners, not a true escape zone. If the lid stays open, the indirect side cannot behave like a small oven.
Temperature control, probes, and burner feel already have a deeper home on gas grill temperature control, burners, zones, and probes. This page stays with the reusable pattern you can run every week.
Burner patterns for 3-, 4- and 6-burner grills
Match the pattern to the grill you have, then keep that pattern. You can always use a smaller patch of the direct side; you cannot invent burners you do not have.
| Grill | A repeatable pattern | Notes |
|---|---|---|
| 3-burner | One or two burners on at one end; the far burner off | Two on and one off gives a smaller escape zone; one on and two off gives more indirect space |
| 4-burner | Two adjacent burners on, two off | This is the straightforward split for most weeknight cooks |
| 6-burner | Two or three on at one end; the rest off | Use a larger indirect area for a bird or a full pan of vegetables |
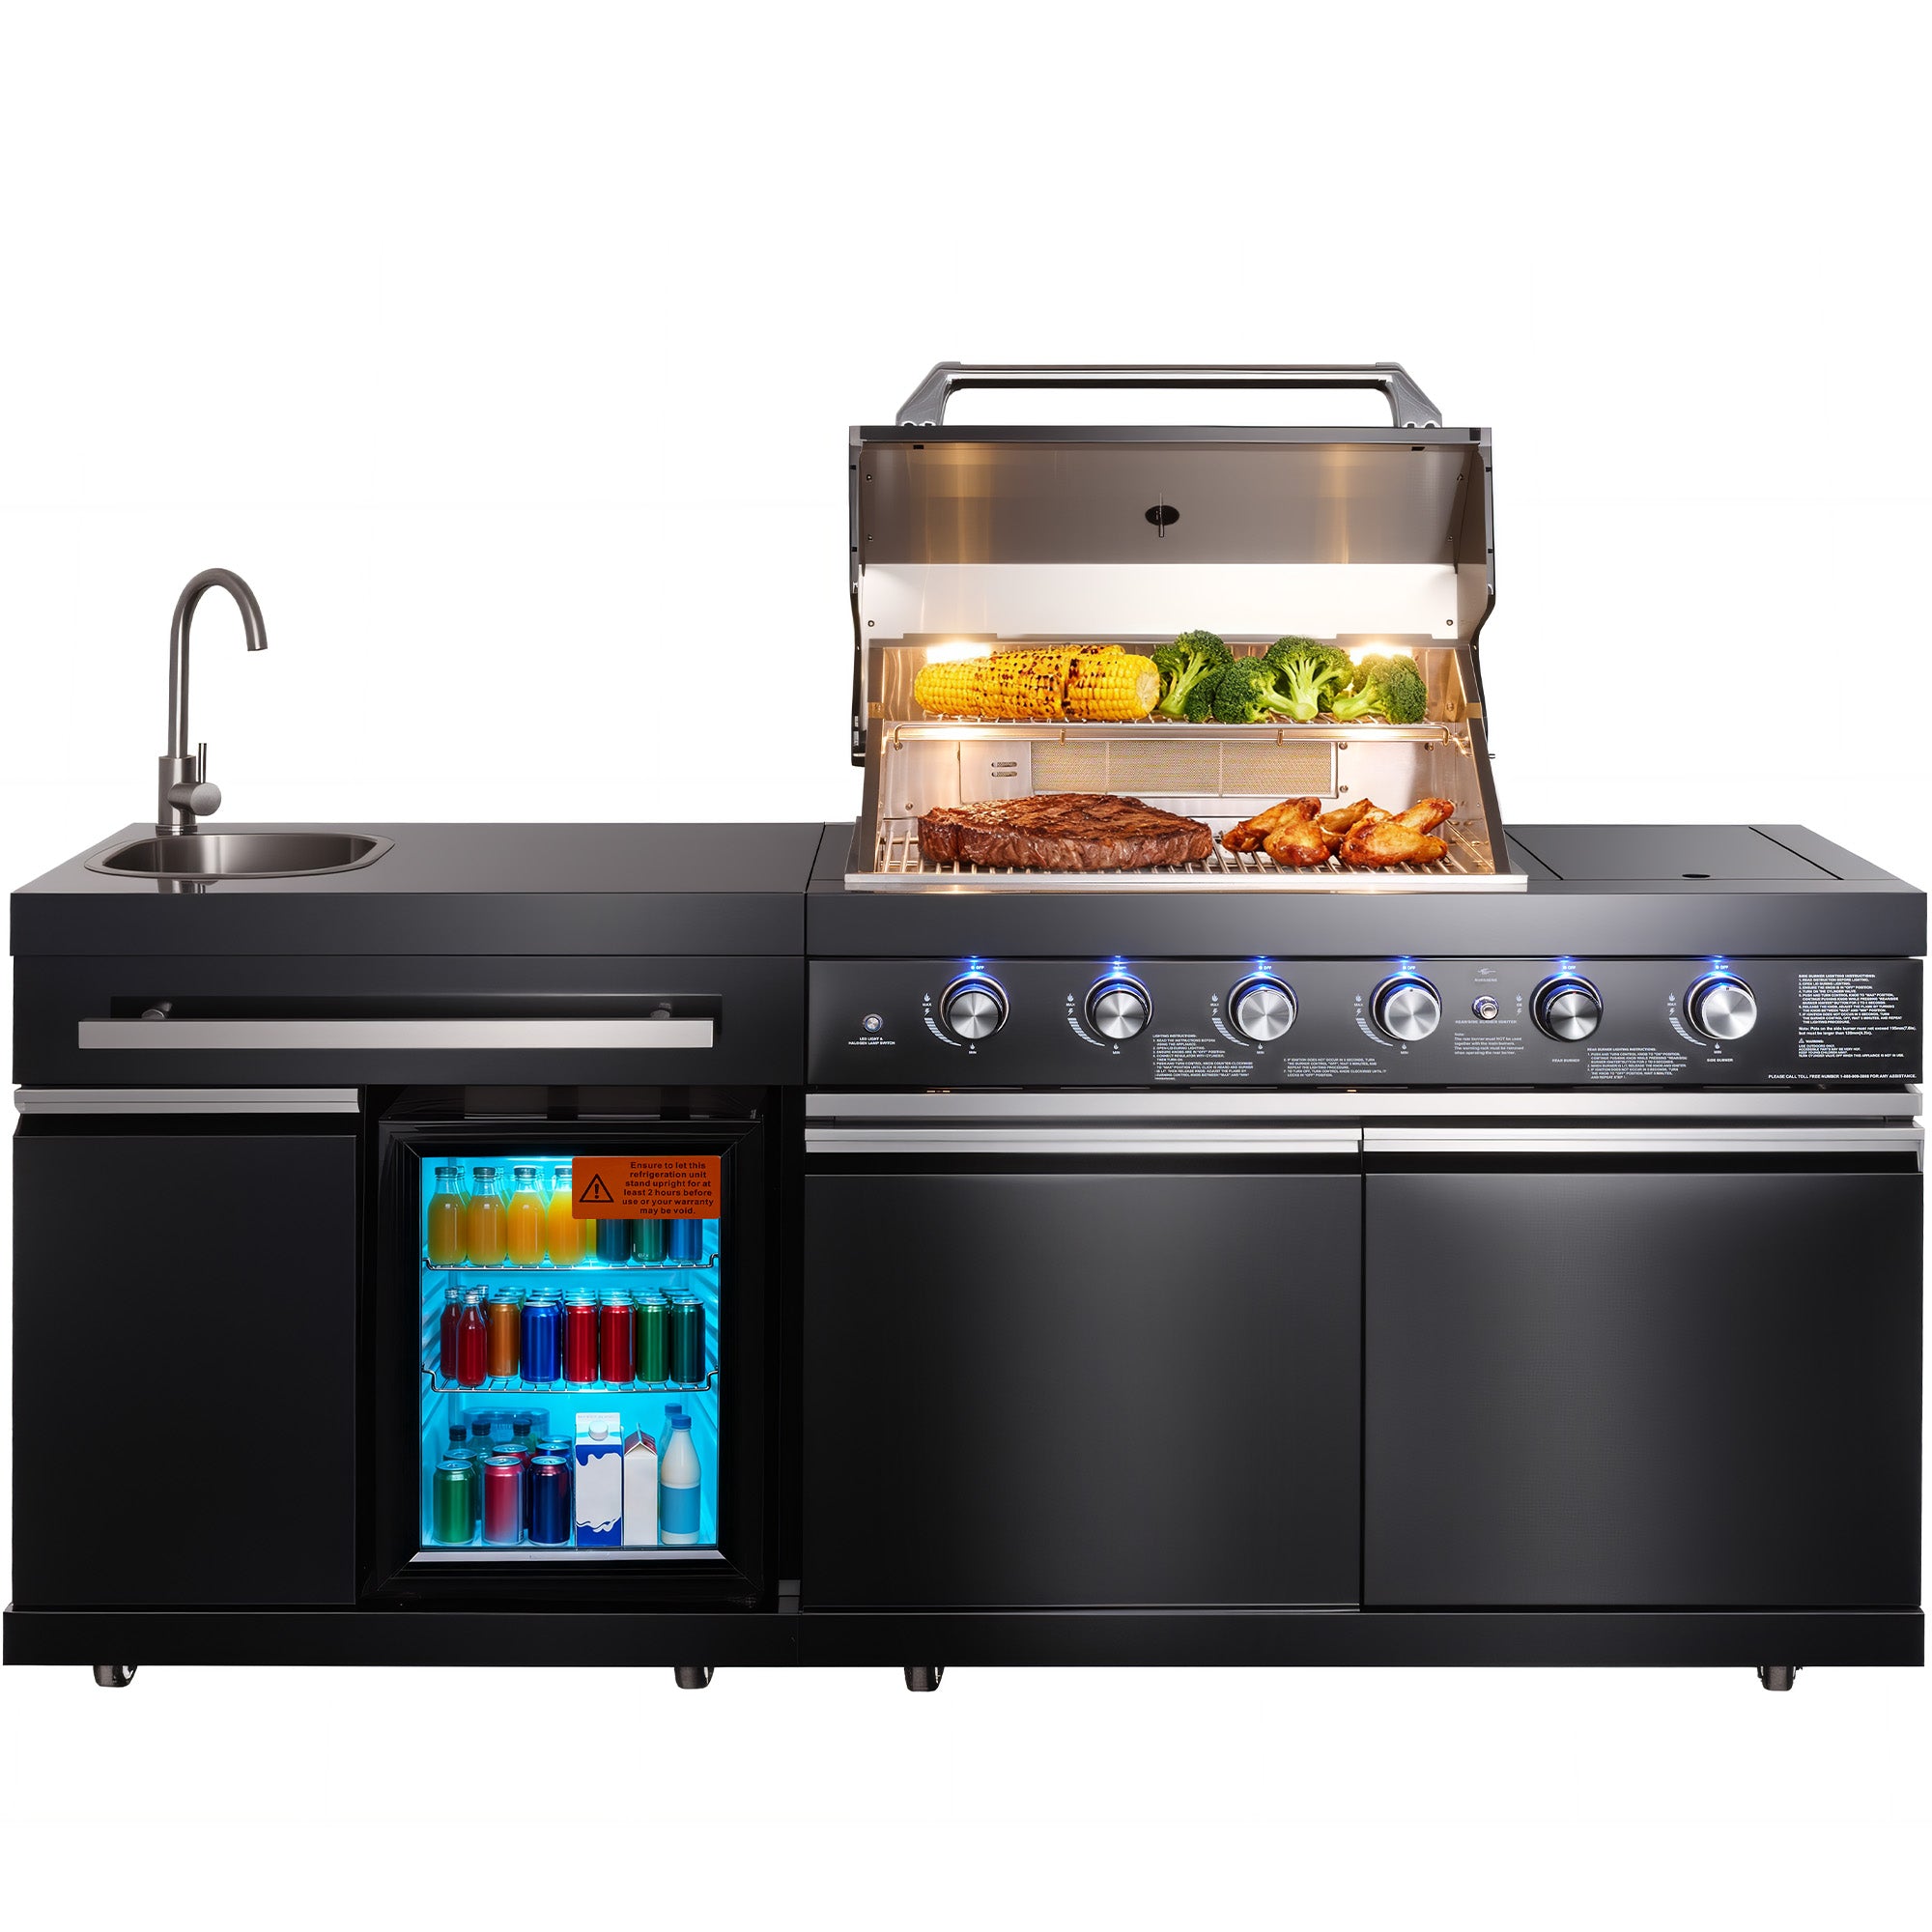
| 4+2 island | Zone the four main grill burners; treat extra side burners as a separate station | A side burner is not the same thing as an indirect zone under the lid |
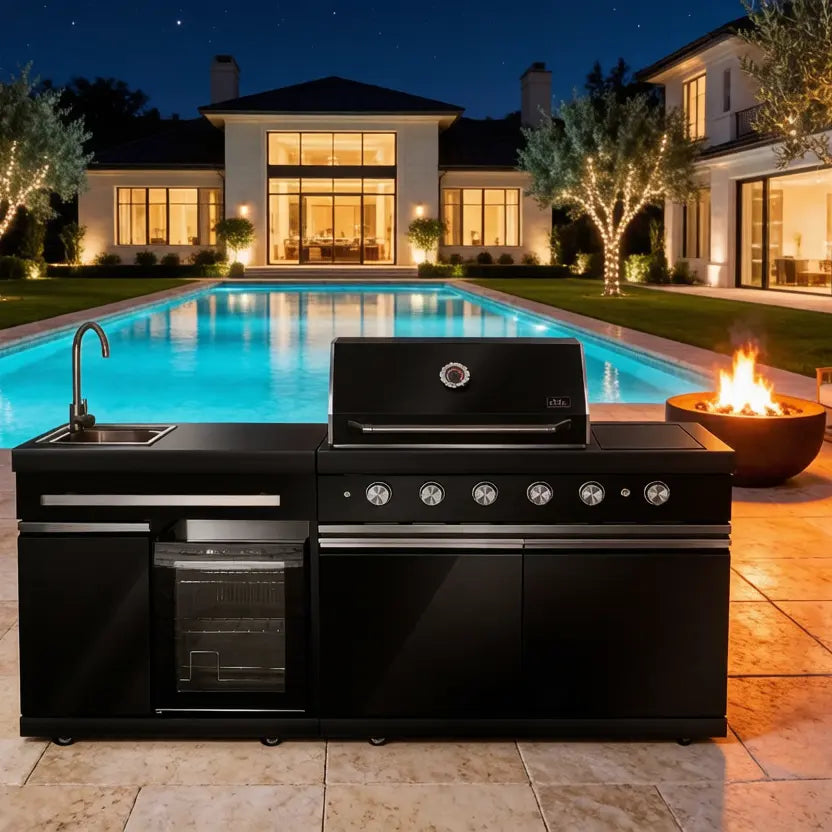
A four-plus-two island such as the stainless steel outdoor kitchen island with 4+2 burners, in black is a useful example because the main grate is where two-zone cooking happens. Side burners can warm a pot. They do not replace an off group under the lid.
A preheat and lid rule that keeps the indirect side honest
Preheat with the lid closed so the firebox and the grates are actually hot. Many cooks preheat with more burners on, then switch to the two-zone pattern and wait a short moment so the off side can become the cooler zone. This page will not invent a single preheat time that fits every grill and every weather. What you want is a direct side that sears on contact and an indirect side that is clearly calmer, not a guess at a branded temperature target.
The lid rule is simpler than the knobs. For indirect cooking, close the lid. Open it to sear, flip, or check, then close it again. A lid that stays up turns the grill into an open broiler and erases the cooler zone you just built.
When to use the indirect side: chicken, veg, finishing steaks
Use the indirect side when the outside of the food would otherwise finish before the inside: bone-in chicken, thick pork, larger vegetable pieces, a leftover-style finish on something already seared. For poultry, trust a thermometer and published safe-handling rules such as the FDA safe food-handling pages, not color alone.
Steaks often want the opposite order: a short, hard sear on the direct side, then a finish on the indirect side if the cut is thick. Thin steaks and burgers may live almost entirely on the direct side, with the cool zone used only as a landing place if a flare starts. Vegetables can split the difference: a brief char, then a lid-down finish so the centers soften without turning to ash.
A setup table you can reuse every week
Keep this as the weekly card. Recipes can change. The setup should not have to be redesigned each time.
| Step | What you do | Done when |
|---|---|---|
| 1. Clean path | Clear the grease tray and look at the drip path | Old grease is not waiting under tonight’s cook |
| 2. Preheat | Lid down, grates hot | The direct side will sear on contact |
| 3. Set zones | On-group and off-group in your usual pattern | One side is clearly calmer than the other |
| 4. Cook | Sear or char on the direct side; finish thicker food indirect, lid down | Temperatures and texture are where they should be |
| 5. Shutdown | Burners off, a brief burn-off if you use one, then a safe cool-down | The grill is off and the grease path is not left dirty |

How recipe pages should link here instead of re-teaching setup
A ribs recipe should assume you can already build two zones. So should a turkey or a low-and-slow gas-grill method. The cooking details change; the burner pattern should not be rewritten from scratch in every article. Use the existing ribs pages for the food itself, including the gas grill ribs recipe with indirect heat and a tender finish and the low-heat ribs method, and come back here for the setup those methods sit on.
Charcoal and fire-pit two-zone work is a different heat source. If you are banking coals rather than switching gas valves, use the pages that own those cookers, such as Santa Maria direct versus indirect heat and building a real escape zone on a fire-pit grill. Do not copy a charcoal bank onto a gas manifold and expect the same behavior.
Common mistakes: both sides blasting, lid up the whole time
The first mistake is leaving every burner on. The grill is hot, the food browns, and there is nowhere to send a flare or a thick piece that is cooking too fast. The second mistake is the lid-up session that people call “watching it.” You are watching the indirect zone disappear. The third is crowding the direct side until there is no two-zone pattern left, only a pile of food over fire.
A fourth mistake is treating a rear rotisserie burner or a side burner as if it had already created two zones on the main grate. Those features have their own jobs. Two-zone grilling, in the sense this page uses, is still a split across the main cooktop.
A 10-minute weeknight routine
On a weeknight, the setup should fit the start of dinner, not a project. Scrape and preheat while you bring food out. Set your usual burner pattern. Put chicken or thicker vegetables on the indirect side, lid down, and use the direct side only for a short color pass or for something that cooks quickly. Check temperatures rather than extending the cook by guesswork. Then shut the grill down on purpose.
That routine is the Tuesday half of the opening comparison. Saturday can add a longer sear and a slower finish, still on the same pattern. If weeknight cooking routinely takes three times as long as this, the issue is often preheat chaos or a lid that never closes, not a need for a more complicated theory.
A simple Tuesday plate might be two chicken thighs on the indirect side and a mix of peppers or squash that start over direct heat for color, then slide over to finish. You are not rewriting the grill. You are using both zones in the same 10-minute start, then letting the lid do the rest while you set the table. If the direct side flares, move the food, close the lid, and stay with the grill until the grease path is calm again.
The Saturday version can use the same map with a thicker steak: sear, then finish indirect, with vegetables already waiting on the cool side. The point of a reusable setup is that you do not have to invent a new burner story for each protein. Change the food. Keep the zones.
A drip pan, a safe grease path and a clean grate before you zone the fire
Do the unglamorous work first. A clean grate lets you see the zones and reduces sticking. A clear grease path reduces the chance that tonight’s chicken skin or steak fat becomes a tray fire. Empty the cup or tray your grill already uses. If you add a drip pan under indirect food, place it so it cannot block burners in a way the manual forbids, and so you can remove it when it is cool enough to handle.
Outdoor-cooking fire guidance is consistent on attention and grease: see NFPA grilling safety, U.S. Fire Administration cooking-fire prevention, and Ready.gov home fires. If you ever consider rolling a lit grill into an enclosure to escape weather, stop and read ventilation cautions such as the EPA page on carbon monoxide. Zone the fire only after the grill, the grease path, and the site are in a state you can stand next to for the whole cook.
If your weeknight grill is part of a larger outdoor kitchen, confirm the main-burner layout on a model such as the stainless steel outdoor kitchen island with 4+2 burners, then reuse the same two-zone pattern every time you cook.
FAQ
How do you set up two-zone grilling on a gas grill?
Light the grill, preheat with the lid closed, then leave one group of burners on for a direct, hot zone and turn the facing group off for an indirect, cooler zone. Cook with the lid closed unless you are searing or turning. The exact knob settings depend on your grill, so use a pattern you can repeat rather than chasing a single invented temperature for every brand.
Which burners do I leave on for indirect heat?
Leave the burners on under the direct side, and turn the burners off under the food that should cook more gently. On a four-burner grill that is often two and two. On a three-burner grill it is usually one side on and the far burner off, or two on and one off if you need a smaller escape zone. Do not leave every burner on and call the cooler back of the grate a true indirect zone.
Should the lid stay closed for two-zone cooking?
Yes, for most of the indirect cook. The lid is what lets the off side act like a small oven instead of a drafty grate. Open it to sear, flip, or check, then close it again. Leaving the lid up the whole time is one of the usual ways a two-zone setup stops being two zones.
Can I use two-zone grilling for chicken and vegetables?
Yes. Bone-in chicken and thicker vegetable pieces often start or finish on the indirect side so the outside does not burn before the inside is done. Use a thermometer and published safe temperatures for poultry, not color alone. Quick-searing vegetables can still take a short turn on the direct side, then move over to finish.
Do I need a drip pan for two-zone cooking?
A drip pan is useful when food on the indirect side will render fat or juices over burners that are off or over a hole in the grate. It helps with cleanup and with keeping grease in a known path. It is not a substitute for emptying the grill’s grease tray before you start. If your grill already has a managed grease system, use that, and add a pan only where it fits safely.
More to Read
How to Start and Safely Extinguish a Wood Fire Pit
How to start a fire pit with dry wood and no lighter fluid, then extinguish it with water, sand, or a snuffer until the coals are truly cold.
Argentine Steak Cuts on a Home Parrilla: Vacío, Entraña, Tira and Bife de Chorizo
Translate vacio, entrana, tira, and bife de chorizo at a US butcher, then salt each cut, plan grate space, and shop a four-person home asado.
Heat Windows After the Last Pie: Mains and Bread in a Gas or Pellet Oven
What to cook in a gas or pellet pizza oven after pizza: use falling-heat windows for mains, bread, and pastry, plus a clear temperature-band map.