





The perfect pizza crust comes down to four variables you can control: dough hydration and fermentation, a fully heated stone, the right heat window, and bake management. Get those four right and the crust puffs, blisters, and sets into the crisp-yet-pillowy structure people chase — no special oven required, though a high-heat oven makes the difference easier to achieve.
Start with the dough: hydration and fermentation
Crust begins before the heat is on. A hydrated dough in the 60–70 percent range gives an airy crumb, and a slow ferment develops flavor and extensibility, so the dough stretches thin without tearing and puffs in the oven. Knead enough to build gluten, then let time do the rest — a same-day mix can work, but an overnight cold ferment makes the puff easier to achieve.
The stone must be fully preheated
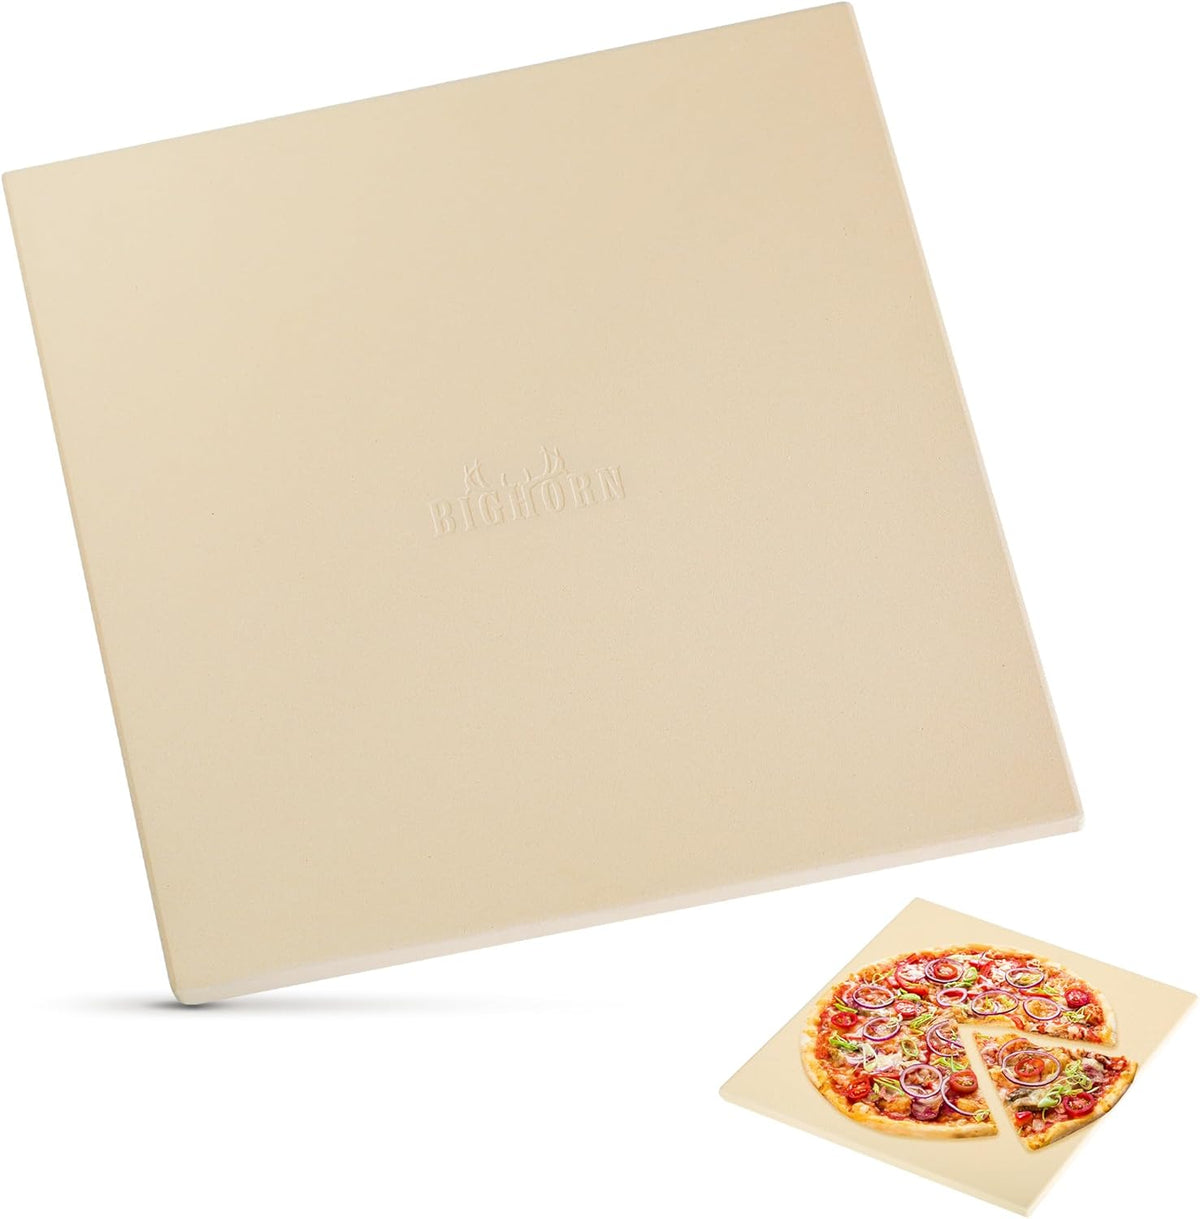
The single most common crust failure is a stone that is not hot enough. A cold stone drags heat out of the dough, producing a pale, chewy base while the top over-bakes. Fully preheat the stone — 18–20 minutes on a pellet oven, about 10 minutes on a gas model — and confirm it with a thermometer if you have one. The stone, not the air, is what sets the base.
Each crust style asks for a slightly different heat window and dough. If you cook on a pellet oven, the guide to the best pizza styles for a pellet oven matches the style colds to the temperature you need.
Match heat to the style
Crust texture tracks the heat window. Neapolitan-style wants 700–800 °F and 60–90 seconds for a puffy, blistered rim. A foldable crisp base needs slightly lower heat and a little more time. Thicker styles need moderate, steady heat so they cook through before the outside scorches. Choose the window for the crust you want, then manage the oven to hold it.

Manage the bake: rotation and timing
During the bake, watch the rim rather than a timer. Rotate once partway through so browning stays even, and pull the pizza the moment the rim blisters and the base is set. Because high-heat bakes run 60–90 seconds, the difference between a perfect and an over-baked crust is a matter of seconds — being present at the oven is part of the technique.
Perfect crust troubleshooting
| Symptom | Likely cause | Fix |
|---|---|---|
| Pale, chewy base | Cold stone | Preheat fully; confirm with a thermometer |
| Burnt rim, raw center | Too hot or too long | Lower heat, rotate earlier |
| Flat, dense rim | Under-proofed or rolled | Ferment longer; hand-stretch |
| Tears on the peel | Too wet or over-proofed | Adjust hydration; build quickly |
Crust tips and answers
What is the ideal hydration for a beginner?
Around 60–65 percent is the sweet spot: wet enough for an airy crumb, dry enough to stretch without sticking. Beginners who go much higher than 70 percent often fight sticky dough on the peel. As your technique improves, you can push hydration up and adjust with flour on the work surface.
How does the type of flour change the result?
"00" gives a soft, extensible dough that suits Neapolitan-style puff; bread flour adds structure and chew, which suits New York-style slices; all-purpose is the flexible middle. None is wrong — the flour just moves the texture toward a different style, so choose by the crust you want.
Why do restaurant crusts look different from home ones?
Restaurants start with a fully saturated stone and trained timing. Your dough and recipe can be identical; the gap is usually a cold stone, an early launch, or a missed rotation. Fix the preheat and stay at the oven, and the home result closes the gap quickly.
What role does steam play in the crust?
Steam in the first seconds of the bake keeps the outer skin soft long enough for the dough to expand, which creates the puffy, blistery structure. High-heat ovens produce this naturally: surface moisture flashes to steam, the trapped gas in the dough expands as oven spring, and the hot surface sets the base. That rapid expansion is why the same dough behaves so differently in a hot first minute versus a slow one.
How do you keep the crust crisp after baking?
Store heat and moisture away from the crust. Rest the pizza on a rack so steam escapes instead of condensing on the base, slice with a sharp wheel, and serve promptly. Avoid covering stacked pizzas with foil, which traps the steam and softens the bottom.
When should you adjust hydration?
Adjust hydration when a specific symptom appears: sticky tears call for slightly less water (or more flouring), while a dry, dense base can take a bit more. Move in 2–3 percent steps and retest — hydration is a dial you turn by symptoms, not guesswork.
Should you brush the crust with oil before baking?
A light oil on the rim encourages even browning and can soften the exterior slightly, which some styles want. Use it sparingly — heavy oil makes the crust greasy. For Neapolitan-style puff, skip the oil on the dough itself and let the heat do the work.
How do you know when the dough is proofed enough?
The dough should have roughly doubled, feel airy and slightly springy, and hold a light fingerprint that springs back partway. Under-proofed dough is dense and tears; over-proofed dough is slack and hard to shape. Learn the feel with consistent timing, then adjust by temperature.
How long should the dough rest after shaping?
Let shaped, topped but unlaunched dough rest only briefly — too long and it welds to the peel. The longer rest matters before shaping, when the dough is balled. Give balls 30–60 minutes after dividing so they relax and stretch easily, then build and launch quickly.
What is the fastest way to improve your crust?
Improve the stone temperature first. A fully preheated, saturated stone fixes pale bases, speeds the bake, and puffs the rim — three symptoms at once. Hold preheat discipline for a few sessions and most crust problems shrink before you change anything else.
The four-control summary
Keep the four dials in mind and you will never be lost: dough hydration and ferment, stone temperature, bake heat window, and rotation timing. Adjust one at a time, note the result, and the perfect crust becomes a repeatable process instead of luck.
Remember that the crust is a system: dough, stone, heat, and timing each contribute, and the one you neglect is usually the one showing up in the symptom. Fix the weakest link first and the whole result improves out of proportion to the effort.
Perfect crust FAQs
Do I need "00" flour?
It helps for Neapolitan-style extensibility, but a strong bread flour works with a slightly higher hydration. Flour choice is secondary to fermentation and heat.
Can I get a good crust in a home oven?
Yes, with a baking steel or stone and the longest possible preheat — but the 500 °F ceiling limits the blistered, puffy result that high-heat ovens make easy.
Why does my crust go soggy after slicing?
Steam trapped under the pizza softens it. Let the pizza rest 1–2 minutes on a rack, not a solid surface, so moisture escapes before slicing.
To make the perfect crust easier, compare high-heat ovens in the pizza oven collection and confirm the peak heat and stone specs.
