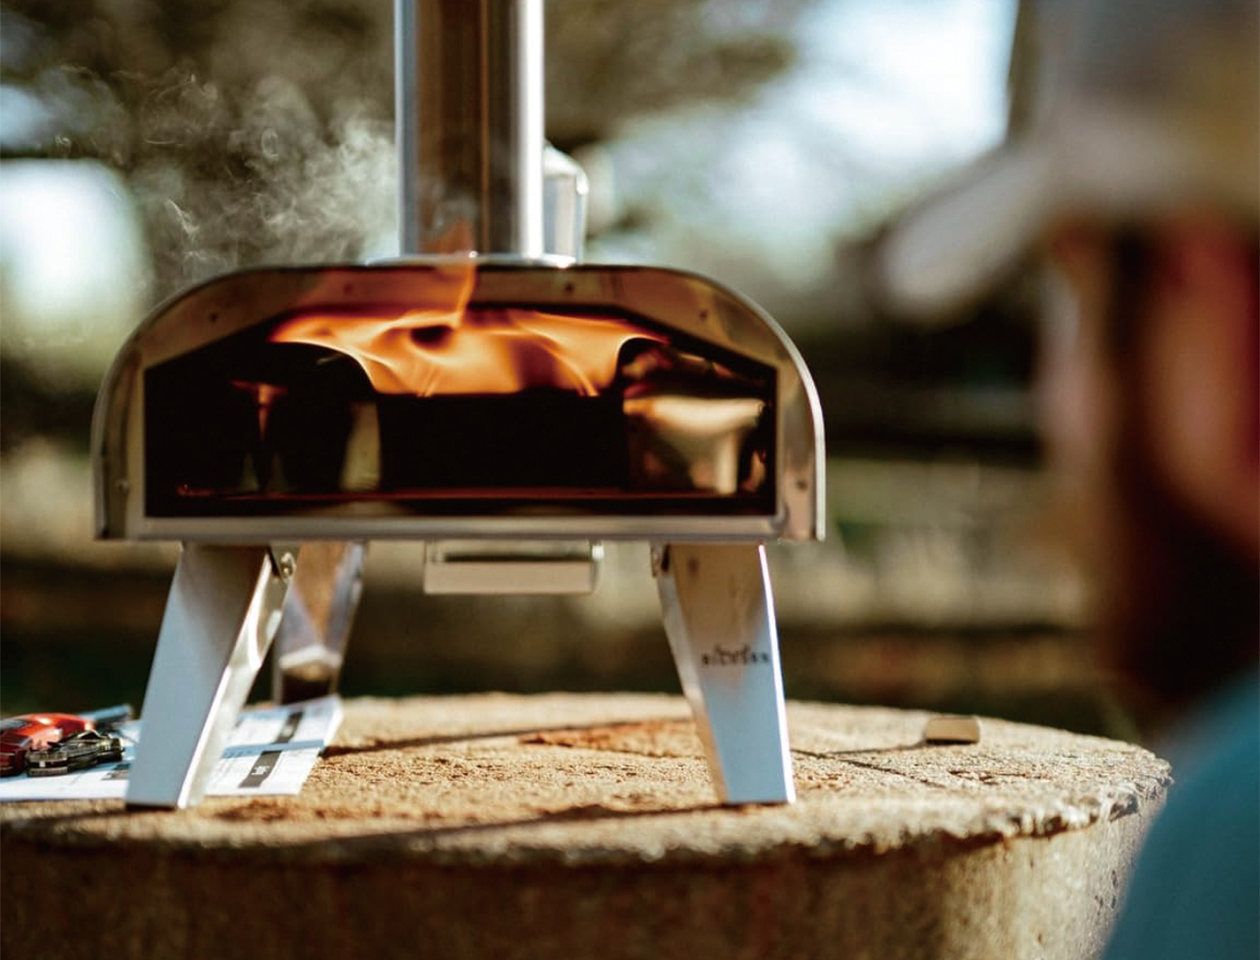
An infrared grill can bake excellent pizza when you treat it as an oven rather than a grill: a preheated stone absorbs the intense radiant heat, the lid traps it like an oven dome, and the pizza bakes from the bottom up while the stone's stored heat finishes the crust. The method comes down to four moves — preheat the stone fully, stretch the dough thin, bake with the lid down, and watch the crust instead of the clock. This guide walks through the stone setup, dough and topping choices, the bake itself, and the fixes for the two problems that ruin most grill pizzas: a burnt bottom or a pale top.
Can an infrared grill bake pizza?
Yes, with the right setup, because an infrared grill produces exactly what pizza needs: intense, even bottom heat. The burner rating on an infrared grill is very high — 1,500°F is a burner rating, not the temperature your stone actually reaches — but even the real stone temperature is hotter than a standard gas grill can deliver. When a baking stone sits above that heat source, it stores energy and transfers it evenly to the dough, giving the bottom crust the fast, direct bake it needs. The lid then holds the heat above the pizza, which is the part that makes the toppings cook and the cheese bubble instead of the top staying pale while the bottom burns.
The two things an infrared grill does not have on its own are an oven dome and a separate top-heat control. You compensate with a covered bake and by managing the stone's temperature — which is why the stone and the lid are not optional extras for this method; they are the method. A grill with a stone and a closing lid, like the portable infrared grill models with a pizza stone, is effectively a small deck oven with the fire underneath.
Setting up stone and heat zones
Start with a stone that fits the grill with room for air to circulate. Place it on the grates, over the heat source, and preheat with the lid closed long enough for the stone to come to temperature all the way through — the stone's surface should feel uniformly hot when you hover a hand over it, and a short infrared preheat is not enough for a thick stone to soak. Preheat time varies by grill and stone, so learn your own by testing with an infrared thermometer if you have one; the goal is a stone that reads the same across its surface, not a stone that is hot in the center and cool at the edges.

Set up your heat zones before the first pizza. If the grill has an adjustable burner or a removable deflector, find the setting that keeps the stone hot without turning the bake into a char contest; if the grill runs at full power, use distance — a raised grate position or a stone that sits a little higher — to tame the intensity. Some infrared grills include a stone designed for the grill; use that pairing when it exists, because the stone's size and the grill's heat output are matched. Whatever the layout, resist the urge to open the lid during preheat; every open lid lets the stored heat escape and stretches the preheat.
Dough that works on a grill
Grill pizza rewards dough that is strong enough to stretch thin and forgiving enough to tolerate a hot stone. A simple flour, water, yeast and salt dough with a long rest works well; the dough should be soft and extensible, never tight, because a tight dough springs back and bakes unevenly. Divide the dough into individual balls, let them rest, then stretch each ball by hand — from the center outward, keeping the edges slightly thicker to form a cornicione. Thin is the theme: a thick crust needs longer on the stone, and on an infrared grill that longer time risks burning the bottom before the inside cooks.
Keep toppings light and dry. Use a moderate amount of sauce, shredded low-moisture mozzarella, and toppings that are cooked or quick-cooking — raw sausage or thick vegetable chunks will not finish in a fast high-heat bake. Less topping also means less moisture, and moisture on a hot stone is the enemy of a crisp bottom. Prepare everything before the pizza goes near the grill: sauce, cheese, toppings, peel and flour or semolina all ready, because once the stone is hot, the bake moves fast and there is no time to slice mushrooms mid-pizza.
Sauce and cheese need the same discipline as the dough. Spread the sauce in a thin layer that stops short of the rim — a pool of sauce in the center steams the dough and slides the toppings; too much sauce is the quiet cause of a pale, soggy middle under a well-browned edge. Grate the cheese yourself or buy low-moisture mozzarella and blot anything wet, and add delicate leaves or cured meats after the bake if your toppings would burn on a hot stone. Think of the infrared bake as a sprint: the pizza is on the stone for only a few minutes, so every component should be ready to finish in that window rather than expecting to cook from raw.

Baking and turning with infrared
Launch the pizza with confidence: give the peel a quick shake to confirm the dough slides, position the front edge over the stone, and pull the peel back in one smooth motion. Close the lid immediately so the trapped heat works on the top. Because infrared heat is intense from below, check the bottom crust early — lift an edge with a peel or spatula after the first minute or two to see the color. If the bottom is browning faster than the top is cooking, the stone is too hot, so raise the pizza's distance from the heat or lower the burner for the next bake.
Turning matters on a grill that heats unevenly. Open the lid, rotate the pizza a quarter or half turn with a turning peel or tongs, and close the lid again; most grill pizzas need one or two turns to brown evenly. Total bake times on a hot infrared grill are short — typically a few minutes — but time is a weak guide because the stone's temperature and the dough's thickness change everything. Read the pizza: the cheese should bubble, the cornicione should puff and spot brown, and the bottom should be crisp with leopard spots, not black. When all three are true, pull the pizza onto a board, let it rest for a minute and slice.
Fixing burnt or pale crusts
A burnt bottom with an undercooked top is the classic first-grill-pizza failure, and it has three causes. The stone was too hot or the grill was at full power with the stone too close to the burner; the pizza sat too long because the dough was too thick or the toppings too wet; or the lid stayed open too long while you checked, letting the top heat escape while the bottom kept cooking. Fix the heat first — moderate the burner or raise the stone — then thin the dough and dry the toppings. A pale top with a good bottom usually means the lid was open too much or the bake was too short; close the lid, let the trapped heat work, and trust the bottom check rather than hovering over the pizza.
Keep a small record of what works: the setting your grill liked, how long the stone preheated, and the bake time that produced your best pie. Every infrared grill and stone pair has its own rhythm, and the first two or three pizzas are calibration, not failure. Start with a simple margherita or cheese pizza to learn the heat, then add toppings once the crust and the bake are repeatable. Big Horn's 16-inch portable infrared grill with pizza stone and the matching stone-included model are built around this covered bake, and the 12-inch pizza stone plus the infrared grill collection cover the pieces for a setup you already own.
If you own an infrared grill without a stone, the upgrade path is simple: buy a stone that fits the grate with clearance, preheat it fully and run the same covered-bake method. A grill that was bought for steaks becomes a two-appliance cooking station — the direct infrared zone for searing and the stone zone for baking — which is exactly why the stone models in the infrared range ship together. The method does not depend on a specific grill; it depends on the stone, the lid and the preheat, and those three travel across the whole collection.
The infrared grill turns into a pizza oven the moment you add three disciplines: a fully preheated stone, a covered bake and a watchful eye on the bottom crust. Master those and the grill that sears your steaks becomes the oven that bakes your pizzas — same heat source, different technique, and a second reason to fire it up.
These steps are general guidance, and models vary: follow the manual for your specific unit, and verify temperatures with a clean thermometer where the text calls for one. Product details reflect official Big Horn Outdoors listings reviewed September 5, 2026; re-check prices and availability at checkout.