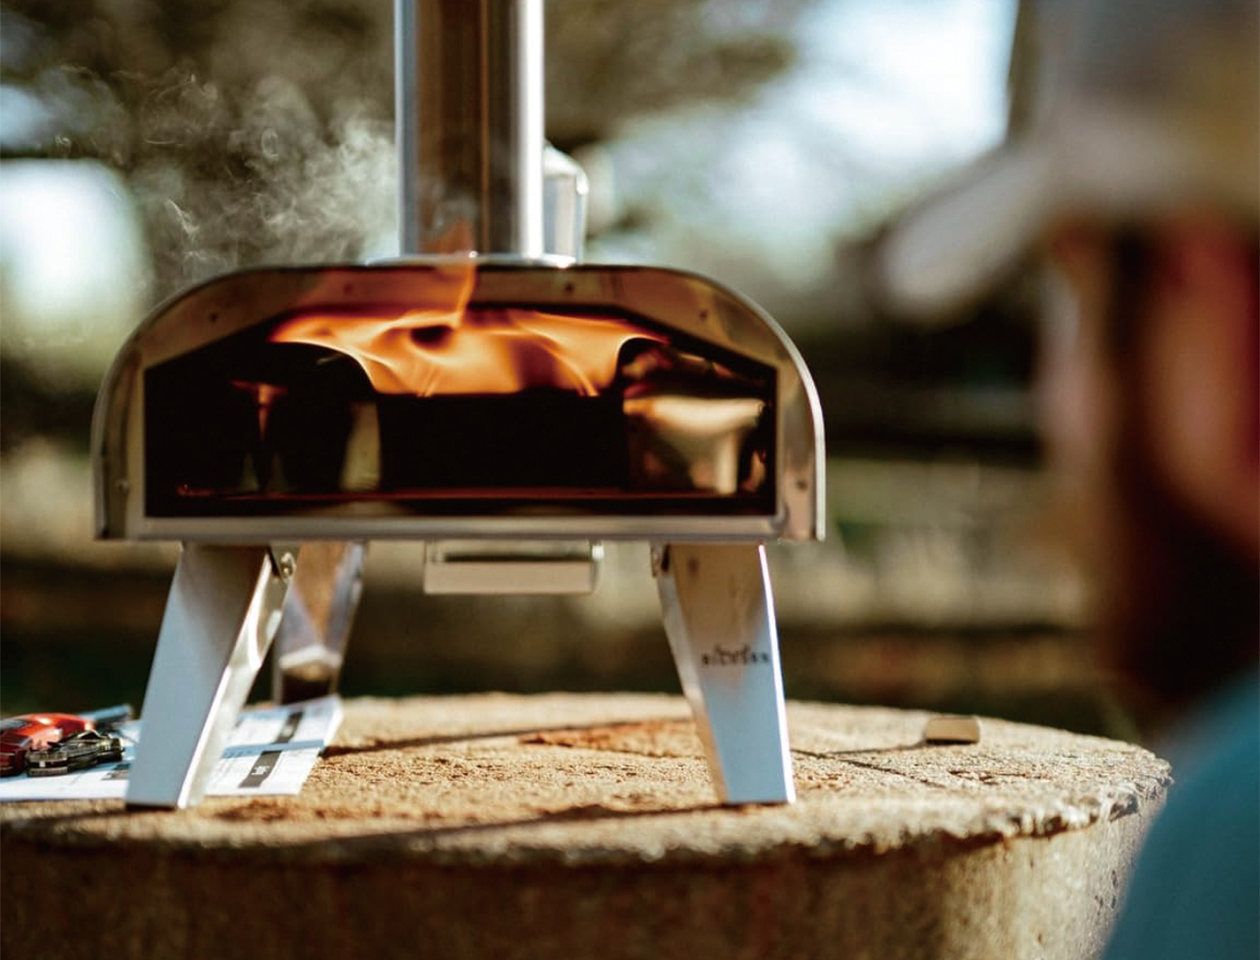
A two-burner camp stove turns a campsite into a real kitchen if you treat it like one: prep everything before the fire is lit, assign each burner a job, and plan meals that cook in sequence rather than everything at once. The stove itself is simple — two independent burners on one fuel source — but the workflow around it decides whether dinner is a relaxed one-pot meal or a scramble of half-finished pans. This guide covers that workflow, with sample meals and the habits that make two burners feel like four.
Set up like a kitchen, not a campsite afterthought
Before lighting anything, build the same three zones you would use at home: a cook surface for the stove, a prep surface beside it, and a clean landing area for finished food. On a campsite, the prep surface is often the hardest part — a folding table or a cutting board clipped to a cooler works, but it must be stable and close enough that you are not carrying hot pans across the site. Assign one burner as the main cook and the other as the support burner for simmering, keeping warm or boiling water. That single decision prevents the most common two-burner failure: using both burners for the same dish and running out of heat when you need it.

Prep first: mise en place at camp
Mise en place matters more outdoors than indoors, because the stove is small and there is no second sink or counter to rescue you. Chop vegetables, portion proteins, measure spices and mix sauces at home or at the prep table before the burners are lit. Once the fire is on, every trip back to the cutting board is heat and attention lost from the pans. A simple rule: if it can be chopped, measured or mixed before cooking, it should be — the stove's only job is to cook what is already ready.
Meal 1: one-pan skillet dinner with a simmered side
A classic two-burner dinner is a skillet main plus a simmered side. Start rice or beans on the support burner while you sear the main in a skillet on the main burner: brown chicken thighs or sausage, add vegetables, and finish with a sauce. When the side is done, move it to the landing area and use the support burner to keep the main warm or to toast bread. The meal works because the two burners run different jobs at different times — the side simmers quietly while the main gets the attention.
Meal 2: breakfast with coffee going
Breakfast is where the two-burner layout shines. Put coffee or tea on the support burner first, then use the main burner for the skillet: eggs, potatoes or pancakes. Because coffee takes a while to brew, it uses the support burner without competing for the main cook's heat, and both are done around the same time. If you need the support burner for a second breakfast item, brew the coffee first and move it to a warm spot while you cook — a thermos or a pot wrapped in a towel holds it hot.
Meal 3: boil-and-finish pasta night
Pasta night uses both burners in sequence: boil the pasta on the main burner while the support burner warms the sauce. When the pasta is done, drain it, return it to the pot, and finish it in the sauce on the support burner while the main burner cools. This meal is a good test of the "one burner per job" habit, because it is tempting to boil the pasta and cook the sauce at full heat simultaneously — which leaves no burner for the final finish.
One-burner backup plan
Every two-burner cook should know how to run the same meals on one burner, because wind, fuel or a borrowed burner will occasionally take one away. The one-burner method is to cook components in sequence and hold them: start the long-cook item, move it aside under a lid or wrapped in a towel, cook the fast item, then combine. One-pot meals — stews, skillet pastas, foil packets — are the natural one-burner fallback, which is why keeping a one-pot recipe in your camping rotation makes the whole system more resilient.
Heat management on two burners
Two burners give you two heat settings to manage, and the skill is matching the burner to the job rather than running both at full. Use the main burner for searing and boiling, then drop it to a simmer the moment the food needs gentle heat; use the support burner at a low flame for keeping things warm or cooking rice slowly. Learn where each burner's low setting actually sits by testing with water — a flame that looks low can still boil a small pot. Wind is the other variable: shield both burners with a windscreen or the stove's own guards, because a gust that hits one burner will not respect your carefully balanced two-dish plan.
Tools that make it easier
A short tool kit turns two burners into a real kitchen. Carry one large skillet and one pot with a lid, a heat-resistant spatula and tongs, a cutting board that fits your prep surface, and a thermometer for proteins. Add a small colander for draining pasta and a towel or trivet for moving hot pots — camp cooks improvise these constantly, and having them ready removes the scramble. Foil is the multi-tool: use it for packet vegetables, as a lid for uneven pots, and to keep finished food warm while the second dish cooks.
Adapting home recipes for two burners
Most home recipes can be adapted by rewriting them as a sequence instead of a parallel process. Look at the recipe and list every cooking step in order, then decide which steps need a burner at the same time. If the recipe needs more simultaneous burners than you have, change the order or the equipment: simmer the sauce while the pasta water heats, then swap; brown the meat first and finish the vegetables in the same pan. Recipes that call for an oven can become covered-pan dishes on the support burner. The adaptation rule is simple — one burner for the main cook, one for support, and everything else sequenced around them.
Keeping food hot and safe
Cook times at camp depend on your pot, the weather and the stove, so treat every time in a recipe as a starting point, not a guarantee. Check doneness with a thermometer for proteins, keep hot food above serving temperature until it is eaten, and chill leftovers promptly rather than leaving them out through the evening. A two-burner stove cooks real meals, but it does not change the food-safety rules — hot food stays hot, cold food stays cold, and leftovers go in the cooler before you sit down by the fire.
The Big Horn portable 2-burner propane camping stove is the workhorse this guide is written around, and the camping stove collection shows the full range. Start with the three-zone setup and the burner-role habit, cook the sample meals once, and adapt them to your own menu — after a few trips, real two-burner cooking stops feeling like a compromise and starts feeling like the best part of camp.
If you are new to two-burner cooking, run a practice meal at home before the trip: set up the stove on a table, follow the three-zone plan, and cook one of the sample meals start to finish. The driveway practice will expose the missing tool or the awkward pan size that would have ruined the first camp dinner, and it builds the sequencing habit in a place where you have a real kitchen as backup. One practice meal is worth more than any gear list, because it turns the method in this guide into muscle memory.
Cold and windy trips add two adjustments. Cold weather slows boiling and simmering, so give every time estimate extra margin and use a lid on every pot to hold heat. Wind steals heat from the burners even with a screen, so cook on the sheltered side of the site and keep the fuel canister out of the direct wind. A two-burner stove performs well in cold conditions when you add the margin instead of fighting it — the method stays the same, the timeline just stretches.
These steps are general guidance, and models vary: follow the manual for your specific unit, and verify temperatures with a clean thermometer where the text calls for one. Product details reflect official Big Horn Outdoors listings reviewed September 5, 2026; re-check prices and availability at checkout.