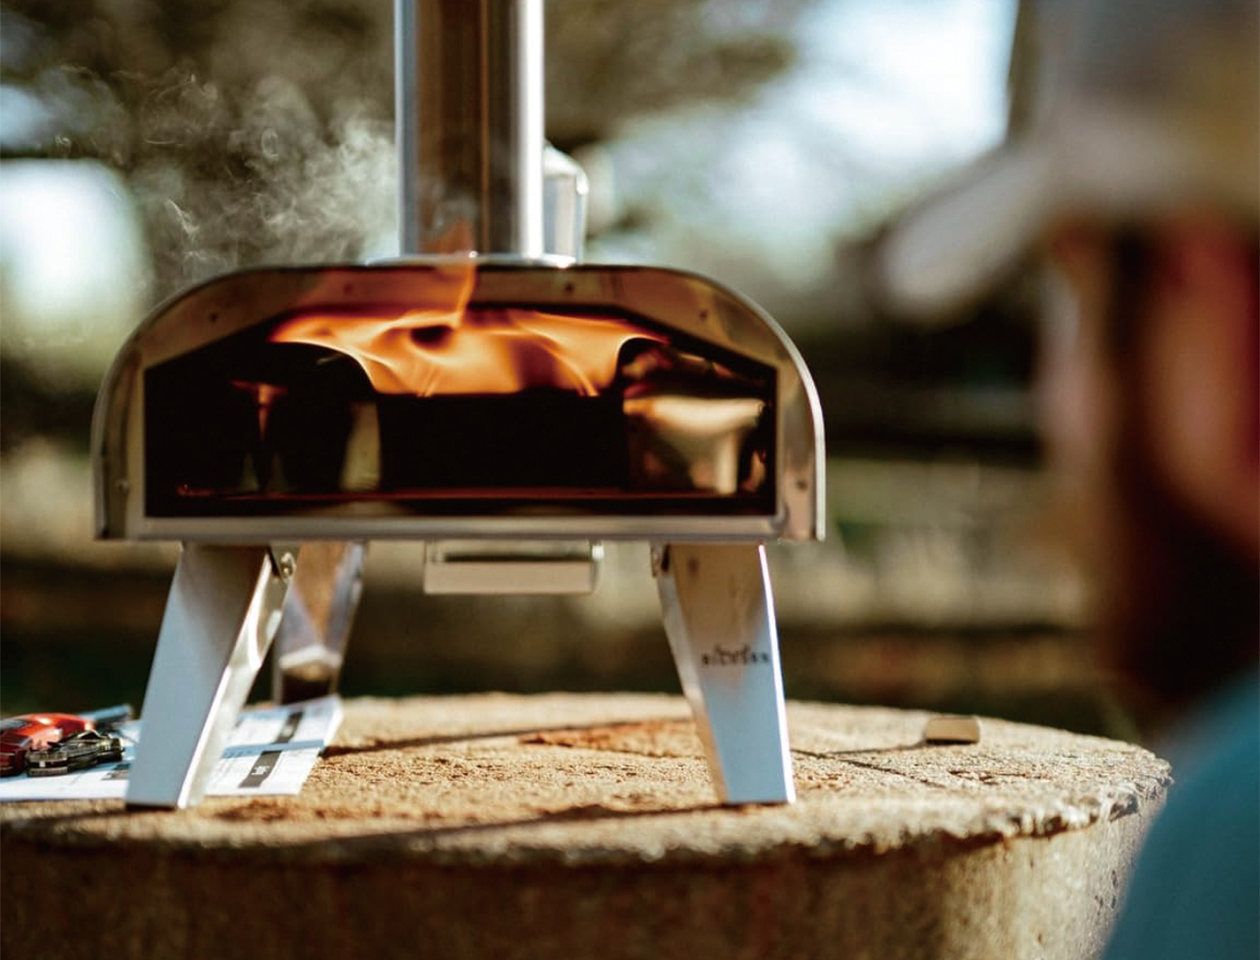
A gas pizza oven has the same cleaning jobs as any pizza oven — stone, interior, exterior — plus one set that belongs only to fuel-burning models: the burner, the ports, and the hose and regulator that feed them. The routine is straightforward if you work zone by zone and always start from a cool, disconnected oven. This guide covers the gas-specific parts first, then the stone and body, and finishes with the hose checks and end-of-season storage that keep a gas oven safe and reliable for years.
What gas ovens need differently
Gas ovens collect two kinds of residue that other ovens do not. The first is grease and flour dust inside the baking chamber, which every pizza oven gets. The second is combustion residue around the burner — soot, ash and debris that can clog the burner ports if they are never cleaned. A gas oven with clogged ports heats unevenly, and an uneven flame means an uneven stone, which shows up as pizzas that burn on one side and stay pale on the other. That is why burner care is a cleaning task, not just a repair task.
Prep: cool, disconnect, inspect
Start any deep clean by turning the oven off and closing the tank valve, then let everything cool completely — stone included. A warm stone is fragile and a warm burner can ignite cleaning residues. Once cool, disconnect the hose from the tank if you will be moving or tilting the oven, and inspect the hose and connections while you have access. Look for cracks, kinks, swelling or worn fittings; if anything looks doubtful, replace the part before the next cook rather than cleaning around it.
Lay out your tools before you start: a soft brush for the burner, a nylon or approved scraper for the stone, a vacuum with a narrow nozzle for crumbs and ash, warm soapy water for the body, and a dry cloth. Working zone by zone keeps the job quick and prevents cleaning products from migrating onto the stone.
| Clean type | When | What it covers |
|---|---|---|
| Quick clean | After each cook | Brush crumbs off the stone; wipe interior walls; empty visible debris |
| Routine clean | Every few weeks of use | Burner brush and ports; body wipe; interior film; inspect hose visually |
| Deep clean | End of season | Everything above plus full leak test, disconnect, dry, cover and tank storage |
How often you cook decides the calendar. A weekly pizza family will hit the routine clean monthly; a once-a-month cook can stretch it longer. The signal that you waited too long is a stone that looks crusted or a flame that looks uneven — both tell you the routine clean was overdue.
Cleaning the burner and ports
The burner is usually accessible from the front or rear of the oven body; your manual shows how far you should disassemble. Do not take the burner apart beyond what the manual describes. With the burner cool and the gas off, brush the surface gently to remove loose soot and debris, and clear the ports with the tool your manual recommends — often a thin wire or a pin designed for the job. Do not enlarge the ports or poke aggressively; a damaged port changes the flame pattern permanently.
If the burner will not light evenly after cleaning, check the air shutter and the gas pressure before assuming the burner is worn. Uneven flames can also come from a regulator problem or a kinked hose, which is why the hose check belongs in the same session.

Stone and interior upkeep
The stone is the surface your pizza bakes on, and it should be treated like a porous cooking surface, not a pan. Brush loose flour and crumbs off a cool stone after each session, and scrape off burnt residue with a metal scraper only if your manual approves it — many stones prefer a nylon scraper or a dedicated stone brush. Never wash the stone with soap, and never pour water on a hot stone; both can crack it or leave residues that flavor future pizzas.
The interior walls collect a film of grease and flour over time. Wipe them with a dry cloth or paper towel when cool, and save a deeper clean for when the film is visibly thick. Some owners run a high-temperature burn-off to turn interior residue to ash before wiping; follow your manual's guidance rather than improvising, because the burner and stone both react differently to heat than a grill grate does.
Build a small after-every-cook habit so deep cleans stay rare: when the oven is cool enough to touch but the residue is still soft, brush crumbs off the stone and wipe the interior walls. A few minutes after each session prevents the baked-on layers that turn a routine clean into a scraping project. If the stone has dark stains from spills, leave them — stains do not affect baking, and aggressive scrubbing can damage the surface. Only cracks, warping or a stone that no longer holds heat justify replacement.
Hose, regulator and valve checks
At least once a season — and any time you reconnect the tank — inspect the full gas path. Check the hose for cracks, brittleness or rodent damage, confirm the regulator is the one specified for the oven, and make sure the tank valve opens and closes smoothly. Then run a soapy-water leak test on every connection: open the tank valve slowly and look for bubbles at the joints. Bubbles mean a leak; close the tank, tighten the fitting, and test again. If a leak persists, replace the part rather than cooking with it.
Keep the tank connection clean and free of debris. A grain of grit in the valve seat can cause a slow leak that soap testing will find, so make the test a habit rather than a one-time event.
The oven's exterior deserves its own pass. Wipe the body with warm soapy water or a stainless cleaner suited to the finish, rinse and dry, and check the door seal and any vents for cracks or buildup. A clean exterior is not cosmetic — grease baked onto the body traps heat and attracts more residue, and a damaged door seal lets heat escape, which changes how evenly the oven bakes. If the oven has a window, clean it with a product safe for that glass and avoid abrasive pads that scratch the view.
End-of-season and winter storage
When the season ends, do the full clean, then store the oven for the weather. Clean the stone and interior, wipe the body, and let everything dry completely before covering — a cover traps moisture against a damp oven. Disconnect the tank, cap the connection, and store the tank outdoors, upright and ventilated, following local rules. Store the hose and regulator indoors in a dry place if you can, out of reach of rodents. A fitted cover sized to your model keeps rain and UV off the body; Big Horn sells covers matched to its gas pizza ovens, such as the 15-inch gas pizza oven cover.
If you live where winters are mild and you plan to cook through them, adapt the routine instead of storing the oven: keep the tank connected only if local rules and your setup allow it, run the burn-off after each cook more frequently, and check the cover for wear before wet weather. Either way — full storage or year-round use — the end-of-season clean is the moment to replace worn parts, because discovering a cracked hose in January is worse than finding it in October.
Keep the maintenance date somewhere you will see it — on your phone or a label on the tank — and note the last leak test and hose inspection. Cleaning records sound like overkill until the day you cannot remember whether the hose was checked this year, and a one-line log answers that question in seconds.

In spring, reverse the process: inspect the hose and connections, run the leak test, and do a full preheat before the first pizza. A gas pizza oven that is cleaned by zone and checked before each season will light the same way for years — and the pizzas will bake evenly because the burner, stone and body are all doing their jobs.
These steps are general guidance, and models vary: follow the manual for your specific unit, and verify temperatures with a clean thermometer where the text calls for one. Product details reflect official Big Horn Outdoors listings reviewed September 5, 2026; re-check prices and availability at checkout.