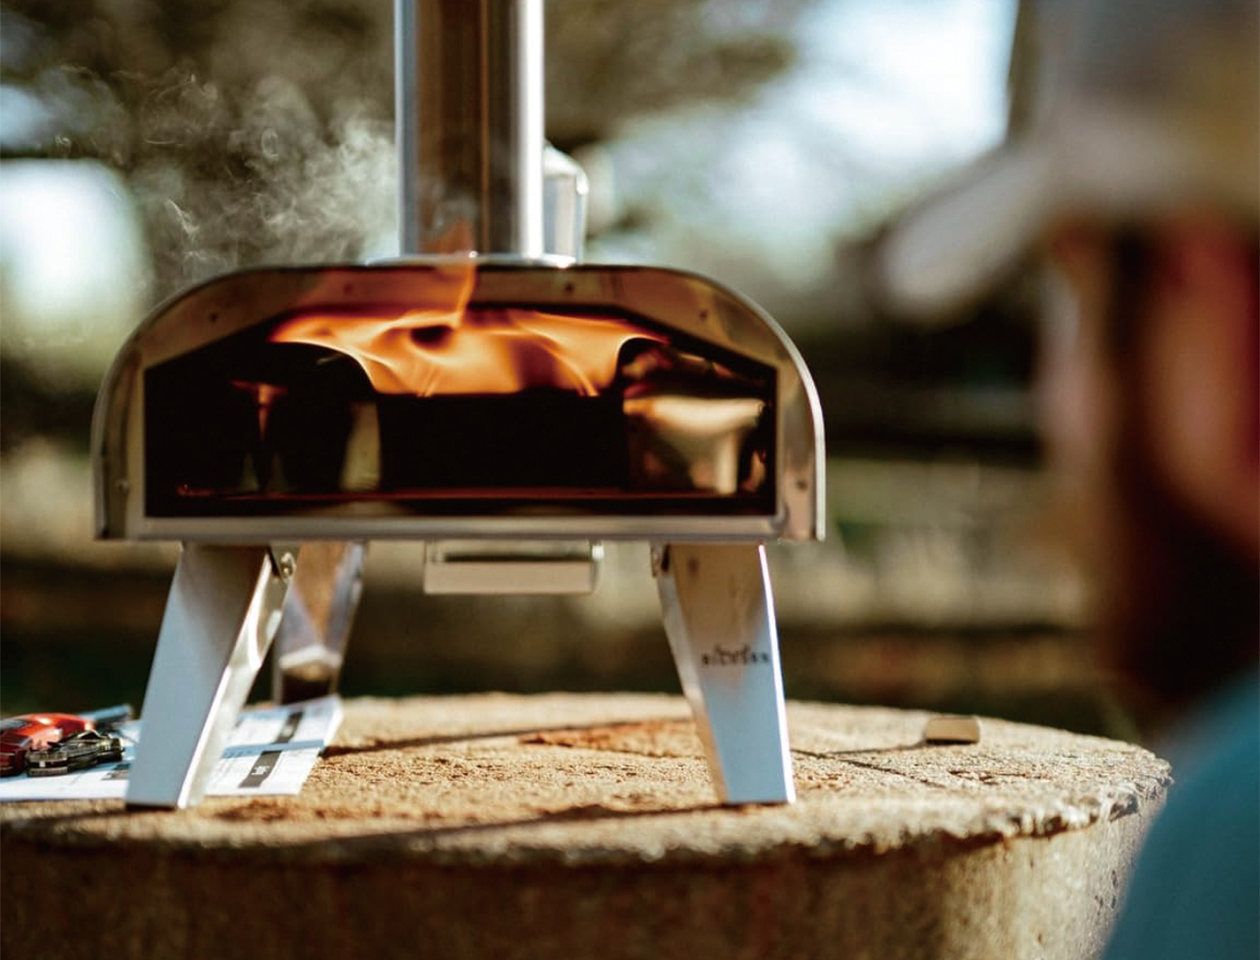
A crispy crust in an electric pizza oven comes from one thing above all: a fully preheated stone that transfers heat into the dough the moment the pizza lands. If the bottom is pale or doughy, the stone was not hot enough — no amount of extra baking time fixes a launch onto a lukewarm deck, because the top will burn while the bottom catches up. This guide ranks the crust levers by impact, from preheat and stone placement to dough hydration and oil, so you can fix the actual cause instead of repeating the same bake and hoping.
Preheat the stone fully
The stone is the whole game. An electric pizza oven needs time for the stone to absorb heat, not just for the air to feel hot; many electric models reach air temperature long before the stone is saturated. Give the oven the full preheat the manual recommends, and if you want a crisper bottom, add extra preheat time beyond the minimum on your first bakes until you learn the oven's personality. The fastest way to confirm readiness is an infrared thermometer aimed at the stone — when the stone holds the temperature your dough wants, the bottom will crisp; until then, it will not, regardless of the air temperature.
Place the pizza directly on the hot stone
Direct contact between dough and stone is what builds a crispy base, so bake directly on the stone rather than on a tray or pan. The stone draws moisture out of the dough and conducts heat into the bottom faster than hot air can. If your recipe calls for parchment, remove it shortly after launch once the dough has set, because parchment insulates the bottom during the critical first minute. A perforated pan or screen is a compromise for convenience, but it cannot match a hot stone for bottom crispness — use the stone whenever crispness is the goal.

Manage dough hydration and thickness
Dough plays a bigger role than most bakers expect. High-hydration doughs make an airy, chewy crumb but a softer bottom that takes longer to crisp; lower hydration crisps faster. For an electric oven, a hydration around 60–65 percent is a practical starting point for a crisp-yet-tender base — wetter doughs need more stone heat and more patience. Thickness matters too: a thick, puffy crust needs the center to cook through before the bottom over-browns, while a thin crust crisps quickly. Match the dough to the oven's strengths, and adjust one variable at a time so you know what changed the result.
Use oil deliberately
Oil is the quiet lever for crispness. A light brush of oil on the dough before topping — or on the rim — helps the crust brown and crisp, because oil conducts heat and promotes browning. Oil on the stone is not the same thing; a well-oiled stone can smoke and create a greasy base. Use oil on the dough, keep the stone clean and dry, and reserve oil on the peel only as a launch aid if your dough is sticking. The goal is a crust that crisps from the heat of the stone, with oil helping browning rather than frying the base.
Control toppings and sauce
Wet toppings are the enemy of a crispy bottom. Sauce that soaks into the dough before it sets creates a soft, doughy layer; heavy toppings trap moisture and slow the bake. Spread sauce thin and leave a clean border, drain wet ingredients like fresh mozzarella or canned vegetables, and keep toppings modest on the first bake. If the bottom is crispy but the center is undercooked, the toppings are the likely cause — reduce moisture or pre-cook wet ingredients rather than baking longer.
Troubleshooting by symptom
| Symptom | Most likely cause | First fix |
|---|---|---|
| Pale, doughy bottom | Stone not fully preheated | Add preheat time; check stone temperature |
| Burnt top, raw bottom | Too little bottom heat or too much topping moisture | Preheat longer; drain wet toppings |
| Soft, bready base | High hydration or thick dough | Lower hydration slightly or stretch thinner |
| Uneven crispness | Hot spot or parchment left too long | Rotate once; remove parchment after launch |
Work through the table in order rather than changing everything at once. Fix the stone preheat first, because it is the most common cause and the easiest to confirm; only then adjust dough, oil and toppings. The Big Horn 14-inch electric countertop pizza oven and a cordierite pizza stone are the kind of setup this method is written for — give the stone time, keep the dough in the right hydration range, and the crust will crisp on schedule.
A sample crispy-crust bake sequence
Here is the sequence that puts all the levers together. Start the oven and let the stone preheat fully while the dough comes to room temperature. Dust the peel, stretch the dough to the thickness you want, and build the pizza with thin sauce and drained toppings. Launch the pizza onto the stone and remove any parchment after the first minute once the base has set. Bake until the bottom is browned and the rim is puffed, rotating once if your oven has a hot spot, then slide it onto a rack rather than a plate so the bottom does not steam. Rest for a minute before slicing; that short rest lets the crust finish crisping. Run that sequence twice, changing one variable each time, and you will have a personal recipe for crispness instead of a list of tips.
When results still disappoint
If the sequence above still gives a soft bottom, check the three sneakiest causes. The first is a stone that has absorbed grease or residue, which changes how it transfers heat — brush it clean and let it dry before the bake. The second is a dough that is too cold or too wet; cold dough resists browning, and wet dough steams instead of crisping. The third is an oven door opened too often, which lets the stone's heat escape mid-bake. Fix those three, and a persistent soft-bottom problem usually disappears. If it does not, your oven may simply need more preheat time than the manual's minimum, which is a finding worth recording rather than a failure.
Finally, remember that crispness is a spectrum and the goal is your preferred crust, not the maximum possible. A slightly chewier base that holds its toppings is a fine result; chasing paper-thin crispness with a dough not built for it will frustrate you. Use the levers to move the crust toward the style you like, and stop when it tastes right rather than when it matches someone else's photo.
Three tools make the crispness work repeatable. An infrared thermometer aimed at the stone removes the guesswork from preheat, so you launch only when the stone is actually ready. A turning peel lets you rotate the pizza without pulling it out and losing heat, which keeps the bottom cooking evenly. And a cooling rack — not a plate — is where the finished pizza should rest, because a flat plate traps steam under the base and softens the crust you just built. None of these are exotic; they are the small investments that turn a technique into a routine.
One more variable deserves attention: flour on the peel. A heavily floured peel leaves excess flour on the stone that burns and can create a barrier between dough and stone. Use a light dusting, shake off the excess, and brush the stone between pizzas if flour accumulates. A clean, dry stone surface is what the dough needs to crisp — treat the stone like the cooking surface it is, and it will reward you with the bottom crust you are chasing.
Product details and prices in this guide were verified against official Big Horn Outdoors listings during the September 5, 2026 review; re-check prices and availability at checkout.