


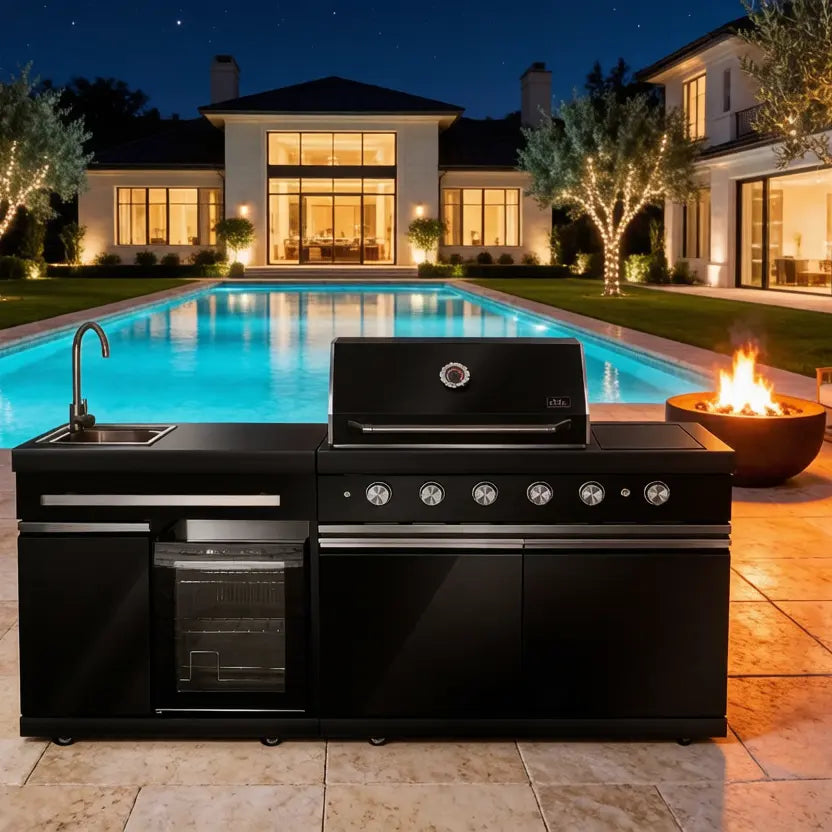
Outdoor Kitchen & Islands
A rotisserie on an island looks ceremonial until the spit is unbalanced, the drip tray is an afterthought, and a guest is standing where the motor wants to be. The first cook should be smaller than your ambition: clearance, a true spin, one bird, and a plan for fat. This is an island-feature guide, not a second general rotisserie manual.
For setup, trussing, and timing on gas grills in general, use the existing rotisserie on a gas grill guide. Come back here for what changes when the kit lives in a built-in island: walkway, neighboring sink and fridge, and a first-cook checklist on that cabinet.
Clearance around the spit
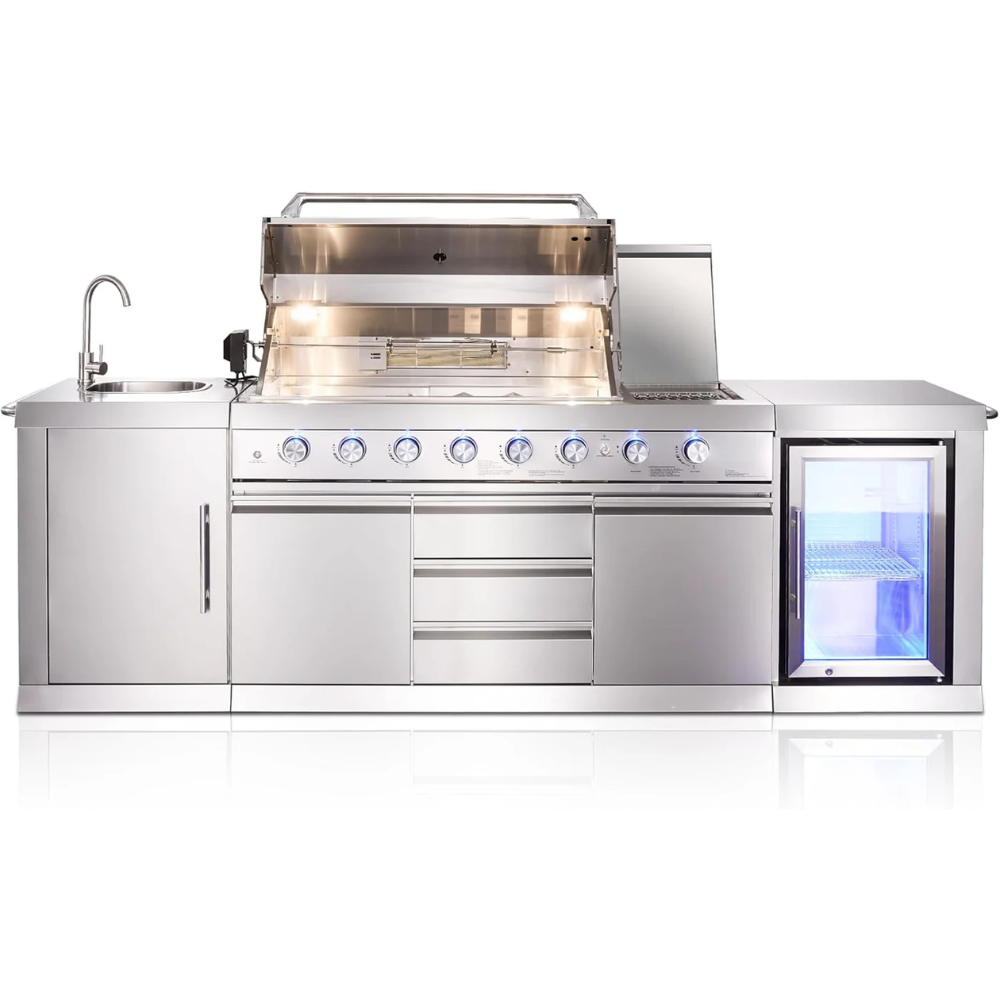
Dry-fit the unloaded rotisserie on the island before you shop for a huge bird. You need room for the rod, the food, any lid or cover position the manual allows, and a cook who is not standing in the drip line. You also need the clearances the kit and the island manuals require to combustible surfaces. This page will not invent those inches.
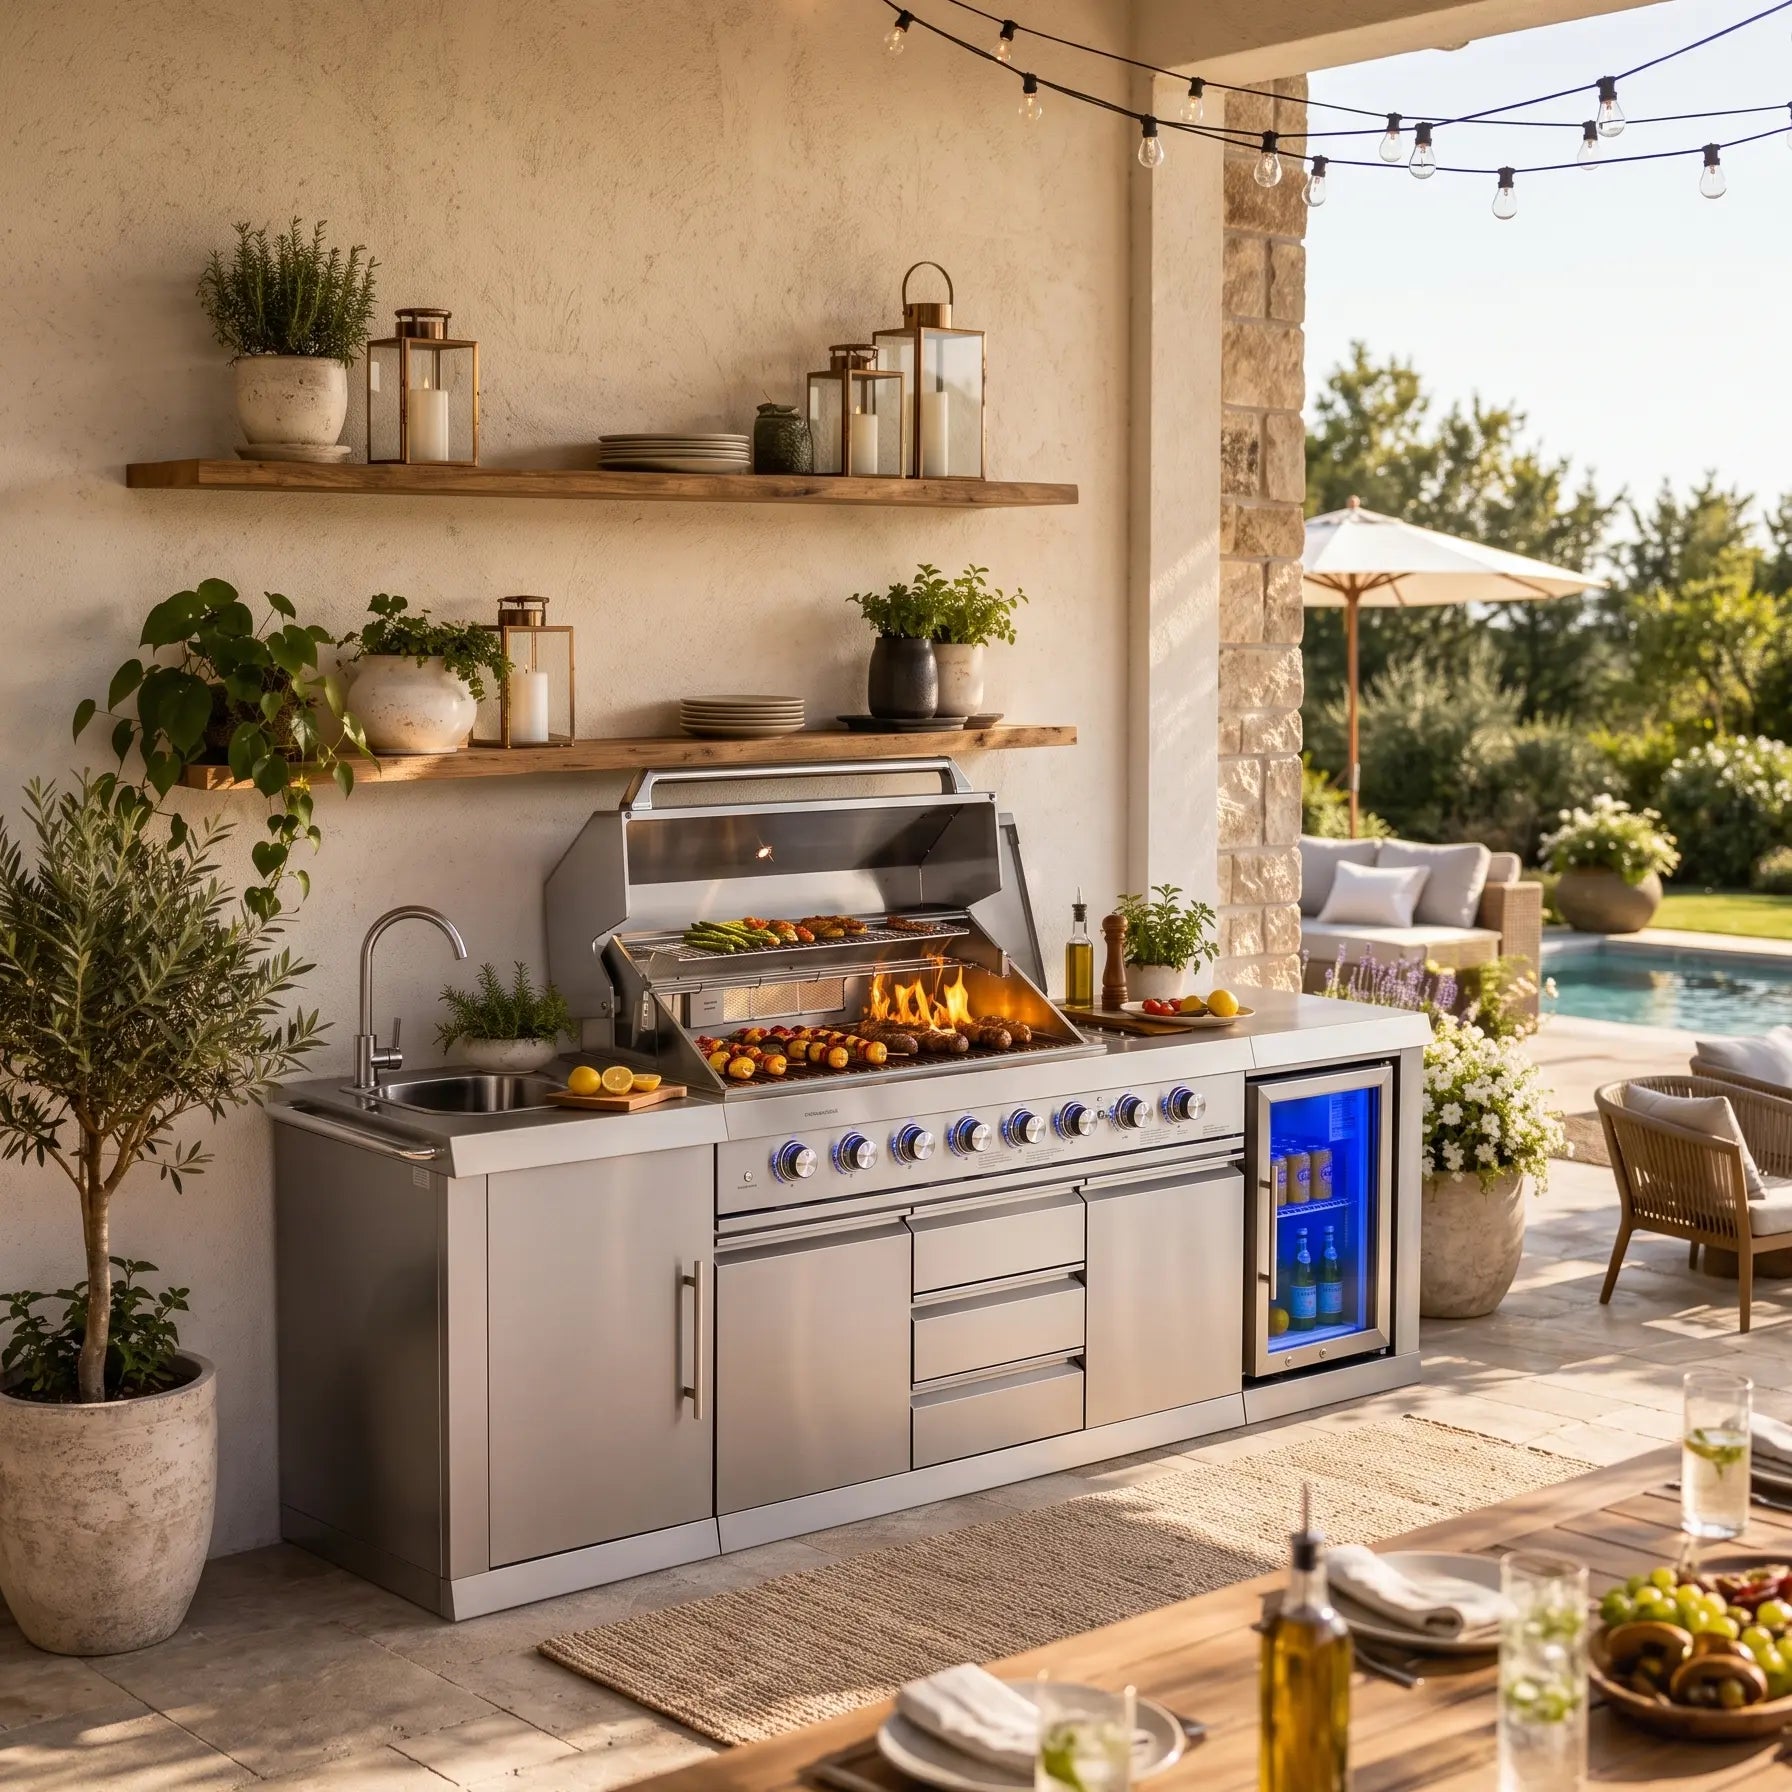
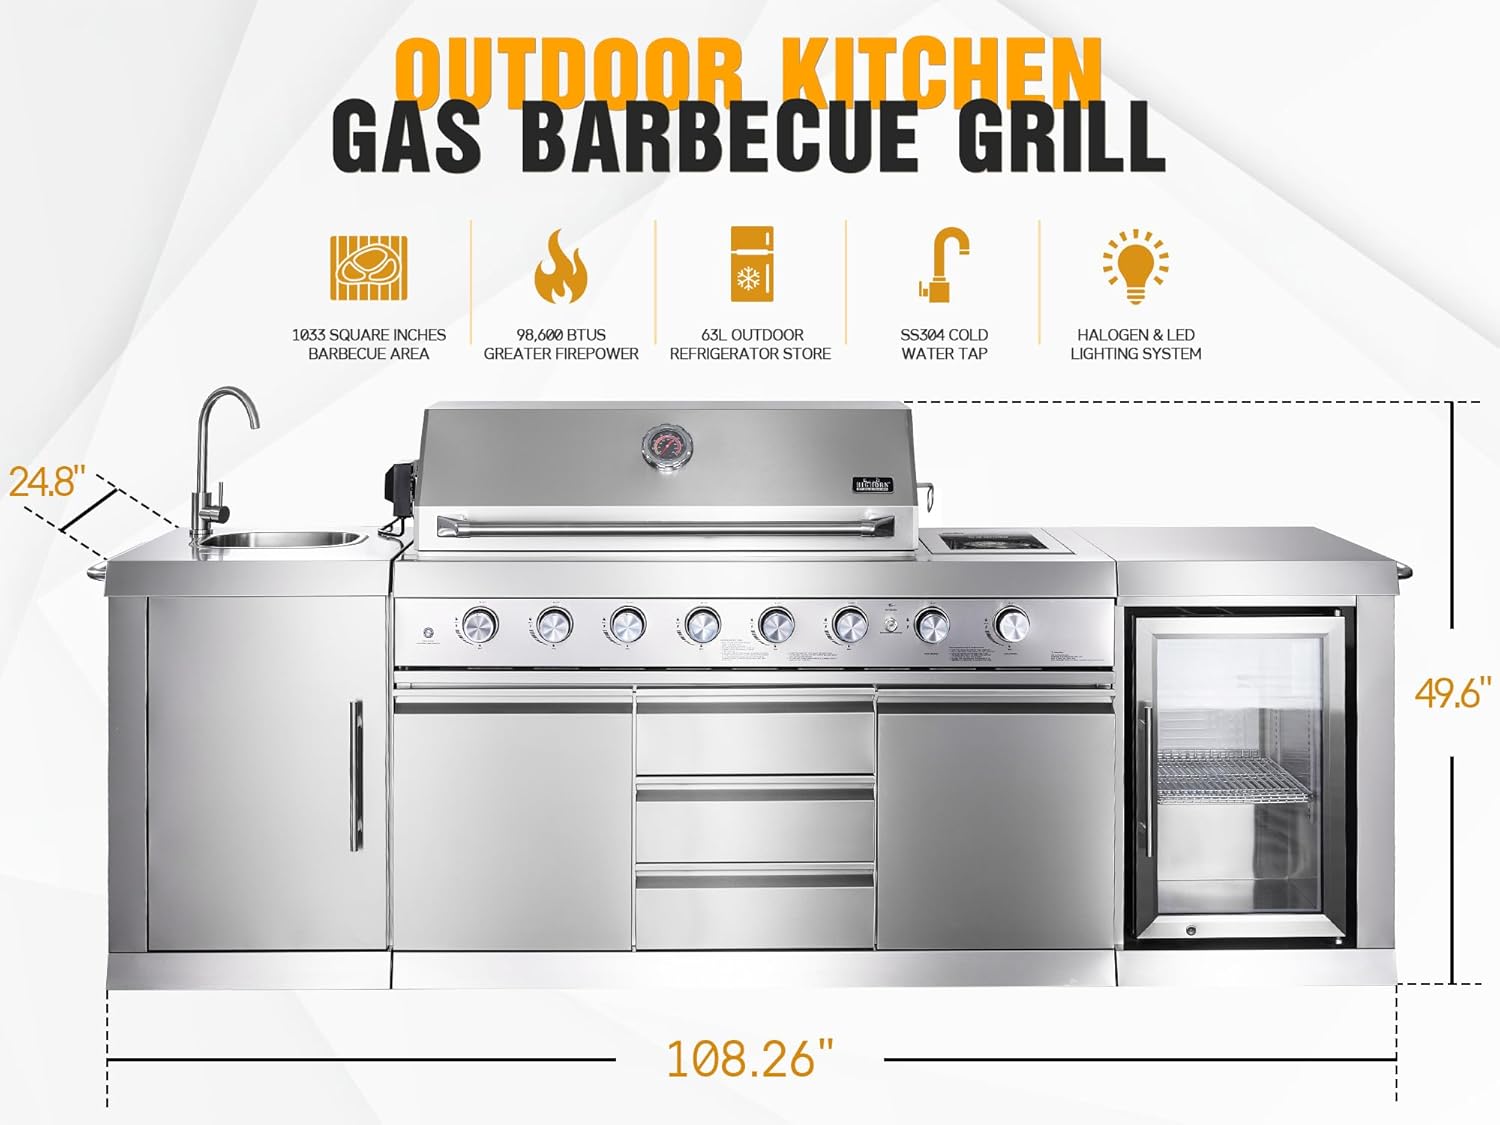
The current 6+2 outdoor kitchen island page lists a rotisserie kit in the included parts, along with overall dimensions of 108.26 inches long, 24.8 inches deep, and 49.6 inches high. That length helps a walkway along the cabinet, and it does not automatically mean the spit can hang into a path. The current 4+2 island page also mentions an electric motor rotisserie kit; confirm both live listings. Keep propane access clear while the motor is running, and follow NFPA grilling safety pages for outdoor gas use.
Trussing and balance
A wobbly spit is a clearance problem waiting to happen. Truss the bird so wings and legs cannot catch, and balance the load so the motor is not fighting a heavy side. If the rod starts to hop, stop, cool the plan down, and reset rather than hoping speed will smooth it out. The general gas-grill rotisserie page covers this in more detail; the island-specific risk is a catch against a nearby shelf, lid, or back panel.
Do not oversize the first roast just because the cabinet looks large. A smaller, even load is how you learn the motor on that island.
| First-cook step | Why it matters on an island | Do this | Skip or stop if |
|---|---|---|---|
| Dry-fit the kit empty | Neighboring doors and walkways are closer than on an open cart | Check spit, drip path, and standing room | The rod conflicts with a lid, fridge door, or path |
| Balance and truss | A wobble can strike the cabinet | Start with one modest bird | The load already hops when you turn it by hand |
| Cook and check temperature | Wind along a house wall can change the pace | Thermometer in the thickest thigh; official poultry target is 165°F | You cannot tend the spit or the drip |
Chicken timing, without a guaranteed clock
Timing depends on bird size, starting temperature, wind, and how the island holds heat. Use a thermometer, not a borrowed minute count. Official poultry doneness on the FDA safe food handling page is 165°F in the thickest part, usually the thigh, without touching bone. Check more than once as you get close. A rest on a clean board still helps juices settle; do not leave the bird in the temperature danger zone on a casual patio table. FDA kitchen food-safety guidance and Ready.gov food guidance are the everyday references.
This article will not publish a brand-guaranteed rotisserie time. The general rotisserie page can offer planning ranges; your thermometer has the last word.
Drip management
Fat will travel. Set a drip plan the manual allows before you light the burners, and keep the path from becoming a flare under a turning bird. Do not let grease run toward a walkway, a trash opening, or a tank door. Empty drip containers only when they are safe to handle.
Have a way to manage a flare without leaving the motor unattended. Outdoor cooking-fire guidance from the U.S. Fire Administration cooking-fire pages and Ready.gov home fire pages is the calm baseline, not an afterthought at dusk.
A first-cook checklist
Choose daylight. Confirm the kit is complete on the live island listing you own. Dry-fit, truss, balance, set the drip plan, light outdoors, and stay. Keep guests and kids out of the motor end and the drip line. When the thermometer says 165°F in the thickest thigh, move the bird to a clean board, shut the gas down in the order the manual describes, and do not rush a hot spit toward the sink.
Browse the outdoor kitchen island collection or the Big Horn Prime collection only if you are still confirming which cabinet includes a kit. The first cook itself should already have a clear counter.
When the rotisserie stays off
Leave the kit off if the load will not balance, if wind is driving heat toward siding, if you cannot watch the spit, or if the only standing room is in a traffic path. A rotisserie is optional even on an island that includes the hardware. A simple roast on the grate, or a different menu, is better than an unattended wobble.
Local gas and fire rules still apply. This page cannot bless an enclosed patio just because the motor is electric and the burners are on an island.
Key takeaways
- Confirm that your specific island listing includes a rotisserie kit; not every cabinet does.
- Dry-fit clearance against lids, doors, and walkways before the first bird.
- Balance and truss matter more on an island, where a wobble can hit the cabinet.
- Cook to official 165°F poultry doneness with a thermometer, not a guaranteed clock.
- Skip the rotisserie when you cannot tend the spit, the drip, and the path around the island.
If your island lists a rotisserie kit, confirm the current hardware on the 6+2 outdoor kitchen island page, dry-fit the spit in daylight, and keep the first cook to one well-balanced bird.
FAQ
Does every outdoor kitchen island include a rotisserie?
No. On current Big Horn listings, the 6+2 island page lists a rotisserie kit among the included parts, and the 4+2 island page also mentions a heavy-duty electric motor rotisserie kit. Other islands may not include one. Confirm the live product page for the cabinet you are buying rather than assuming a spit comes with every island.
How much clearance does a rotisserie need on an island?
Enough room for the spit, the food, the lid or open front, and a person standing out of the drip line, plus the clearances in the island and kit manuals. This article will not invent a universal inch count. Dry-fit the unloaded hardware before the first bird goes on, and keep guests out of the swing of the motor end.
What internal temperature should rotisserie chicken reach?
Use a thermometer in the thickest part of the thigh, not a color guess and not a guaranteed clock. Official poultry guidance on the FDA safe food handling page is 165°F. Island size and wind change timing, so check early and often rather than trusting a borrowed minute count.
Should I learn rotisserie on a whole party menu?
No. The first cook should be a single, reasonably sized bird or roast, in daylight, with a tested balance and a drip plan. A crowded Saturday is a poor time to learn a wobbling spit over a propane island.
More to Read
Fireproof Grill Mat Under Pizza Ovens and Infrared Grills
Place a fireproof grill mat to catch grease and sparks under ovens and grills. Confirm the live 48-by-30-inch claims, and use a cart when you need ...
No Oven Spring on a High-Heat Pie: Dough Temp, Launch and Floor
Diagnose no oven spring on a high-heat pizza by checking dough temperature, launch handling, and floor heat before you spend another mix changing t...
Heat-Resistant BBQ Gloves: Temperature Ratings and Wet-Grip Limits
Read a 1472°F glove rating as a short, dry, instant figure. Wet or oily conditions change grip, so let long peels reach into hot ovens and grills.