





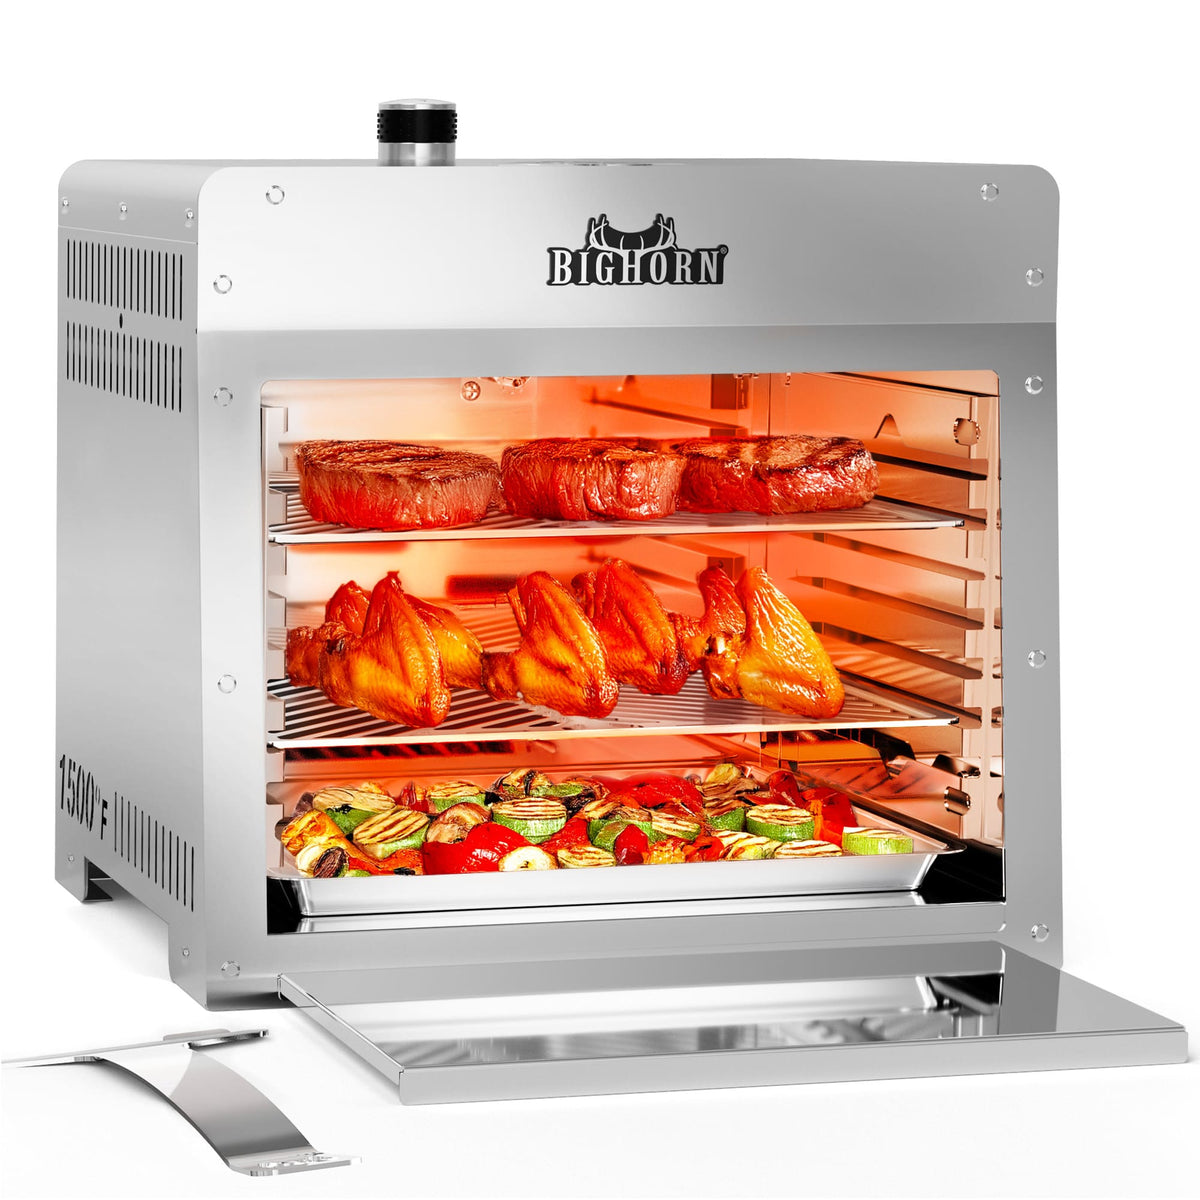
A beginner should know that infrared grilling cooks fast, hot, and from above: it uses radiant heat to sear surfaces in seconds, which means close attention is the main skill. Start with a dry surface, a fully preheated unit, and a moderate rack position, and you will get a deep crust without burning the food or producing flare-ups.
How infrared grilling works
An infrared grill uses a ceramic emitter to radiate intense heat directly onto the food, reaching high temperatures — often 1500 °F — in a few minutes. Because the energy transfers straight to the surface instead of heating the air, food browns fast and flare-ups are rare, since the flame is shielded by the emitter. The result is a crust in seconds, but also little room for error.
The three habits to learn first
Dry the surface before cooking — moisture steams instead of browning. Preheat fully so the emitter is at peak output when food goes on. And use the rack position to control heat: close for a fast sear, lower for a gentler cook. These three habits cover most of the learning curve and prevent the classic failures.
What cooks best on infrared
Steak, chops, seafood, and vegetables that want a fast, deep sear cook brilliantly; foods that need gentle, low heat do not. Thin cuts and delicate items need a lower rack position and close watching. Start with a thick steak or a vegetable round, learn the timing, and expand from there.

Common beginner mistakes
The usual pitfalls are searing a wet surface, overcrowding the grate, ignoring the rack positions, and walking away during a short bake. Each one turns a fast, clean sear into a steamed, burnt, or uneven result. Keep the surface dry, cook in small batches, and stay at the grill for the 3–5 minute window.
How do you clean an infrared grill?
Cool the grill fully, wash the removable grates, wipe the exterior, and brush the emitter gently when cool. Keep the emitter clear of residue so it radiates evenly, and check the propane connection before each use. A five-minute cool-down clean keeps the unit ready and performing.
Is infrared grilling safe for beginners?
Yes, when used outdoors on a stable surface with clearance and a leak-checked propane connection. The heat demands attention, not advanced skill — dry the food, watch the timing, and you are safe and successful.
What is the fastest way to learn?
Cook a simple food like a thick steak or a vegetable round, watch how fast it browns, and adjust the rack position from there. Two or three sessions teach you the unit’s rhythm far faster than reading specs. Start simple and let the grill show you its pace.
What is the difference between top-down and bottom-up heat?
Infrared broilers usually sear from above, like a restaurant salamander, while conventional grills cook from below. Top-down heat browns the surface that faces the emitter and suits quick crusts; bottom-up heat cooks from the grate side. Knowing which your unit has explains how to position food and when to turn it.
How much attention does infrared really need?
More than a slow grill, because the cook is short — often a few minutes total. You do not need constant stirring, but you do need to be present for the sear window. The intensity is the point, and presence is the technique.
How long do infrared grills last?
With regular care, a stainless infrared grill lasts many seasons; the ceramic emitter and grates may need replacement over time, but the body holds up when covered and cleaned. Keep the emitter clear and the propane system maintained, and the unit stays reliable for years.
What is the fastest way to get consistent results?
Build a repeatable routine: preheat fully, dry the food, use the same rack position for similar cuts, and watch the timing. After a few sessions, the pattern becomes automatic. Consistency comes from routine, not from perfect technique on day one.
What should you know before your first infrared cook?
Preheat fully, dry and season the food first, and watch the sear closely — dinner is minutes, not tens of minutes. Start with a simple thick steak or a vegetable round, and use the rack positions to find the pace that suits each cut. The first cook is a calibration; the second is where it clicks.
How do you pick the first food to cook?
Choose something with margin: a thick steak or a whole vegetable cooks more forgivingly than a thin filet or delicate shrimp. Let it show you how fast the surface browns, then apply that timing to thinner, quicker items. Starting with a forgiving food builds confidence fast.
With a dry surface, a fully preheated emitter, and attentive timing, infrared grilling becomes one of the easiest ways to get a steakhouse-quality crust at home — and the fast sessions make it a natural fit for busy weeknights.
Start simple, respect the speed, and keep a thermometer close — the learning curve is short, and the payoff is a crust your old grill could not produce.
Whether you are cooking for a patio dinner or learning the craft, the same principles apply: dry, preheat, position, and stay present for the short, intense window that defines the method.
Infrared grilling FAQs
Is infrared grilling harder than a regular grill?
Not harder — just faster. The heat demands attention, but the technique is simple: dry, preheat, position the rack, and watch the timing.
Do I need a thermometer?
It helps for doneness, since infrared sears the outside fast. A simple meat thermometer removes the guesswork for thick cuts.
Can I cook everything on an infrared grill?
Mostly foods that want high heat. Low-and-slow smoking and large-capacity grilling are better left to other equipment.
To see the current specs, review the 16-inch Big Horn infrared broiler product page.
