Design a Built-In Grill Island Around Cooking Flow
A built-in grill island works best when every task has a clear place. The grill needs a protected
hot zone, the sink needs a practical wet zone, refrigeration needs ventilation and service access,
and counters need enough uninterrupted space for preparation and serving. Plan these relationships
before delivery instead of trying to adapt the patio around the island afterward.
Hot-Zone Audit
Map the open grill lid, infrared burner, rotisserie working area, grease-tray access, and the
path used to move hot food. Keep the cook away from doorways and guest traffic while preserving
every required side, rear, and overhead clearance.
Cold-and-Wet-Zone Audit
Check that the refrigerator can ventilate and open fully, and that the sink can connect to an
approved supply and drain. Avoid placing utilities where heat, standing water, or blocked access
can interfere with operation or service.
Preparation-Zone Audit
Reserve clear counter space between storage, sink, and grill for trays, ingredients, and cooked
food. Keep raw-food preparation separated from clean serving items and avoid using every surface
for decorative objects or guest seating.
Service-Zone Audit
Preserve access to propane controls, electrical connections, plumbing, drains, refrigerator
ventilation, storage doors, and replaceable parts. A finished appearance should never make
routine inspection or maintenance impossible.
Keep the Cook Outside the Main Traffic Path
Position the island so guests can reach seating and drinks without passing behind the person at the
grill. Allow space for the cook to open the lid, use the rotisserie, transfer food, and access lower
compartments. If the island faces a dining area, maintain enough separation to prevent chairs and
standing guests from entering the working zone.
Coordinate Heat, Water, Power, and Propane
- Follow the exact model requirements for propane supply, regulator, shutoff, inspection, and ventilation.
- Provide suitable outdoor electrical service for refrigeration, lighting, and the rotisserie motor.
- Plan water and drainage methods that are permitted locally and appropriate for freezing conditions.
- Keep plugs, valves, drains, vents, and grease-management components accessible after placement.
- Do not route utilities through hot areas or make unapproved changes to the finished island.
Decide How Many Cooking Zones You Need
Count simultaneous tasks rather than burners alone. A typical meal may need a high-heat searing
zone, a moderate direct-grilling zone, and a lower-temperature area for finishing or holding food.
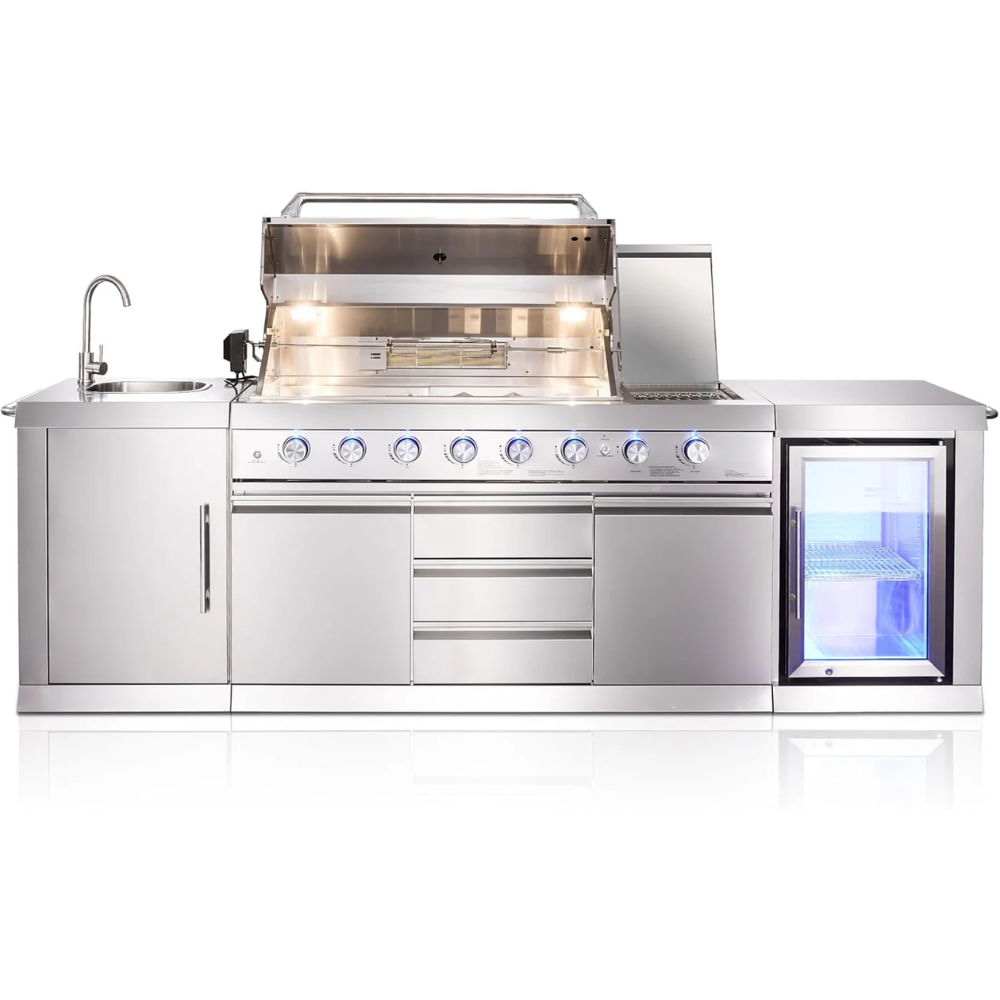
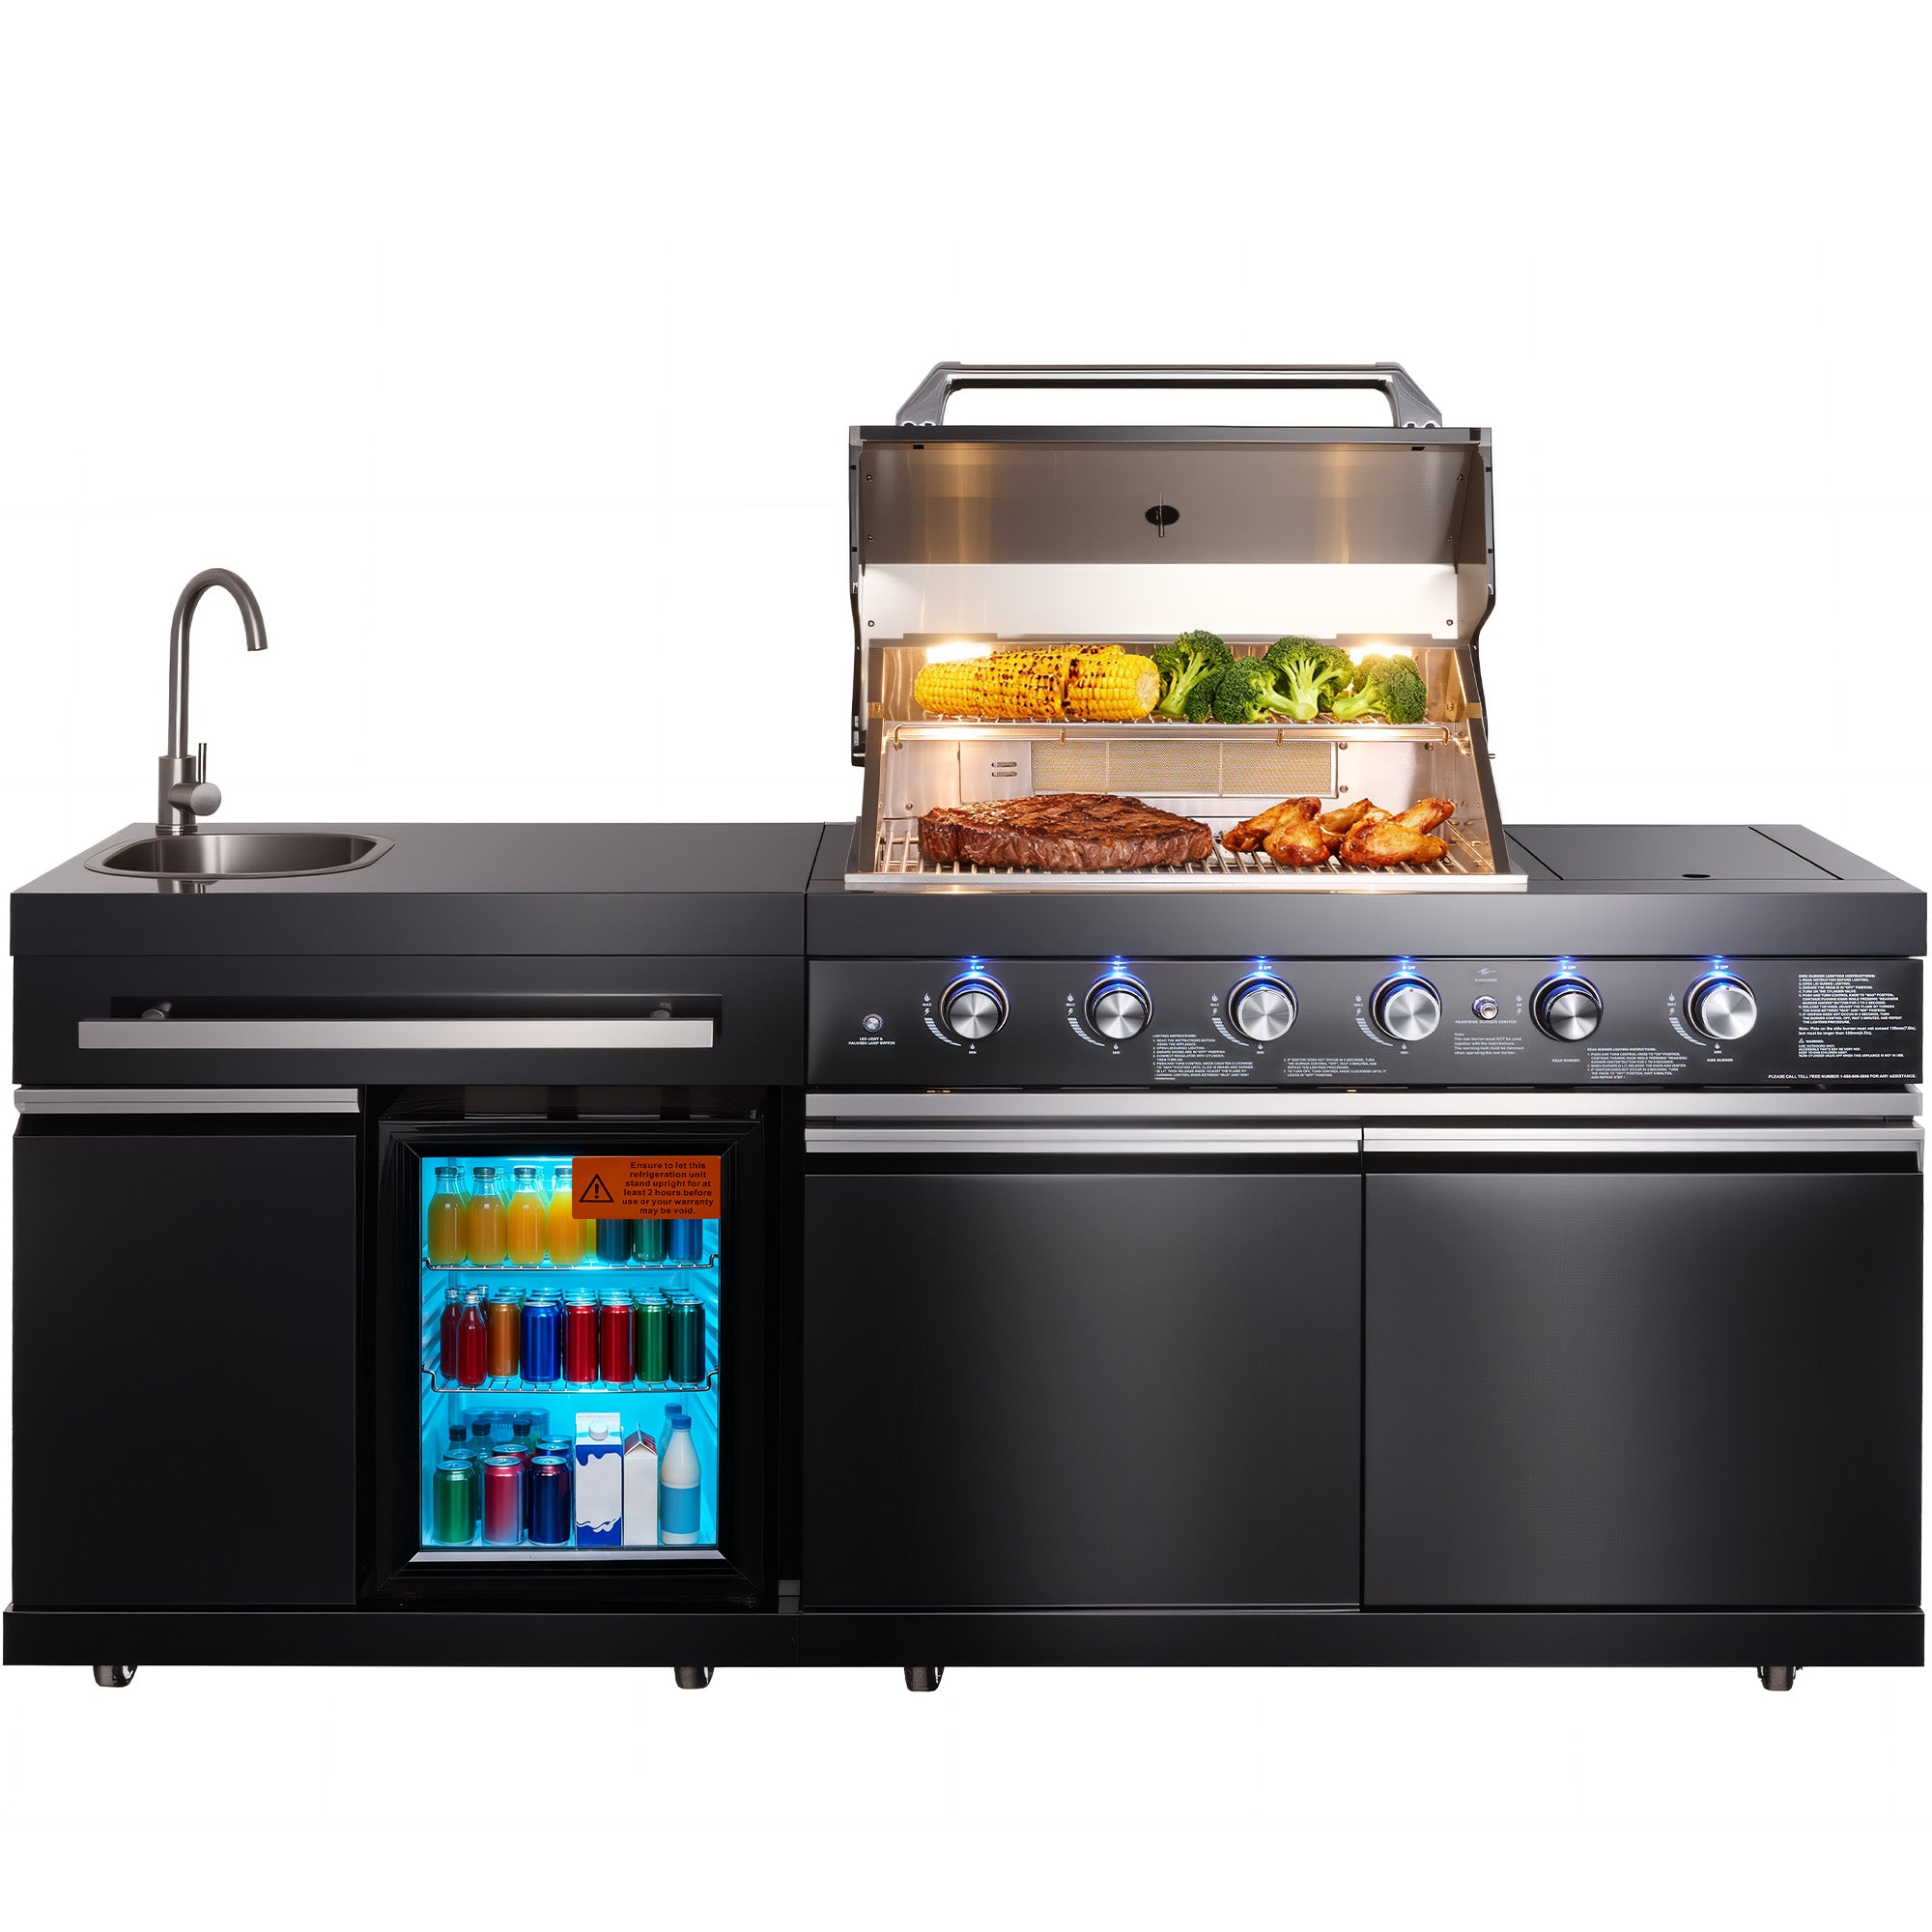
The 4+2 burner island can support varied family meals, while the 6+2 burner island provides more
room for several foods, larger groups, and an additional charcoal workflow.
Verify the Finished System Before Delivery
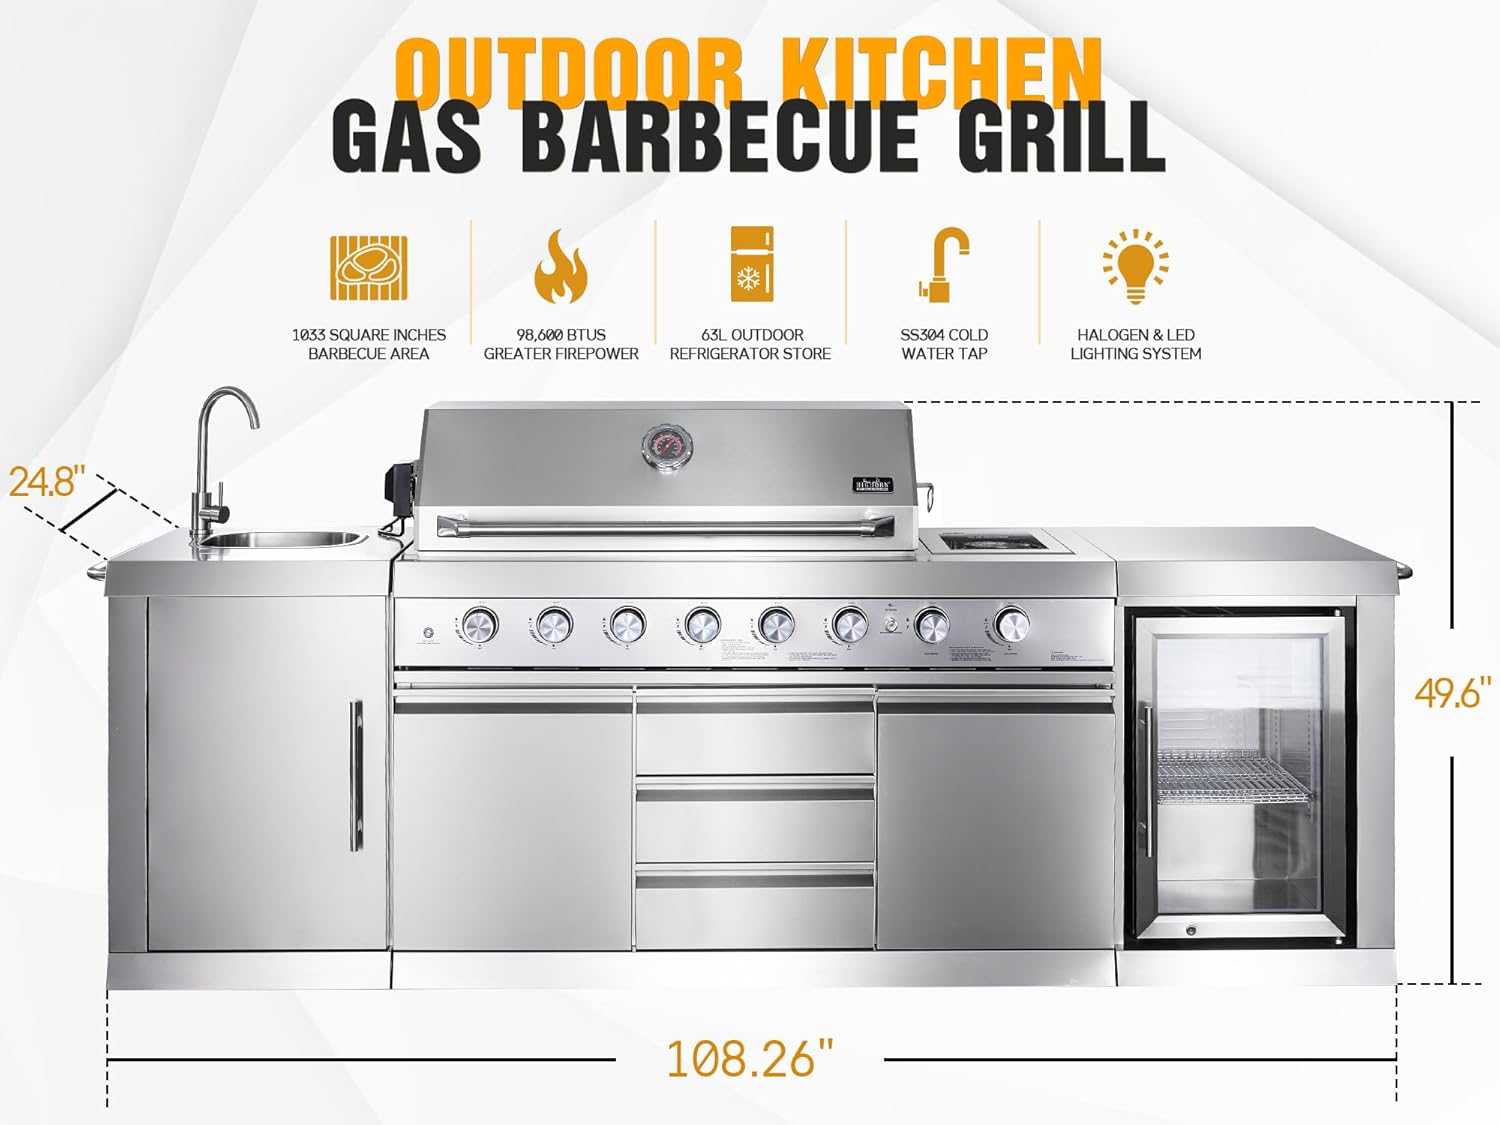
- Confirm the ordered model, finish, complete dimensions, included components, and utility specifications.
- Measure the delivery path, including gates, turns, slopes, steps, and overhead obstacles.
- Prepare a level, stable foundation and verify that the surrounding construction meets clearance requirements.
- Coordinate assembly, placement, utility connection, inspections, and any required permits.
- Keep documents and packaging until the grill, refrigerator, sink, lights, and rotisserie are checked.
Avoid Built-In Island Planning Mistakes
- Do not choose the larger model before verifying both the installation area and delivery route.
- Do not place seating where guests will block the cook, hot lid, doors, or service panels.
- Do not assume stainless steel eliminates cleaning, covering, or seasonal protection.
- Do not block refrigerator airflow or enclose propane-related spaces without approved ventilation.
- Do not treat a finished island system as a generic grill insert for custom masonry.
- Do not permanently conceal utility connections that may require inspection or maintenance.
Compare the Integrated Grill Island Options
Review the two finished island systems alongside related outdoor cooking formats. A complete grill
island is appropriate when the patio and utilities support a coordinated installation; a standalone
grill may be a better fit when flexibility and easier relocation are priorities.
4+2 Burner Grill Island
Review the more efficient integrated layout with 750 sq. in. of cooking space.
View the 4+2 island
6+2 Burner Grill Island
Explore the expanded system with 1,033 sq. in. and additional cooking flexibility.
View the 6+2 island
Built-In Grill Islands
Return to the collection to compare current finished island configurations.
Shop built-in grill islands
Outdoor Kitchen Islands
Research complete backyard kitchen workflows, utilities, and support features.
Explore outdoor kitchen islands
Grills & Griddles
Compare standalone equipment when a permanent-style island is not required.
Explore grills and griddles
Big Horn Prime
Explore larger outdoor cooking and entertaining products in the Prime Series.
Explore Big Horn Prime
Integrate the Workflow, Not Just the Grill
A successful built-in grill island connects cooking zones, preparation space, refrigeration,
water, storage, utilities, and guest circulation without blocking safety or service access.
Choose the burner capacity only after that complete layout works on the real patio.