Grills & Griddles
The 3-3-3 Rule for Grilling Steak: Perfect Sear Every Time
3 minutes searing the first side, 3 minutes searing the second side, 3 minutes finishing over indirect heat. Nine minutes total gets you a medium-rare steak with a proper crust. No thermometer checks every 30 seconds, no guessing.
The 3-3-3 rule breaks your cooking into three phases, each lasting exactly 3 minutes. You sear both sides over high heat, then move the steak to a cooler part of the grill to finish cooking the center.
The method replaces vague techniques like poking the meat or doing the "thumb test." You follow a clear timeline instead.
PHASE 1: First 3 Minutes
Direct heat (450°F+) → Sear side one, don't touch
PHASE 2: Second 3 Minutes
Direct heat → Flip once, sear side two
PHASE 3: Final 3 Minutes
Indirect heat → Move to cooler zone, close lid
Total: 9 minutes | Result: Medium-rare (130-135°F)
The high heat builds a crust on both sides. Moving to lower heat finishes the inside without burning what you already created.

Pull your steaks out of the refrigerator 30 minutes before you plan to cook. Cold meat from the fridge cooks unevenly—you'll get a warm exterior and a cold center.
Season both sides with coarse salt and black pepper. You can use a dry rub if you prefer, but salt and pepper work perfectly.
Set up your grill with two zones: pile the coals on one side if you're using charcoal, or turn on burners on just one side for gas. You need one hot zone (450-500°F) and one cool zone with no direct flame underneath.
Place the steak directly on the hottest part of the grill. Leave it there for the full 3 minutes without moving it.
Resist the urge to lift it and check the bottom. Resist the urge to shift it around for better grill marks. Moving the steak prevents the crust from forming properly. The meat will release from the grates naturally once it's ready.
Flip the steak once. The cooked side should be dark brown, almost mahogany in color. If it looks pale or gray, your grill wasn't hot enough.
Sear this second side for another 3 minutes. Again, don't touch it during this time.
Move the steak to the cooler side of the grill where there are no flames directly underneath. Close the lid.
Leave it there for 3 minutes. The residual heat in the closed grill will gently cook the center without adding more char to the outside.
For steaks thicker than 1.5 inches, you may need to flip the steak once during this phase and give each side 3 minutes of indirect heat (6 minutes total).
Use an instant-read thermometer to check doneness. Insert it into the thickest part of the meat. You're looking for 125-130°F if you want medium-rare.
Here's something crucial: your steak's internal temperature continues to rise after you take it off the grill. Expect the temperature to climb another 5-10°F while the meat sits on your cutting board.
Target pull temperatures:
Place the steak on a cutting board and leave it alone for 5-10 minutes before slicing. If you cut immediately, all the juices run out onto the plate, and the meat ends up dry. Resting gives the juices time to redistribute throughout the meat.

The 3-3-3 rule works best on steaks that are 1 to 1.5 inches thick. Thinner steaks will overcook in 9 minutes. Thicker steaks won't cook through in the center.
If your steak is thinner than 1 inch, adjust the timing to 2-2-2 (2 minutes per phase) to avoid overcooking.
If you're cooking indoors with a cast-iron pan instead of an outdoor grill, the timing shifts slightly. You don't have a separate cool zone to move the steak to, so you need to adjust.
The stovetop method: 3 min → flip → 3 min → flip → 2 min → flip → 2 min
Heat your cast-iron pan over medium heat until it reaches around 335°F. Follow the rhythm above. The shorter final flips (2 minutes instead of 3) prevent overcooking when you can't escape the direct heat.
Which method to use:
Most people leave their steak over high flames for the entire cooking time. You end up with a charred exterior and a raw center, or worse—dry, gray meat all the way through because you overcompensated.
The 3-3-3 rule fixes this by using two separate heat zones:
The hot zone (450°F+): This is where you build the crust. At high temperatures, proteins and sugars in the meat undergo reactions that create browning and develop deep, savory flavors. You need sustained high heat to make this happen, which is why each searing phase lasts a full 3 minutes.
The cool zone: This acts like an oven. With no direct flame underneath, the steak cooks gently from ambient heat. This brings the internal temperature up to 130-135°F for medium-rare without adding more char to the outside.
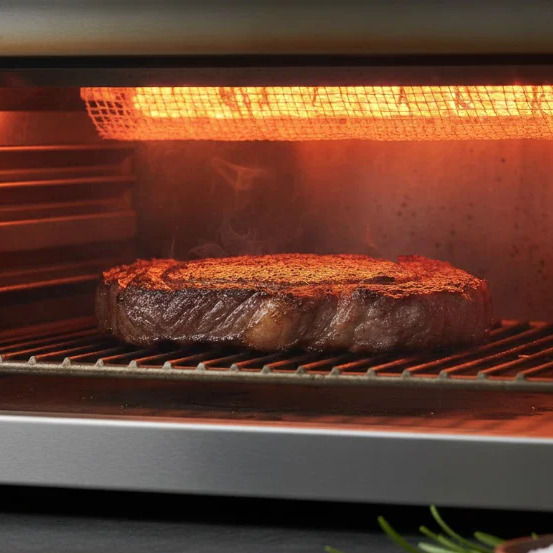
For ultra-fast searing, high-heat infrared grills (1500°F) take a different approach—searing steaks in 2-3 minutes total. Not the same technique, but another option for restaurant-quality results.
The 3-3-3 rule gives you complete control and works on any two-zone grill. But if you want the same restaurant-quality results with less active cooking time, infrared grilling takes a different approach.
High-heat infrared grills (like Big Horn Outdoors® 1500°F models) cook steaks from above with intense radiant heat—similar to how steakhouses use salamander broilers. Instead of 9 minutes of active grilling with zone management, you sear for about 2-3 minutes total at extreme temperatures.
The infrared advantage:
The trade-off: Less margin for error. The 3-3-3 method is more forgiving if you get distracted. Infrared searing happens fast, so you need to stay focused.
Which method to choose:
Both methods deliver the same outcome: a perfectly cooked steak with a proper crust. The 3-3-3 gives you time to think. Infrared gives you speed where it counts—at the grill.
Check out Big Horn Outdoors® infrared grills if you want to simplify your steak night—same results, less time at the grill.
Nine minutes of cooking. Three minutes per side on high heat, then three minutes on low. Pull the steak when it hits 130°F, rest it for 5-10 minutes, and serve at 135°F.
Get your grill properly hot, trust the timer, and don't cut the meat early. Do those things, and you'll get consistent results instead of gambling on every steak.
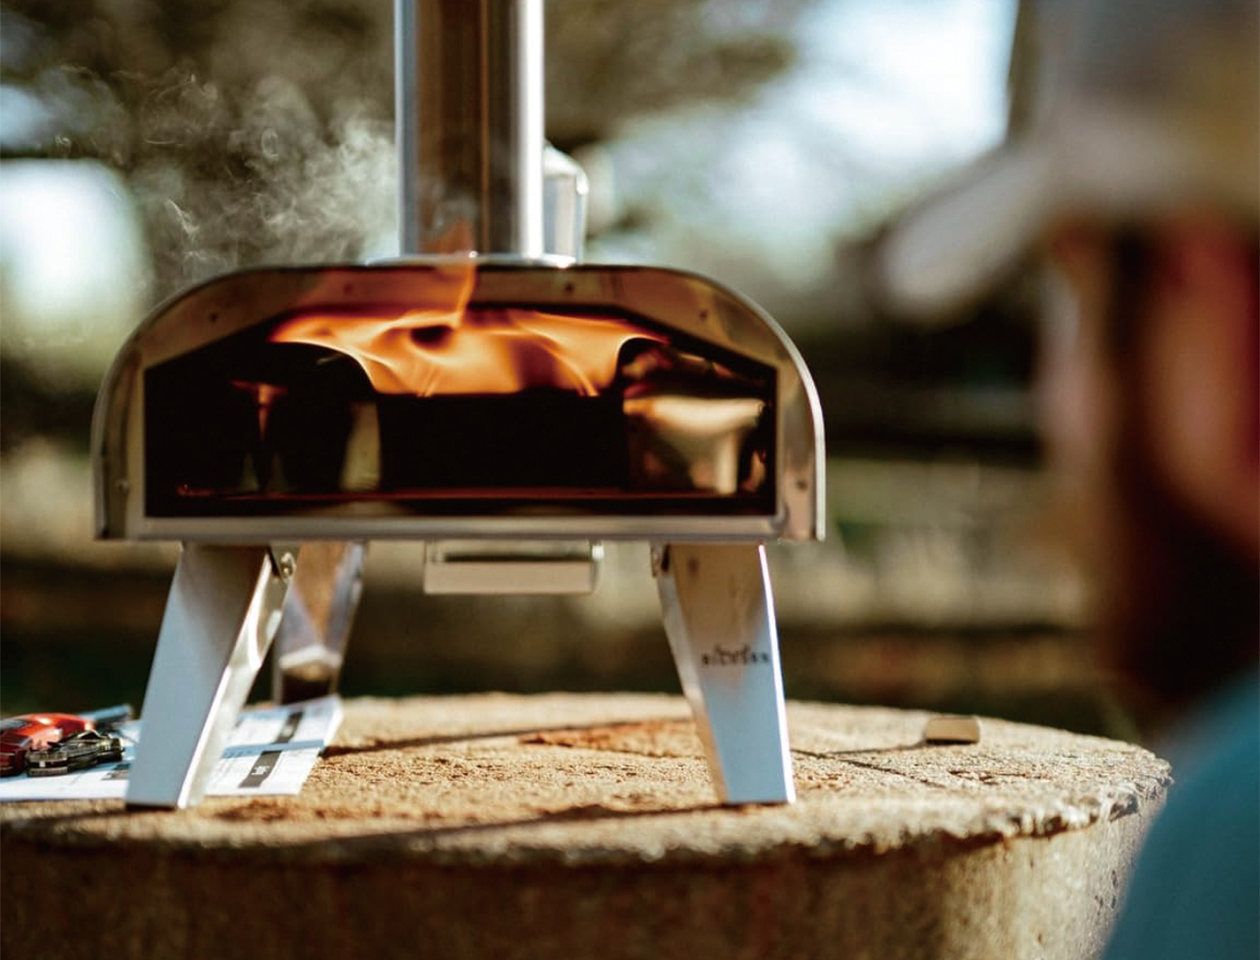
Big Horn Outdoors® offers a range of outdoor cooking equipment—from high-heat infrared grills for quick searing to wood-fired pizza ovens that double as versatile cooking tools. Whatever your grilling style, master the fundamentals first, then explore what works best for your backyard.
The 3-3-3 rule is designed for medium-rare doneness. If you want well-done, extend the indirect phase from 3 minutes to 6-8 minutes, or until the internal temperature reaches 160°F. Keep the searing phases the same.
The 3-3-3 rule is for outdoor grills where you can set up separate hot and cool zones. The 3-3-2-2 method is for cooking on a stovetop in a cast-iron pan, where you can't move the steak away from the heat. The pan method uses shorter final flips (2 minutes each instead of one 3-minute phase) to prevent overcooking on continuous direct heat.
Keep the lid open during the first two searing phases so you can monitor for flare-ups and make sure nothing's burning. Close the lid during the final 3-minute indirect phase to trap heat and create an oven-like environment.
Keep the searing times the same (3 minutes per side over direct heat), but extend the indirect cooking phase. Flip the steak once during the indirect phase and give each side 3 minutes, for a total of 6 minutes on indirect heat instead of 3. Use an instant-read thermometer to verify doneness—thick steaks are impossible to time accurately without one.
 Red Wine Mushroom Gravy Beef Tips on Infrared Grill
Master steakhouse-quality beef tips at home! Marinated for flavor, seared fast on an infrared grill, and topped with a rich red wine mushroom gravy.
Red Wine Mushroom Gravy Beef Tips on Infrared Grill
Master steakhouse-quality beef tips at home! Marinated for flavor, seared fast on an infrared grill, and topped with a rich red wine mushroom gravy.
 Pro Tips: Grilling Thick-Cut Steak for Maximum Flavor
Master grilling thick-cut steaks at home. Learn essential prep, resting tips, and how to use 1500℉ infrared heat for a flawless, restaurant-quality...
Pro Tips: Grilling Thick-Cut Steak for Maximum Flavor
Master grilling thick-cut steaks at home. Learn essential prep, resting tips, and how to use 1500℉ infrared heat for a flawless, restaurant-quality...
 How to Make a Smash Burger on an Infrared Grill
Standard grills ruin beef by losing flavor. Use a cast iron plate on an infrared grill to lock in moisture and make the perfect smash burger crispy...
How to Make a Smash Burger on an Infrared Grill
Standard grills ruin beef by losing flavor. Use a cast iron plate on an infrared grill to lock in moisture and make the perfect smash burger crispy...