




Infrared Grilling & Steaks
A first infrared steak should be a short, watched sear on a grill you already checked outdoors, then a rest to official temperature. This is a beginner dinner guide, not a general explainer and not a reverse sear clone. Confirm live listings, and do not treat a marketing heat as a timer.
Unbox and leak-check, at a high level
Assemble the grill the way the current manual shows, outdoors, on a stable, level pad. Connect only the cylinder, hose, and regulator the live listing names, then do the leak-check the manual names before you light anything. This page will not invent a soap-test recipe or a torque spec. If you smell gas, or if you cannot complete the manufacturer's check, stop and do not cook.
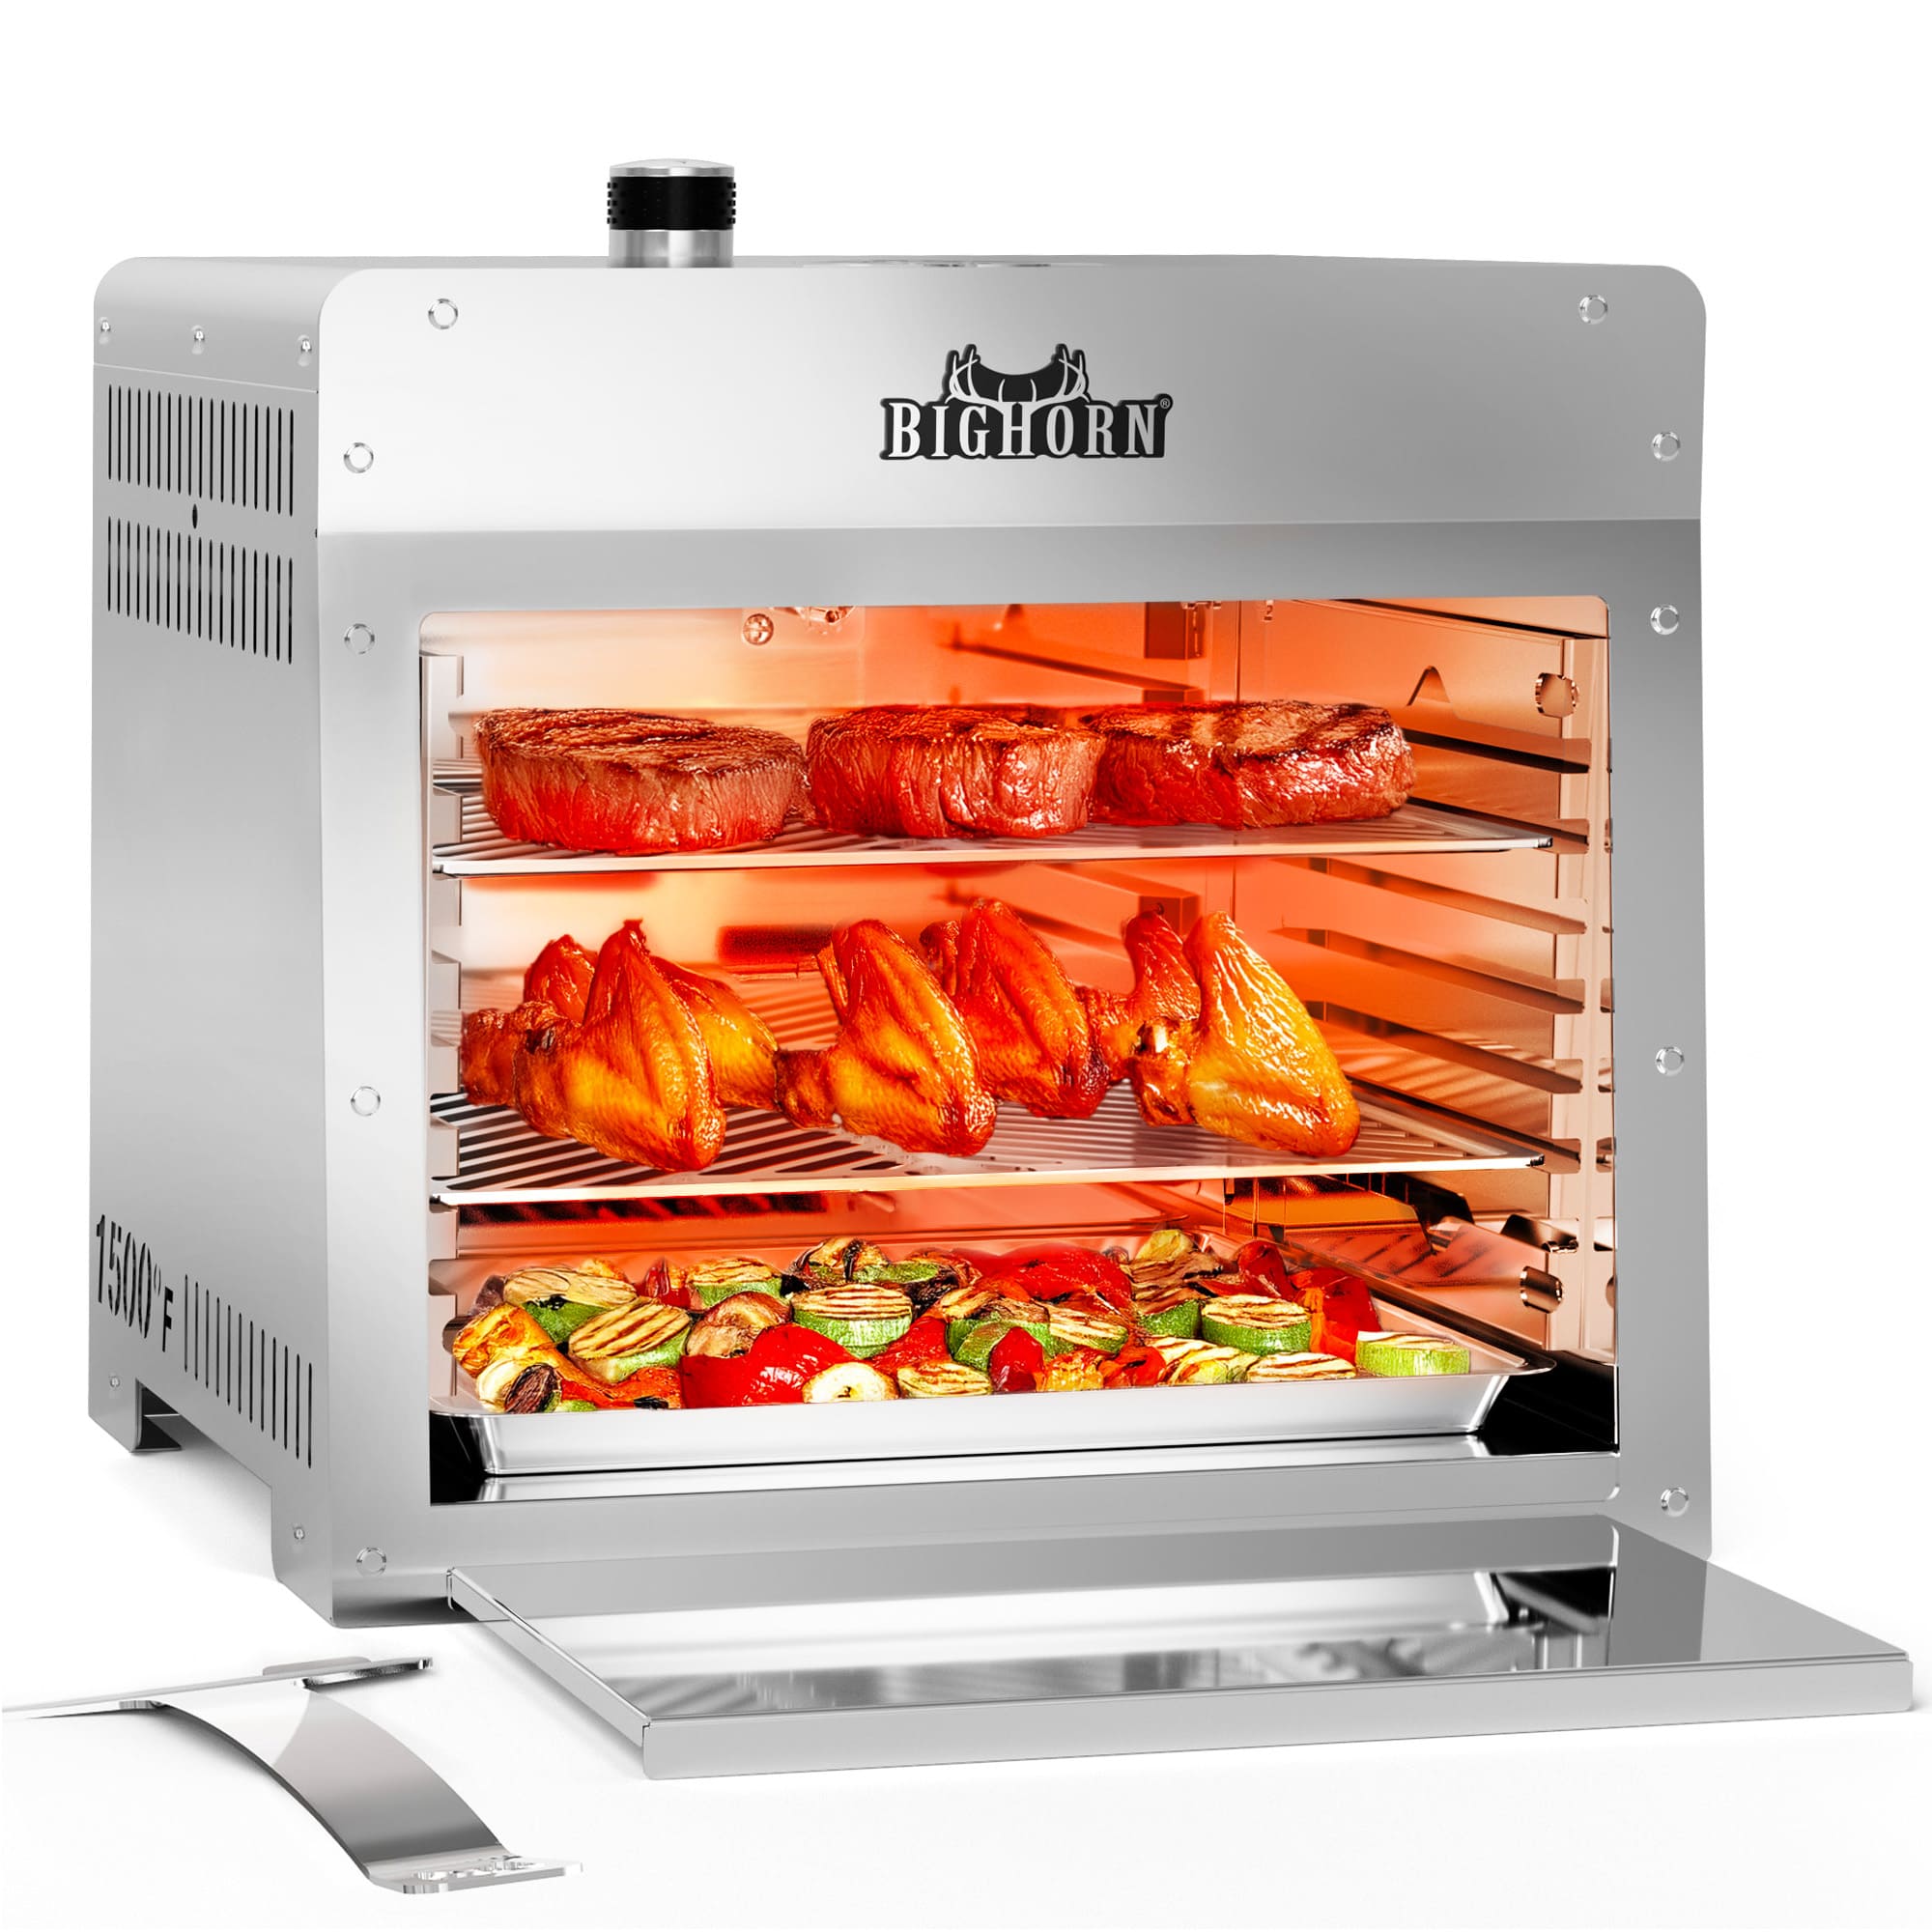
The current 16-inch portable infrared steak grill is the compact example in this walk-through. The current portable infrared broiler is a more compact broiler path. Confirm published sizes and marketing temperatures on those live pages; they are not a guaranteed steak clock. Browse the infrared grill collection, and use the infrared steak grill page as a browsing door if that is the landing page you mean.

Preheat cues
Preheat until the grill is honestly ready, not until a remembered minute count has passed. Infrared often runs with the lid open; follow the manual for the model you own. Wind will steal a shallow preheat; National Weather Service wind safety is the official wind-safety overview. A headline temperature on the listing is a marketing claim to recheck, not a cue that the emitter is ready the moment you click the igniter.
A broader beginner briefing already lives at what should a beginner know about infrared grilling. Use that page for general habits. Use this page for the first steak sequence. A dedicated steak method also lives at how do you cook steak on an infrared grill; this walk-through will not redo that full method.
First steak steps
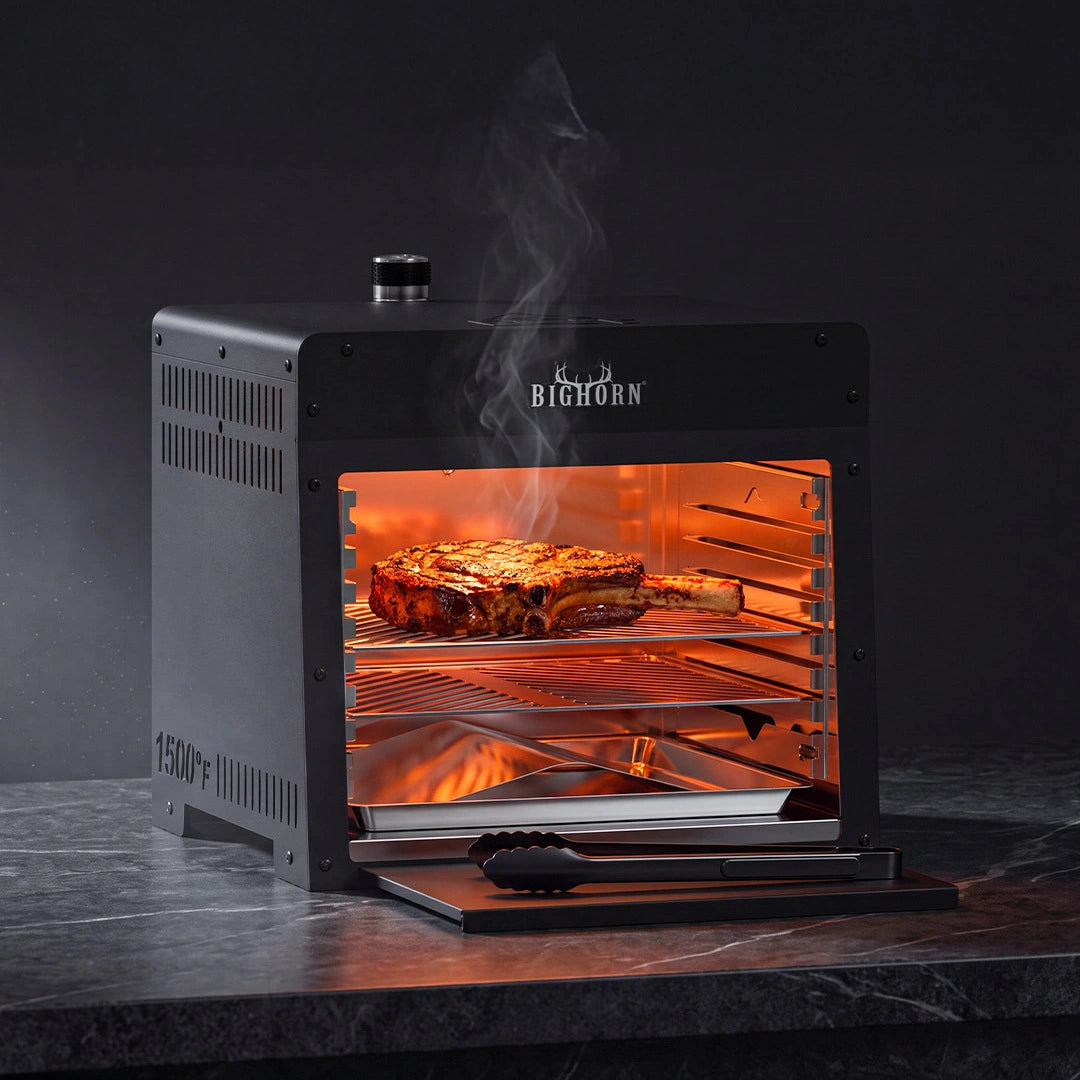
Pat the steak dry, season it simply, and start with a cut that is not a giant roast. A first dinner is a watched sear, not a tomahawk project. Place the steak, leave it long enough to pick up color, turn it, and start checking temperature before the exterior looks like a restaurant photo. Short, watched passes beat a long, unattended blast. This article will not invent a second-count or a first-side minute chart.
Keep the grill fully outdoors. NFPA grilling safety, U.S. Fire Administration cooking-fire prevention, and Ready.gov home fire guidance still apply: an attended appliance and a clear area. Fat can flare; move the steak rather than spraying water into a hot emitter path.
Choose a steak you can finish in a short session: a modest thickness you can check with a thermometer, not a celebration roast. Bring the steak out of the cold late enough that the surface can dry, but do not leave raw meat on the counter as a long casual warm-up. Salt it in a way you already like, and skip a sugary glaze on night one. Sugar scorches under infrared faster than a dry surface will.
The usual first-night mistakes are a shy leak check, a rushed preheat, a wet steak, and a long unattended sear while you set the table. Stay with the grill. If the first side is already darker than you wanted, turn earlier and finish by temperature in a slightly calmer spot if the manual allows, rather than chasing color into a dry interior. A second steak in the same session will often go more calmly once you have seen how fast the first one moved.
Resting
Whole-muscle steak should reach 145°F and then rest at least three minutes, from FDA safe food handling and FDA food safety in your kitchen. That official line is the food-safety reference this article will use. If you prefer a different personal doneness, understand that it is a preference, not an official exception this page can write into a chart. Rest the steak on a clean board, not on a raw-meat plate, and do not leave it in the sun.
The table below is a first-dinner check, not a timer.
| Step | What to watch |
|---|---|
| Setup | A level outdoor pad and the live manual's leak-check; no invented soap recipe |
| Preheat | An honestly ready grill, not a marketing temperature or a copied minute count |
| Sear | Short, watched passes on a dry steak; no guaranteed second-count |
| Rest | Official steak temperature plus at least a three-minute rest, then slice |
Have the board, the thermometer, and the tongs ready before the steak goes on. A first session fails when you leave a hot grill to hunt for a plate. Keep a clean tray for the finished steak, and keep raw leftovers in the cooler or the fridge, not beside the cooked board. Official leftover guidance still applies once dinner is sliced.
Cleanup
Let the grill cool enough to handle as the manual allows, then follow the current cleaning notes for the emitter path, the racks, and the grease tray. Do not flood a hot infrared surface with a hose. Store the cylinder as the label and local rules require, and do not invent a garage storage exception.
Leftovers follow Ready.gov food guidance. Chill promptly, and do not use the grill as a warming cabinet while you eat.
Next cooks
Once the first steak is calm, you can try a second steak with a little more confidence, or a different cut, still to official temperature. Save a long reverse-sear or a mixed grill for a night that is not already packed. The point of a first walk-through is a dinner you can actually eat, not a mastery badge.
Key takeaways
- Leak-check outdoors, preheat until the grill is honestly ready, and sear in short, watched passes.
- Cook whole-muscle steak to official temperature with a rest; do not treat a marketing heat as a timer.
- Use the existing beginner and steak method pages for broader technique; this page is the first dinner.
- Keep the grill fully outdoors, and cool it before a real cleanup.
Confirm the current 16-inch portable infrared steak grill or portable infrared broiler listing, and keep what should a beginner know about infrared grilling nearby for the general briefing this first-steak guide does not redo.
FAQ
How should a beginner cook a first steak on an infrared grill?
Leak-check the grill outdoors, preheat until it is honestly ready, sear a dry steak in short watched passes, and finish to official temperature with a rest. This article will not invent a second-count.
What temperature should the steak reach?
Whole-muscle steak should reach 145°F and then rest at least three minutes, according to official FDA guidance. A personal doneness preference is not an official exception this page can write into a chart.
Do I need to do a reverse sear on night one?
No. A reverse-sear method already exists on other pages. A first dinner should be a short, watched sear you can actually finish.
Where do I find general infrared beginner advice?
A broader beginner briefing already lives on the site. Use that page for general habits, and use this walk-through for the first steak sequence.
More to Read
Leftover Holiday Turkey on the Grill or in the Pizza Oven: Sandwiches, Tostadas and a White Pie
Give leftover turkey a second heat, not another roast: grill sandwiches or tostadas, or bake a white pie, after a safe leftover inventory the night...
Parrilla Taco Night: Carne, Salsas and Grate Space for a Crowd
Run taco night on a parrilla as a grate-space plan: carne, a second protein, a salsa station, and tortillas held soft, without one crowded fire.
Bone-In Lamb Leg or Shoulder on a Santa Maria or Gas Grill
Grill a bone-in lamb leg or shoulder as a roast: Santa Maria height or a gas two-zone fire, a USDA safety floor, and a probe that does not touch bone.