





The chart below gives pull temperatures — the number you read on an instant-read thermometer when the steak comes off the heat — plus resting time and the final temperature you can expect on the plate. Pull numbers are deliberately lower than serving numbers because a steak keeps cooking while it rests. One food-safety note sits above all of it: the U.S. Department of Agriculture's safe minimum for whole-muscle beef steaks is 145 °F with a three-minute rest, and ground beef must reach 160 °F. Doneness targets below 145 °F are a personal risk decision, not a USDA recommendation.
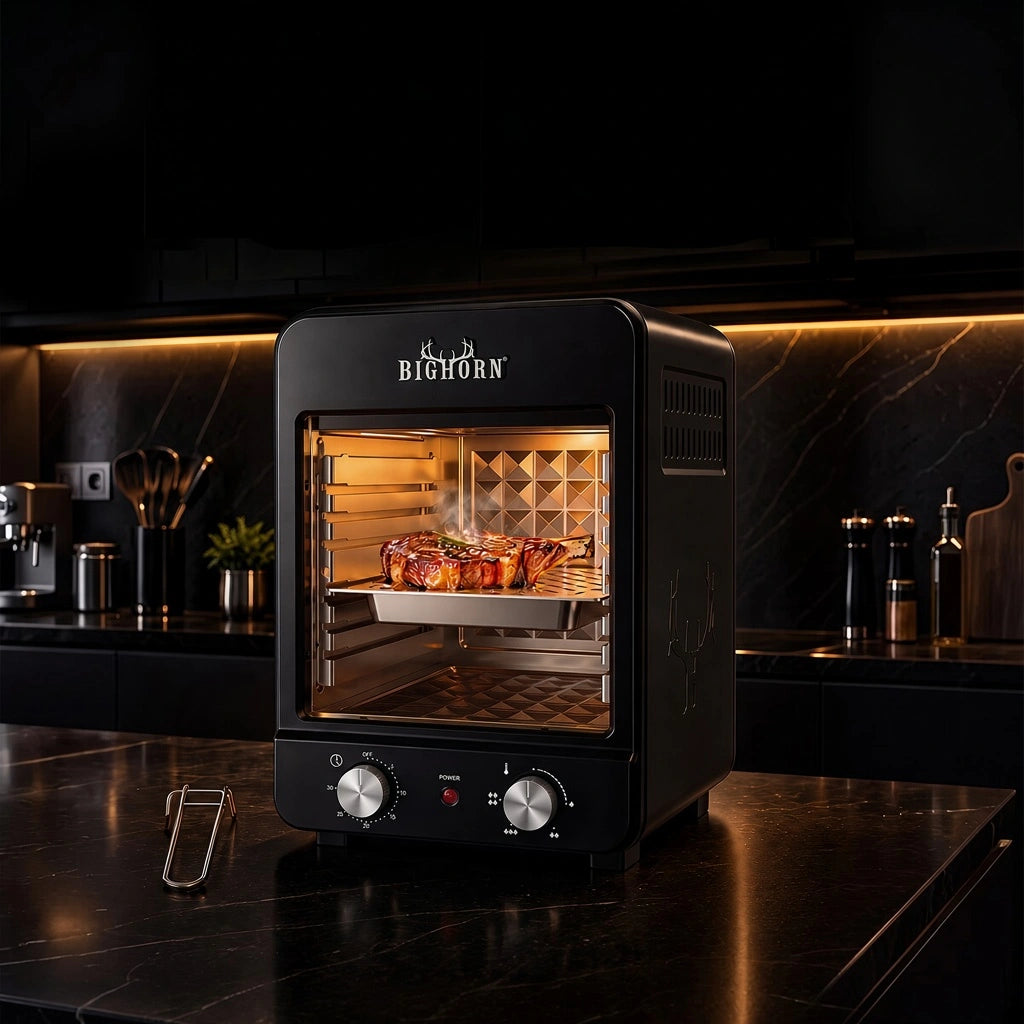
Related product: Shop 16-inch Portable Infrared Steak Grill.
Doneness temperatures at a glance
For medium-rare, aim for a final center temperature of 130–135 °F — pulled at 125–130 °F and rested — while keeping in mind that 145 °F with a three-minute rest is the USDA's safe-minimum recommendation for whole-muscle cuts. The pull and final numbers in the table are experienced cooking targets used widely by chefs and thermometer makers; they are not a single official standard.
| Doneness | Pull from heat | Rest | Approx. final temp | What to look for |
|---|---|---|---|---|
| Rare | 115–120 °F | 3–5 min | 120–125 °F | Cool red center, soft and very juicy |
| Medium-rare | 125–130 °F | 5 min | 130–135 °F | Warm red center, the most common target for ribeye and strip |
| Medium | 135–140 °F | 5 min | 140–145 °F | Pink center, firmer feel |
| Medium-well | 145–150 °F | 5 min | 150–155 °F | Slight pink only at the center |
| Well done | 155–160 °F | 3–5 min | 160 °F and above | No pink; relies on marbling or basting to stay moist |
Approximate Celsius equivalents for the final temperatures: rare 120–125 °F (49–52 °C), medium-rare 130–135 °F (54–57 °C), medium 140–145 °F (60–63 °C), medium-well 150–155 °F (66–68 °C), well done 160 °F+ (71 °C+). Remember that every row below the 145 °F line falls below the USDA's safe-minimum recommendation for whole cuts.
The final-temperature column is what most doneness descriptions refer to when they say "medium-rare is about 130–135 °F." If you pull at the serving temperature instead of below it, carryover often pushes the steak past your target — commonly 5–10 °F on a thick cut, with the exact rise depending on surface heat and how the steak rests.
For safety reference, the USDA's safe minimum internal temperature chart lists 145 °F with a three-minute rest for beef, pork, veal and lamb steaks, chops and roasts, and 160 °F for ground meats. Steaks cut from an intact whole muscle are the category this chart describes. If your steak was ground, follow the 160 °F ground-meat standard; if it was mechanically tenderized or injected, follow the label's cooking instructions, because those products carry different safety guidance than intact whole-muscle cuts.
Why carryover changes your target
Carryover is the heat already stored in the outer layers of the steak migrating toward the center after you pull it. The thicker the steak and the hotter the surface, the more stored heat exists — which is why a 2-inch tomahawk can climb 10–15 °F during a rest while a thin skirt steak may barely move. The actual rise varies with surface temperature, how often you flipped the steak, and where it rests.
Two starting points keep carryover workable:
- Pull thick steaks (1½ inches or more) 5–10 °F below your target, at the low end of the pull range in the chart, then confirm with a probe after the rest.
- Pull thin steaks (about 1 inch or less) at the top of the pull range or right at target, because they have little mass to keep cooking.
Resting method also shapes carryover. A loosely tented steak on a rack carries over more than one moved to a cold plate, and cutting immediately releases heat and moisture quickly, greatly reducing carryover cooking. If you want precision, rest on a room-temperature or slightly warm rack, probe once at the end of the rest, and treat that reading — not the pull reading — as the doneness you actually serve.
Probing without guessing
An instant-read thermometer removes the guesswork, but only if you read the right spot. Insert the probe sideways from the side of the steak, not from the top, so the tip lands in the center of the thickest part. Avoid bone, large pockets of fat and the very edge — each can produce a reading that does not represent the center of the meat.
For a steak 1½ inches or thicker, take a second reading an inch away from the first. A temperature gradient across a thick steak is normal, and the coolest valid reading is the one that tells you whether the center is done. Digital instant-read models register in a few seconds; if your thermometer takes 15 seconds or more, you are holding the steak open while it cooks, so invest in a faster model for thin steaks.
The "don't poke the steak or it will dry out" worry is misplaced with a thin instant-read probe: the moisture that pools on the board comes from slicing before the rest is complete, not from the probe track. Measure first, slice second.
Resting by cut and thickness
Resting lets the temperature gradient and internal pressure settle, which reduces the amount of liquid released when the steak is cut. Rest too briefly and the steak weeps on the board; rest too long and a thin steak cools below serving temperature.
- Thin cuts (filet medallions, skirt, flank, about 1 inch or less): 3–5 minutes.
- Standard steaks (1–1½ inches: ribeye, strip, sirloin): about 5 minutes.
- Thick cuts (1½–2 inches and up: tomahawk, thick ribeye, picanha): 5–10 minutes, loosely tented.
Rest on a room-temperature or slightly warm rack rather than a cold plate or a hot one, and skip the tight foil tent — trapping steam softens the crust you just built. If you are cooking several steaks for a group, pull each one at its own target and rest them together; don't rush the first steak onto a platter while the last one is still on the fire.
Cooking method adjustments
The chart stays the same regardless of the heat source; the method changes how much carryover you should expect and where you aim the probe.
Direct high-heat grilling. On a gas, charcoal or infrared grill, a 1-inch steak sears quickly and finishes quickly, so pull near the top of the pull range and rest briefly. As a working example: a 1-inch strip steak pulled at 128–130 °F and rested for five minutes usually settles around 132–135 °F — solidly medium-rare. Pull the same steak at 135 °F and the rest pushes it past medium, which is why the pull column, not the final column, is the number to write on your hand. For cuts and timing suited to high-heat searing, Big Horn's guide to the best steaks for a 1500 °F infrared grill covers thickness, marbling and cut selection in more detail.
Reverse sear. For thick steaks, cook low and slow until the center sits about 10–15 °F below your pull target, rest briefly, then sear hard to build the crust. Because the interior is already near temperature, the sear adds less carryover than a full direct cook; pull a few degrees early anyway and verify with a probe after the sear.
Infrared and other very hot surfaces. High heat builds crust fast but also drives a bigger temperature jump after pulling. Pull at the bottom of the pull range on a screaming-hot infrared grill or broiler, especially for steaks thicker than 1½ inches, and let the rest do the finishing. If you are choosing equipment for this style of cooking, Big Horn's steak-searing grill collection lists the models built around fast, high-heat searing.

Mistakes that throw the numbers off
A temperature chart only helps if the reading is honest and the timing is right. The mistakes below are the ones the earlier sections did not already cover.
- Cooking by time instead of temperature. Recipe times shift with grill heat, steak thickness and starting temperature; the probe is the only consistent referee.
- Letting a thermometer drift out of calibration. Check the manual's calibration method — many instant-read models use an ice-water check — and treat readings from a dropped or low-battery unit with suspicion.
- Using the pull reading as the serving reading. The number at pull tells you when to take the steak off; the number after the rest tells you what you serve. They are different by design.
- Assuming carryover is uniform. A thick steak's center can finish hotter than its edges, so after the rest, probe a fresh spot in the middle rather than trusting one reading everywhere.
The fastest way to learn your grill's carryover is to log one cook: note the pull temperature, the rest time and the final reading, then adjust the next pull by a degree or two. That single record will beat any generic chart for your specific setup.
From chart to plate
Here is the sequence that puts the chart to work: choose the doneness you want to serve; note the pull target for your steak's thickness; season and cook with the method that fits the cut; pull at the target, rest fully, and probe a fresh spot in the center; then slice against the grain when the cut has long fibers. Temperatures give you a repeatable endpoint, and the same chart applies whether you cook indoors on cast iron or outdoors over live fire.
Temperature guidance in this chart follows the USDA safe-minimum recommendations cited in the text; doneness targets below the safe minimum are personal choices, not an official standard. This reference was last reviewed September 5, 2026.
Explore more in the Grill Buying Guides.
