


Gas Grill Techniques
The advice that sounds careful is to soak every ear for half an hour, then grill it in the husk and expect decent corn. Plenty of cookouts do that, and the corn is fine. The less obvious point is that soaking is not a requirement for how to grill corn on the cob on a gas grill, and husk-off ears can be the right choice when you actually want char.
Use this as a short checklist: pick a method (husk on, husk off, or foil), decide whether a soak would even help, then time the ears and hold extras on a calmer zone. Infrared notes about corn belong on a different cooker. This page stays with a conventional gas grill.
Husk on, husk off, or foil: what each is for
Husk-on ears steam in the wrapper and stay juicier; husk-off ears take more char and need closer turning; foil is the tidy middle path for even heat and less mess. Choose the method for the texture you want, then time the ears and turn them so one face does not scorch.
Husk on is the set-and-turn option for a crowd. The silk and husk protect the kernels, and you can peel back the husk at the end if you still want a little color. Husk off is the cookout look: blistered kernels, a sweeter toasted smell, and more risk of dry spots if you walk away. Foil, with or without a little butter inside, keeps things contained on a crowded grate.
You can mix methods on the same grill. Put foil or husk-on ears on a slightly calmer side, and keep a few husk-off ears over direct heat for people who want the char.
To soak or not — a practical rule
Soak husk-on ears if the husks are dry, papery, or you want a little insurance against scorching the wrapper. Skip the soak when the husks are already fresh and tight, or when you are grilling husk-off or in foil. A long soak does not magically season the kernels, and wet husks can put a lot of steam on the grate.
If you do soak, a brief rest in cold water is enough for most backyard ears. You are not trying to waterlog the cob. Drain and shake off the extra water so you are not dripping onto a hot fire. For husk-off ears, pat them dry, then oil lightly so the kernels do not cling and tear.
Do not treat a soak as a food-safety step. Keep raw sides and cooked corn on a normal handling path, and use published leftover timing such as the FDA advice on storing food safely and the Ready.gov food page if you are packing extras for later.
A timing chart for whole ears on a gas grill
Preheat the grill and work with a medium or medium-high grate, lid closed between turns if you need to hold heat in wind. The times below are common ranges for whole ears, not a lab test. Start checking at the early end, because kernels go from glossy to wrinkled fast.
| Method | A common time window | What you are aiming for |
|---|---|---|
| Husk on | Often about 15–20 minutes, turning a few times | Kernels tender when you peel back a strip of husk; optional short char at the end |
| Husk off, bare grate | Often about 8–12 minutes, turned often | Scattered browning, not a single black stripe |
| Foil pack | Often about 15–20 minutes | Even, steamy kernels; open the foil if you still want color |
| Parboiled, then grilled | A short grate finish, often a few minutes | Heat through and char; do not recook the ear to mush |
A two-zone grate helps when some ears are done early. Park the finished ones over unlit or low burners with the lid closed so they stay warm without continuing to toast.
Char, seasoning and a finish butter that will not burn
Char is a finish, not a goal you chase from the first minute. Get the kernels tender, then give husk-off ears, or peeled husk-on ears, a brief pass over direct heat. Butter and sugary glazes burn if they sit on the grate the whole time. Brush them on after the ear is mostly cooked, or serve them at the table.
A simple finish is butter, a little salt, and something bright such as lime or chili, added off the heat. If you want a compound butter, make it ahead and let people add it themselves. That keeps the grate cleaner and keeps the butter from going bitter.
Stay beside the grill for this part. Kernel sugars can darken in a hurry, and a grease flare from a neighboring burger is enough to scorch a whole ear. Ordinary outdoor-cooking attention still applies; see NFPA grilling safety and U.S. Fire Administration cooking-fire prevention.
How infrared corn notes differ from this gas-grill method
An infrared cooker is a close, intense heat source. Notes about corn on that kind of grill live with the infrared vegetable and high-heat pages, not here. A conventional gas grill gives you a broader grate, easier two-zone holding, and a slower window that forgives a short distraction — as long as husk-off ears are still being turned.
If you are choosing hardware rather than a corn method, use the live comparisons such as infrared versus a conventional gas grill, searing power versus daily ease, and heat and flavor on infrared versus gas. For a live-fire contrast, Santa Maria versus gas, live fire versus dial control is the other direction. This page does not re-argue those cooker choices.
Serving a crowd: a two-zone corn hold
For a backyard group, cook in waves and hold. Leave one side of the gas grill on for active ears, and turn the other side down or off so finished corn can sit with the lid closed. Husk-on and foil ears hold more calmly than naked ears, which keep drying if they stay over direct heat.
A pan on the indirect side, or a deep platter tented loosely with foil off the grill, also works once the ears are cooked. Do not stack steaming ears in a closed cooler for a long time and then guess about leftovers. Cool extras on a normal food-safety timeline, using kitchen handling notes such as the FDA kitchen food-safety page when you bring food back inside.
If the party runs long, start a second wave rather than parking husk-off corn over high heat for half an hour. The hold zone is for keeping, not for slowly toasting the kernels to leather.

Salt timing so the kernels do not wrinkle before they char
Salt early and the surface of a husk-off ear can look tired before it browns. Salt late, or salt in the butter, and the kernels stay plumper while they pick up color. That is the practical rule for this method. Husk-on ears are less sensitive because the wrapper is doing most of the work until you peel it back.
If you like a brine, keep it brief and dry the ears before they hit a bare grate. A wet, salty ear will steam and stick more than it will blister. Oil is the better first coat for husk-off corn; seasoning can follow.
A recap of who this method is for, and who should use a different cooker
This method is for a conventional gas grill and for people who want a clear choice among husk on, husk off, and foil. It is a good fit for a summer cookout where corn has to share the grate with other food and you need a hold zone.
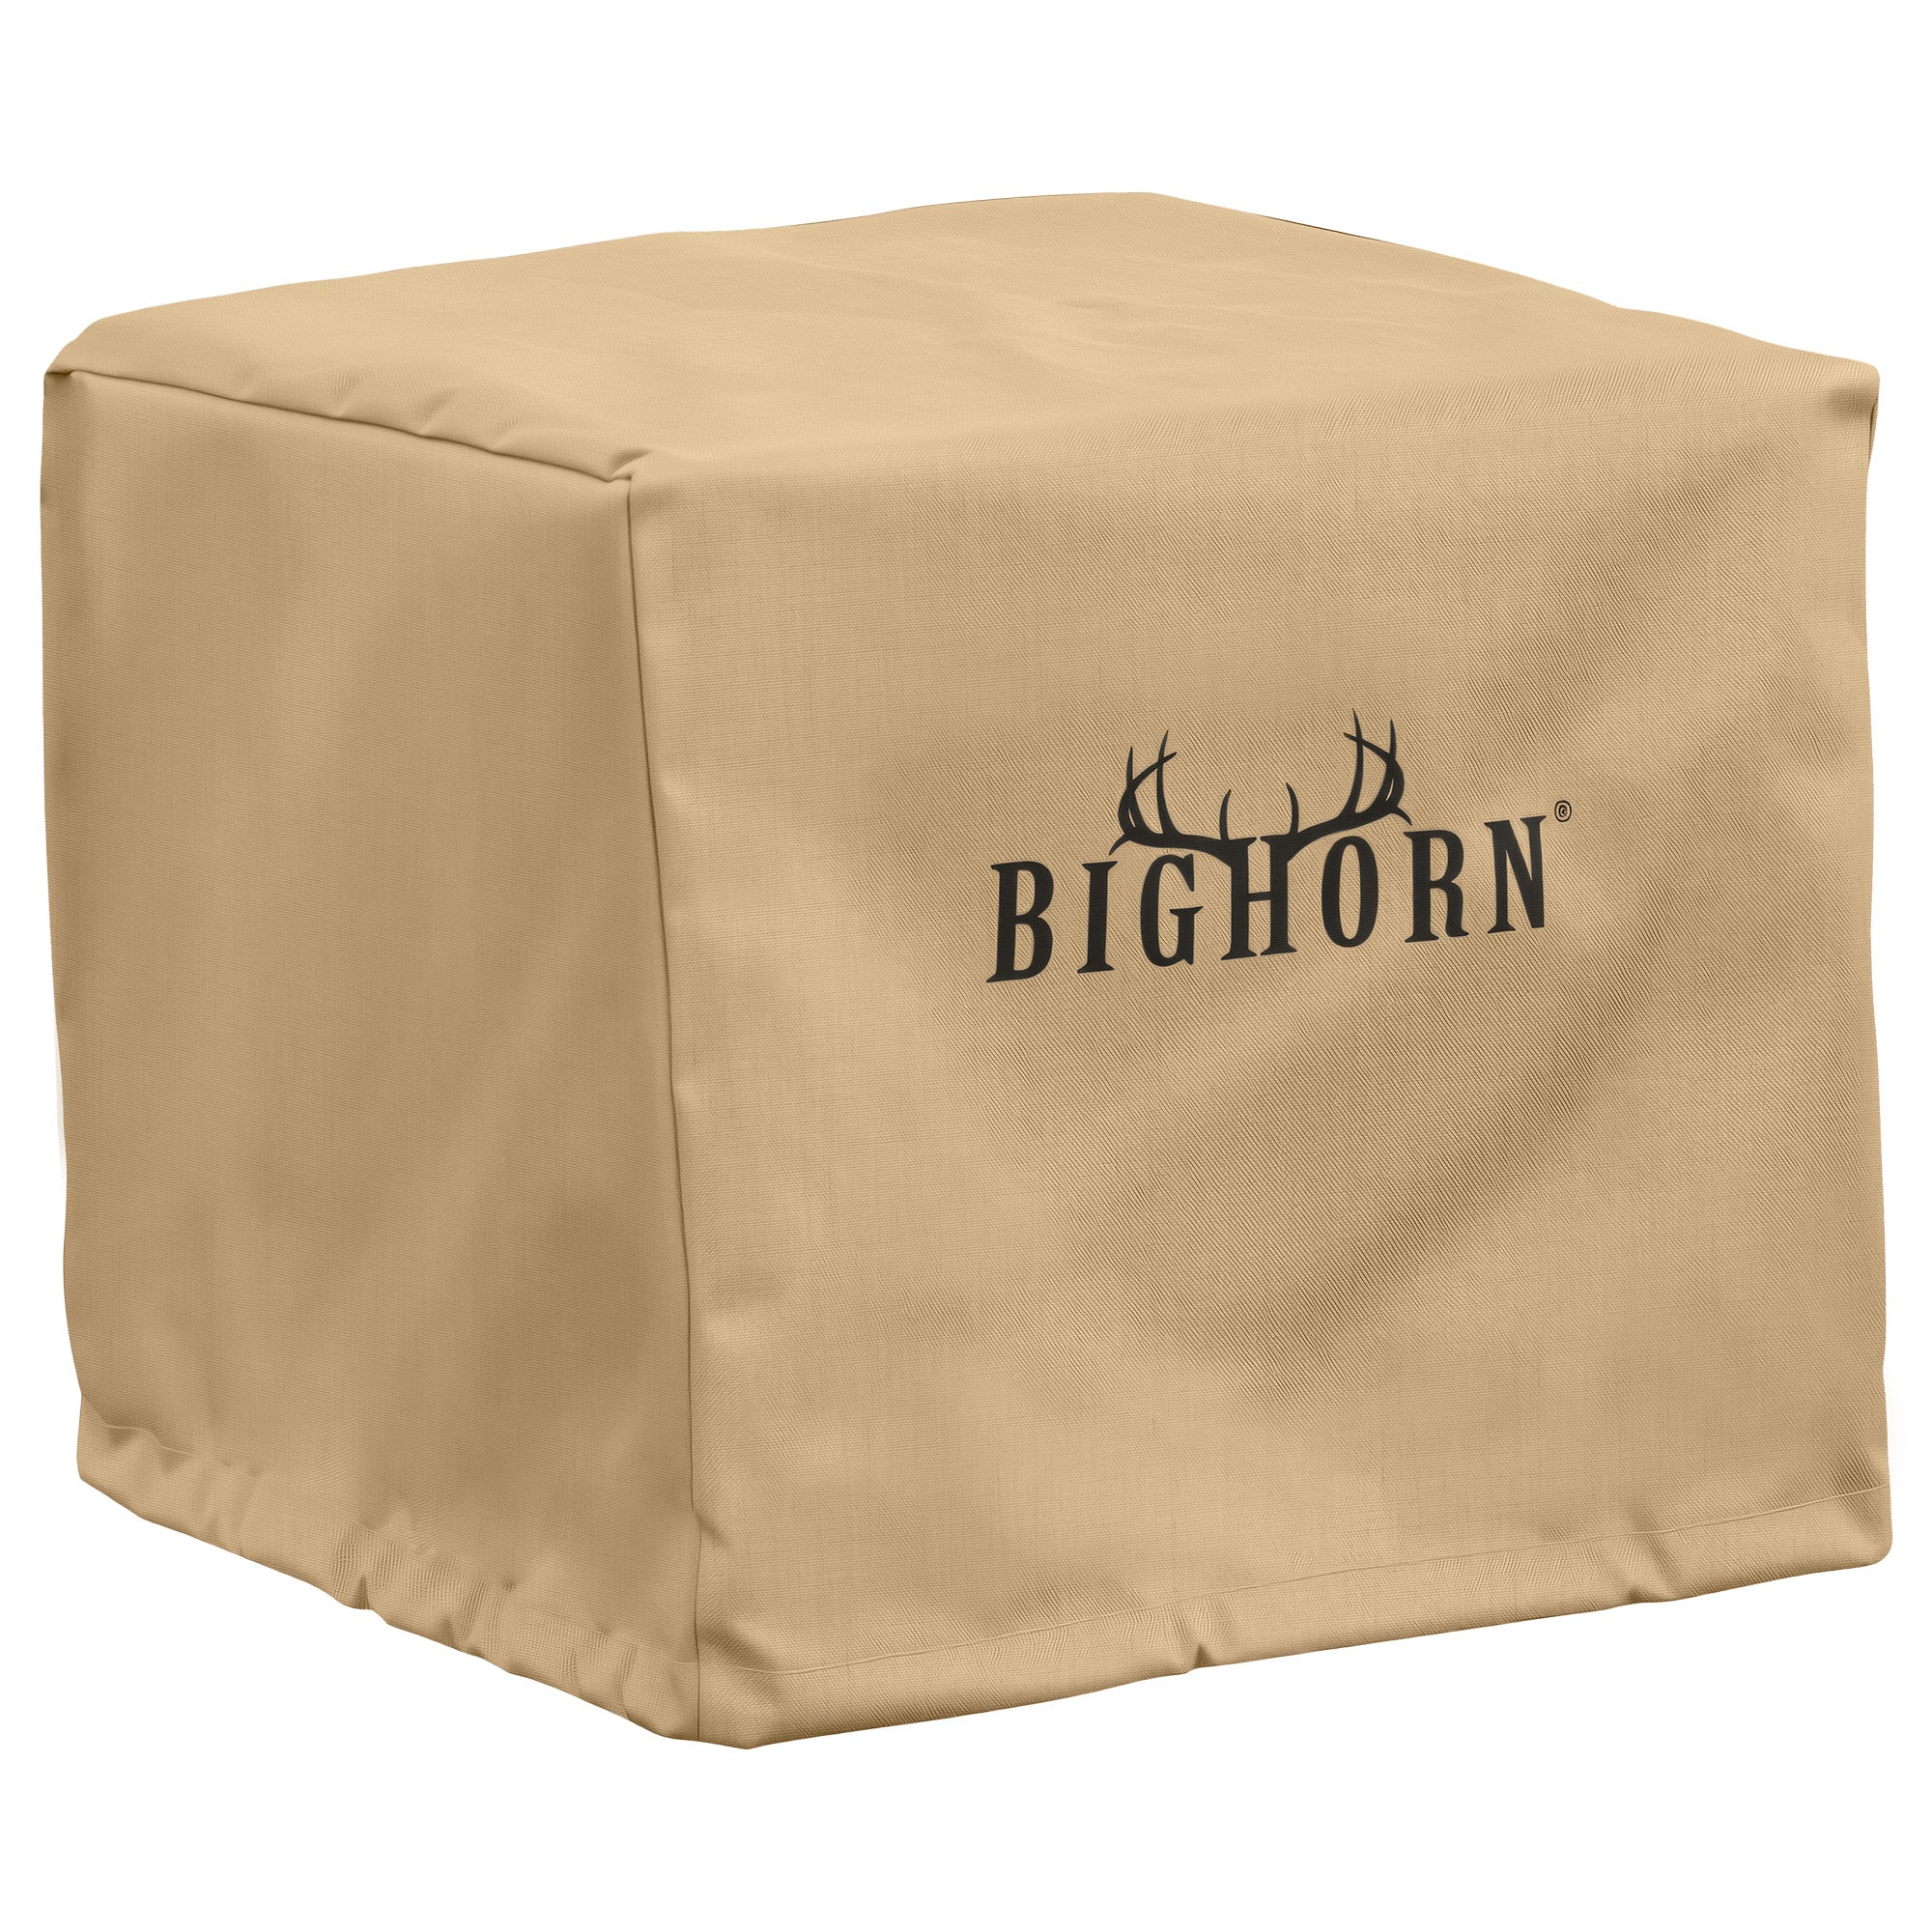
If you want a very short, close-heat char, an infrared cooker may be the better tool, and the style comparison on which outdoor cooking style fits you can help you decide. If you are packing the grill away after the party, wait until it is fully cool, then use a cover such as the waterproof infrared steak grill cover on the cooker it is made for. Do not put a cover on a hot grill, and do not treat the cover as a cooking accessory.
FDA safe food-handling guidance still applies to the platter: keep raw meat separate, and get leftover corn cooled on time. The ears are simple. The handling should be too.
When the cookout is over and the grill has cooled, a fitted cover such as the waterproof, anti-UV infrared steak grill cover keeps the grate ready for the next pan of corn.
FAQ
How long is corn supposed to be on the grill?
It depends on the method, not on a single clock. Husk-on ears often take about fifteen to twenty minutes on a preheated gas grill, turned a few times. Husk-off ears over direct heat often finish in about eight to twelve minutes if you turn them so the kernels char instead of scorching on one face. Foil packs usually sit in a similar window to husk-on ears. These are common ranges, not a test of one grill.
Should you salt the water when boiling corn?
This page is about grilling, not a boiled-corn method. If you do boil ears first, salting the water is a kitchen preference, not a grill requirement. On a gas grill, salt is usually better after the kernels have taken on some heat, or in a finish butter, so the surface does not wrinkle and dry before it can char. If you want boiled corn, cook that in a pot; then you can still finish a brief char on the grate if you like.
Can you freeze cooked corn on the cob?
Yes, cooked corn can be frozen once it has cooled. Get it out of the temperature danger zone on a normal leftover timeline, then wrap well so the kernels do not dry out in the freezer. The FDA pages on storing food safely are the right reference for refrigeration and leftover timing. Thaw in the refrigerator, not on a counter in the sun, and reheat until the ear is hot all the way through.
How to char sweetcorn?
Pull the husk back or start with husk-off ears, oil lightly, and give the kernels direct heat, turning often so the char is scattered instead of a single burnt stripe. A short, hot finish after a husk-on steam is another path: peel the husk, then return the ear to the grate for a couple of minutes. Stay with the grill, because sugary kernels can go from browned to bitter quickly.
More to Read
Al Pastor Pizza: Marinade, Pineapple Balance and High-Heat Timing
Make al pastor pizza at high heat with thin, safely cooked pork and drained pineapple. Finish with salsa after the bake, and do not invent taco cal...
Mixed Vegetables on a Gas Grill: Baskets, Skewers and Direct Heat
Grill mixed vegetables on a gas grill with a path for baskets, skewers, or a bare grate, plus oil, salt timing, and a cut-size rule so pieces finis...
Pizza al Taglio (Roman Tray Pizza) at Home Outdoors
Make pizza al taglio at home as a Roman tray pie: oil the pan, dimple relaxed dough, top modestly, bake thoroughly outdoors, and cut it into squares.