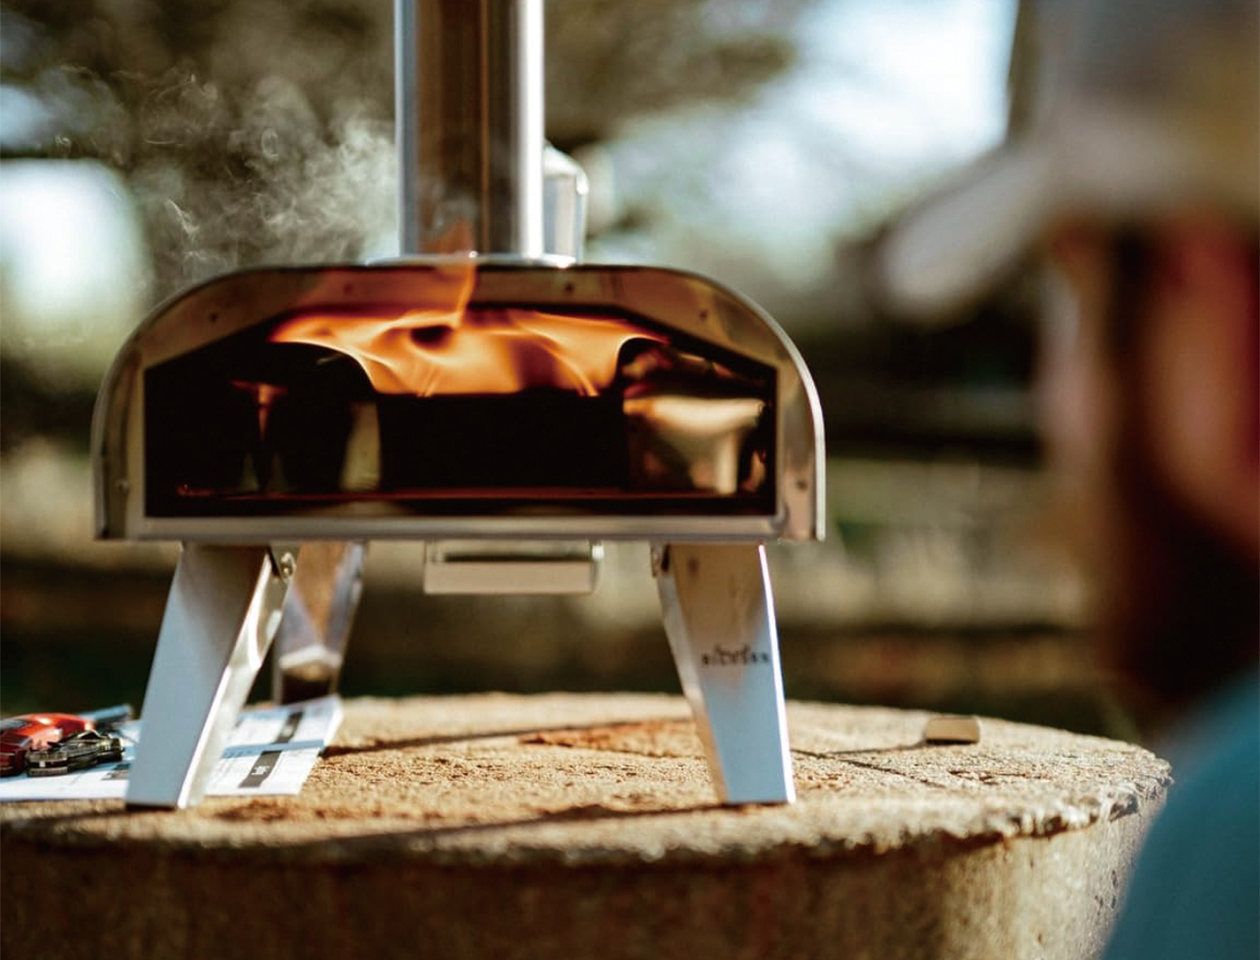
A small yard can hold a genuinely useful outdoor kitchen if the layout works with the space instead of against it. The secret is deciding what the kitchen must do — grill, prep, storage, a place to serve — and then choosing gear that does two jobs at once, like an island with burners and counter space or a cart that parks when the cooking is done. This guide offers four layouts sized for tight spaces, the storage and prep moves that make them work, and a phased plan that lets you build the kitchen without tearing up the whole yard at once.
Design rules for small spaces
Three rules fix most small-yard kitchens before any gear is bought. First, work the perimeter: an outdoor kitchen against a wall, fence or property edge uses almost no open yard, while a freestanding island in the middle of a small patio eats the space where chairs belong. Second, make every piece earn its footprint — a grill with a side burner, an island with drawers, a cart that stores flat — because in a tight yard, single-purpose furniture is the enemy. Third, keep the cooking and serving paths short: the cook should move from prep to grill to table in a few steps, and the seating should sit outside the smoke and heat path rather than surrounding the fire.
The last rule is about honesty. A small yard cannot hold everything at once, so the kitchen should be planned for the meals that actually happen: most owners need a grill, a small prep surface and storage far more than they need a six-burner island with a sink they never plumb. Start with the cooking core, add the extras only when the core proves its spot, and let the yard tell you when it is full.
Four layouts that fit
Layout 1 — The corner L. Place the grill in one corner of the patio with a counter or cart returning along the adjacent wall, forming a compact L. The corner anchors the heat away from the seating, and the return counter holds prep and service within an arm's reach of the grill. This layout suits narrow yards where a straight wall run is too long and a center island is too wide; it needs only a few feet of wall on each side.
Layout 2 — The wall run. A straight run against the house, fence or garage wall is the most space-efficient layout of all: grill, prep counter and storage in one line, with the yard in front left open for the table and chairs. Keep a heat-safe gap between the grill and the wall per the manual, and put the prep surface between the grill and the door so the cook's path never crosses the heat. The wall run suits balconies, side yards and any space where the depth is tight but the length exists.
Layout 3 — The rolling island. A wheeled island or grill cart becomes the kitchen that moves: parked against the wall for storage, rolled to the table for service, and rolled out of the way when the yard needs to be a yard. This is the layout for renters, shared patios and anyone who cannot commit a permanent corner. Choose a cart with locking wheels and enough counter to stage a plate, and treat the rolling station as the whole kitchen rather than a compromise.
Layout 4 — The grill-and-sidecar. A compact grill paired with a folding prep table and a storage cabinet gives a two-station kitchen that packs away. The grill owns the cooking, the sidecar owns the prep, and a nearby cabinet or covered box owns the fuel and tools. This is the smallest real kitchen of the four, and it is the honest answer for yards measured in a few strides rather than acres — every piece is small, mobile and stowable.

Storage and prep in tight spots
Storage is where small outdoor kitchens usually fail, because the gear list is longer than it looks: fuel, tools, platters, covers, sauces and serving pieces. The fix is vertical and hidden storage — a cabinet beside the grill, drawers under the counter, hooks on a wall panel for tools — so the cooking surface stays clear and the yard does not become a display of grill accessories. Choose storage that closes: open shelves collect dust, leaves and weather, and a small yard has no spare room for gear that needs constant cleaning.
Prep space is the second squeeze point. If there is no room for a full counter, add a fold-down shelf or a cutting board that bridges the grill's side shelves, and do the heavy prep indoors on a tray that carries out ready to cook. A peel, a platter and a cutting board do most of the work a big counter would do, and they store flat. The goal is a clear landing spot beside the heat at serving time — even a foot of covered surface prevents the worst small-yard failure, which is balancing a hot platter on a chair.

Matching gear to each layout
| Layout | Gear that fits | Why |
|---|---|---|
| Corner L | Compact island or grill + return counter | Anchors heat in the corner; short reach between stations |
| Wall run | Island or grill + wall cabinet | Uses the wall; keeps the yard open |
| Rolling island | Wheeled grill cart or island | Parks, rolls and stores without a permanent footprint |
| Grill + sidecar | Grill, folding prep table, storage box | Smallest footprint; everything stows |
Match the gear's dimensions to the layout with a tape measure before buying: a four-plus-two burner island is a different footprint from a compact cart, and "fits the photo" is not the same as fitting the yard. Big Horn's stainless steel island with 4+2 burners anchors the corner-L and wall-run layouts, while the grill cart and pizza oven table serves the rolling and sidecar layouts — and the outdoor kitchen island collection shows the range between them.
Measuring before you buy
Measure the yard the way the gear will actually be used, not the way it looks on paper. Record the patio's length and width at the floor, the height and width of any doorway or gate the delivery will pass through, and the distance from the cooking corner to the house wall, the seating and any overhanging eaves. Then write down each candidate's assembled dimensions — width, depth, height and the space its lid or cover needs when open — and mark the clearances from its manual on the floor with tape. A grill that fits the patio's width can still fail the yard if its lid hits an eave or its heat clearance crowds the seating.
Build a one-to-one test before you commit to a permanent layout. Cut cardboard to the footprint of the island or cart, tape it to the floor in the chosen spot, and live with the outline for a weekend: walk the path from door to grill, set up a table and chairs around it, and check that the cook can move without crossing the heat path. The cardboard test reveals what the sketch cannot — a corner that looks generous on paper but blocks the door swing, or a wall run that leaves no room for the trash can. It costs an hour and a box, and it prevents the most expensive mistake a small yard can make: buying gear that fits the driveway but not the daily routine.
Building in phases
A small-yard kitchen does not have to arrive all at once. Phase one is the cooking core: the grill or island on a level, fire-safe base, with fuel storage and a cover. Phase two adds the prep and service layer: a cart, folding table or cabinet that gives the cook a landing spot and a place for tools. Phase three adds comfort and permanence: better seating, lighting, a weatherproof cover for the whole station, and any built-in counter or wall panel that the first two phases proved useful. Each phase is usable on its own, so the yard improves with every step and the budget never has to stretch for everything at once.
Plan the phases in the order of use, not the order of cost. It is tempting to buy the island first and add the prep table later, but the cook who has no landing spot for a hot platter will use the kitchen less no matter how good the grill is. Sequence by workflow — cooking surface, then prep, then storage, then comfort — and the small yard gets a kitchen that works from the first phase.
Permits, gas and safety checks
Before any phase becomes permanent, check the local rules. Many areas require permits or setback rules for gas lines, permanent structures and open-flame cooking; condos and HOAs often add their own restrictions on where grills may sit and how tanks are stored. A portable cart usually sidesteps most of these, while a built-in counter with a natural-gas hookup triggers permits and licensed installation in most places. Make the calls before the concrete sets, not after, and keep the gas work for a professional if your area requires it.
Safety checks are part of the layout, not an afterthought. Keep the grill or island clear of walls, eaves, dry plants and seating by the distances in its manual; place the tank in a ventilated, accessible spot away from the heat; and confirm the base is level and non-combustible. In a small yard these clearances are harder to meet than on a big patio, which is exactly why the layout must plan for them from the first sketch. A small outdoor kitchen that passes the safety check and keeps the yard usable is the best kind of fit — it earns its few square feet every time it is used.
Big Horn's outdoor kitchen island collection and the outdoor living collection cover the gear for all four layouts. Choose the layout that matches the yard's shape, keep the prep and storage honest, and phase the build around the cooking workflow — then the smallest yard can hold a kitchen that feels complete.
Product details and prices in this guide were verified against official Big Horn Outdoors listings during the September 5, 2026 review; re-check prices and availability at checkout.